6. W
ait for the green READY LED on the front of the controller to go on (approximately
16-25 minutes).
Note: If the READ
Y LED does not go on after 30 minutes, contact
customer support.
Step 4: Perform the initial startup and setup
Initial startup and initial
setup of the storage system are performed using the Windows-
based management console connected to the SVP.
Preparing a storage system that has an SVP
Preparing the storage system requires you to stop the storage system service, run the
Initial Startup wizard, check licenses, and then run the Initial Setup wizard. Optionally,
you can also congure the storage system to generate syslog and SNMP notications
about alerts and events. You perform these tasks using the management console
connected to the SVP.
Before you begin
■
Conrm that the Windows-based management console is connected to the SVP.
■
Congure the management console to use an IP address of 10.0.0.xxx, where xxx =
1-99 or 101-254, and a subnet mask of 255.255.255.0.
Stopping the storage system service
Procedure
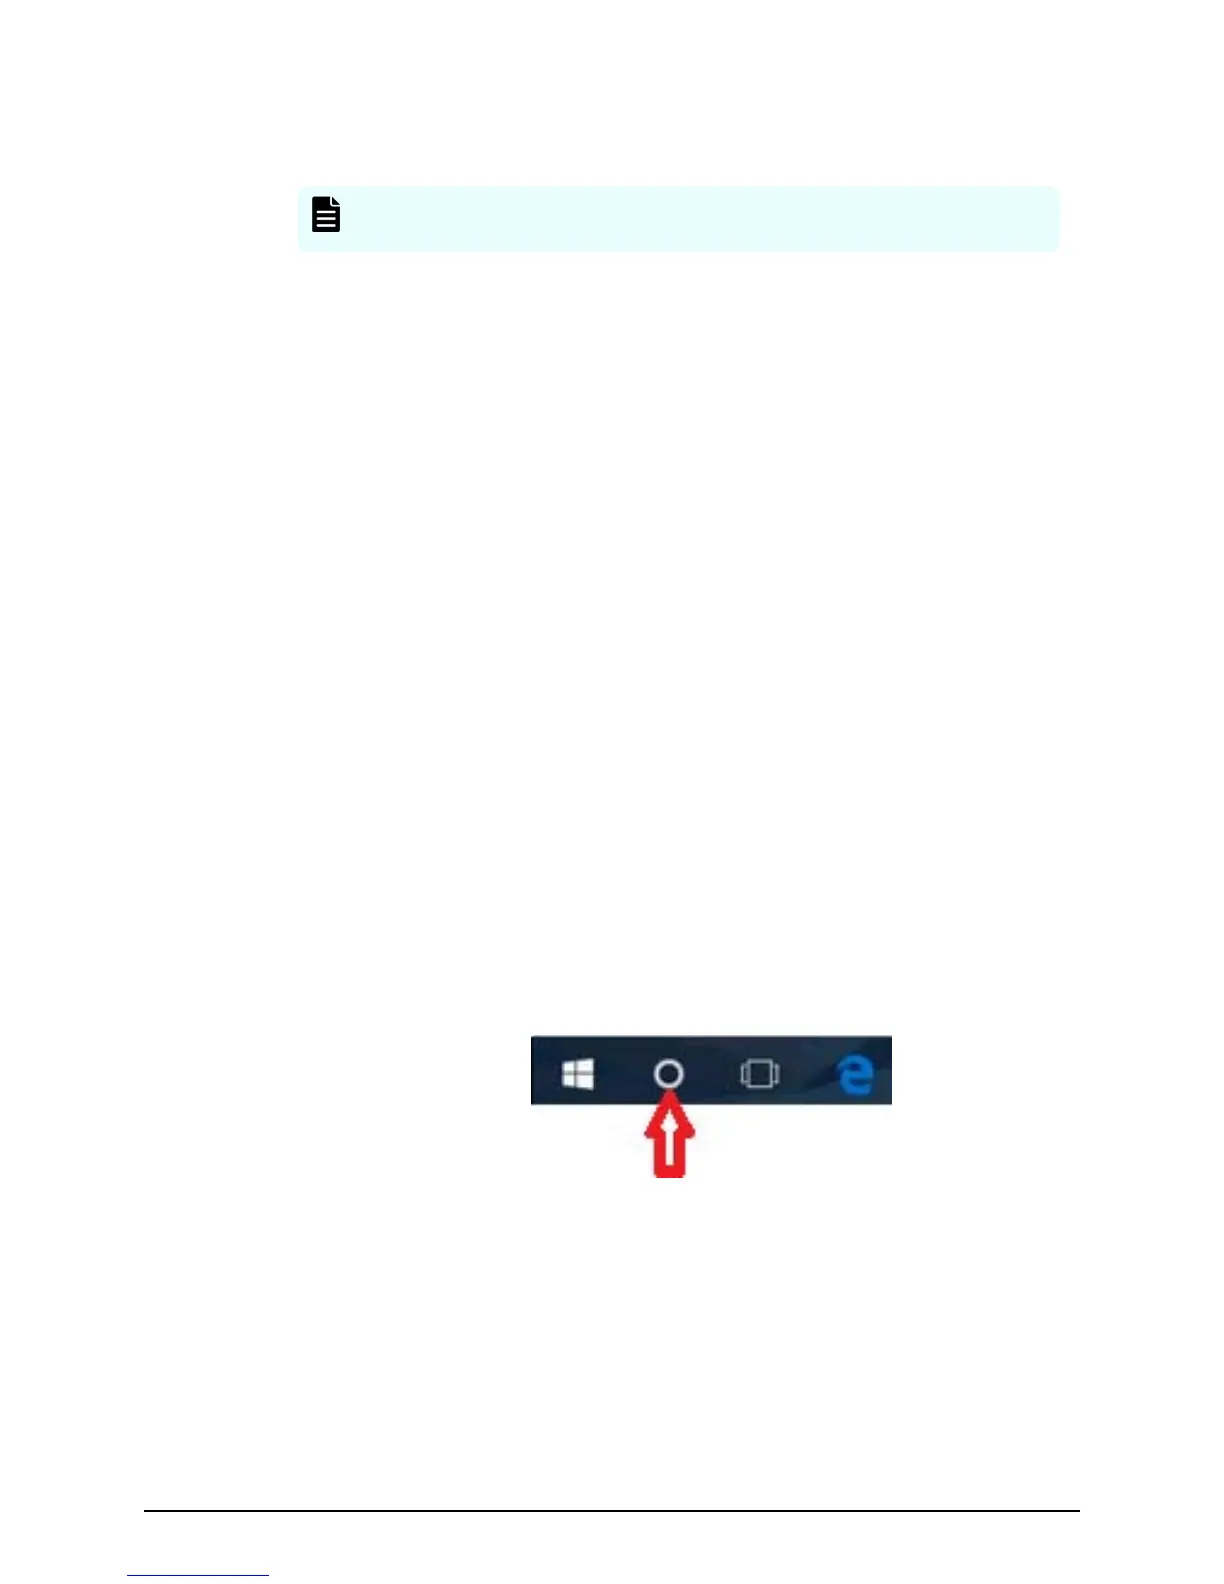
1. Run Remote Desktop Connection on the management console. For Windows 10:
a. Open the Cortana icon in the taskbar on the management console.
b. In the search box, type Remote Desktop Connection, and then click Remote
Desktop Connection in the sear
ch results window.
Step 4: Perform the initial startup and setup
Installing your storage system that includes an SVP
Hitachi Virtual Storage Platform G130 (with SVP) Installation Guide 7

 Loading...