4
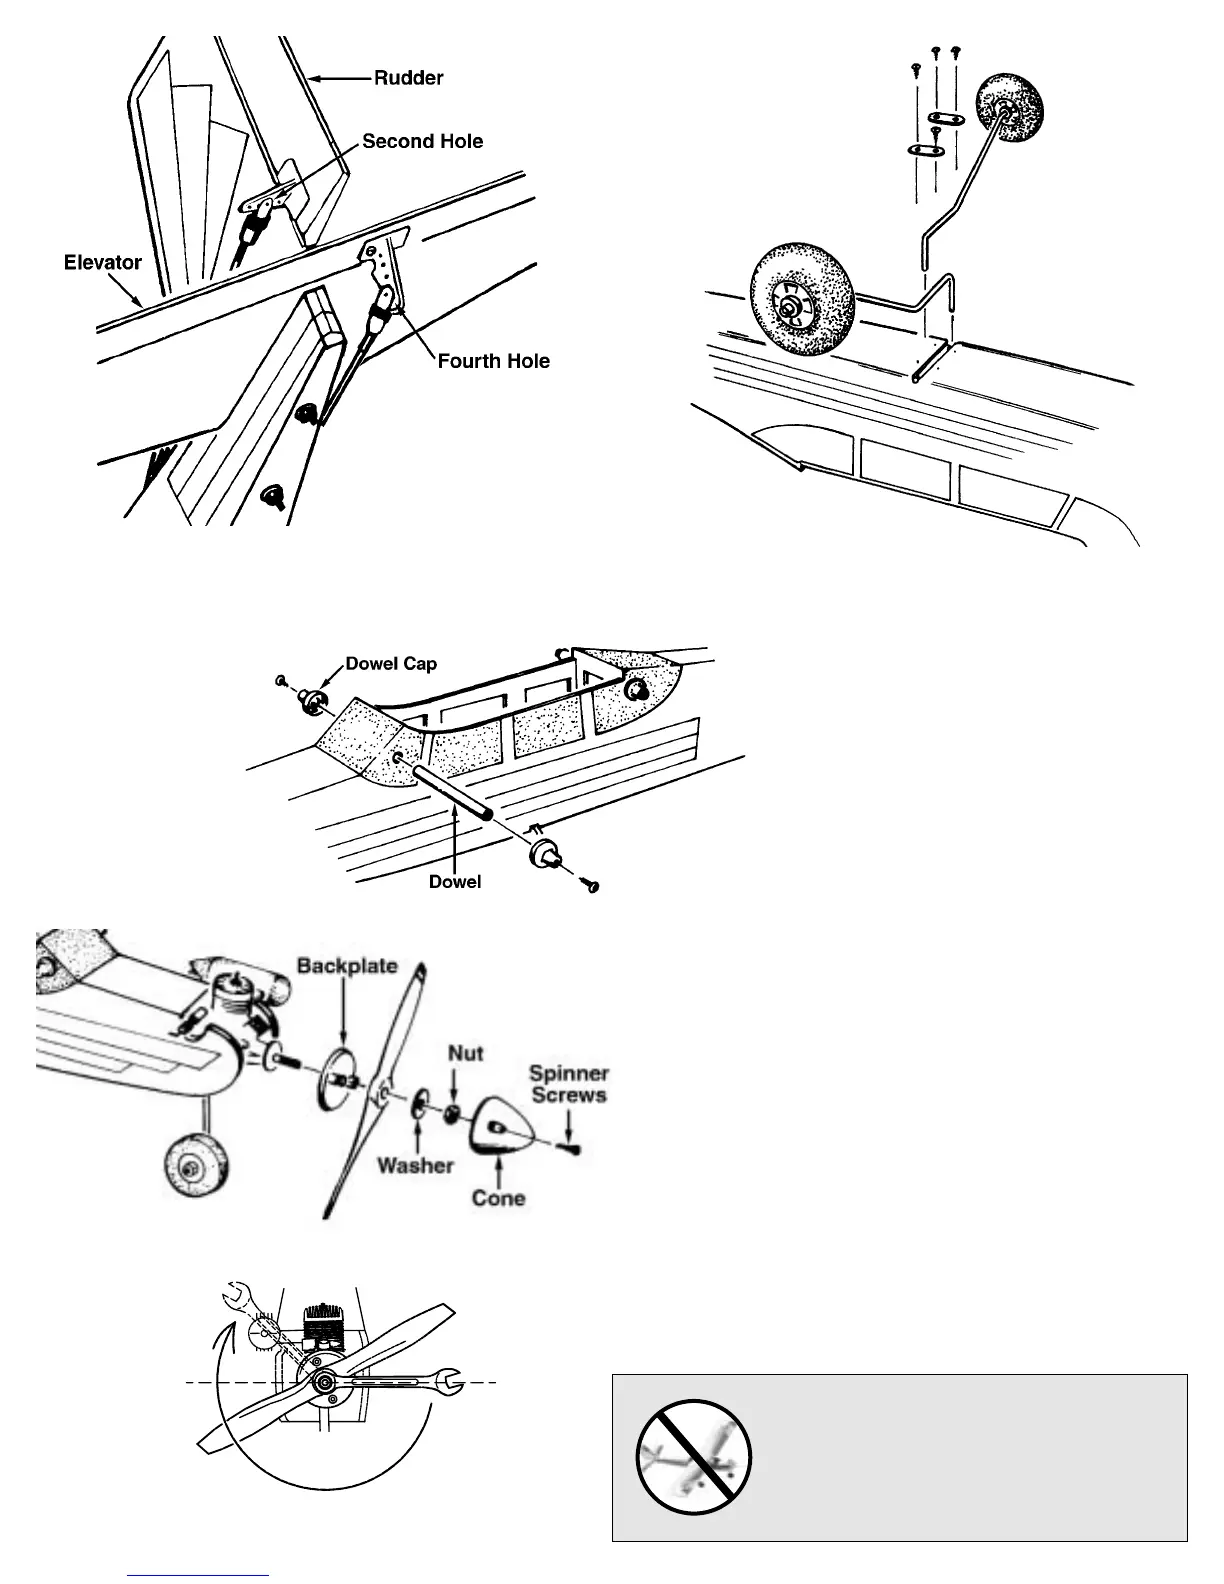
❏ 5. Insert the wood dowels into the fuselage. Secure the
dowels with a plastic dowel cap and the remaining four small
screws (the ones with the washers attached).
CAUTION: The model is not yet
ready to fly. Proceed to the setup
procedures in the following section
to prepare the model for flying.
❏ 7. Use a 10mm wrench or a crescent wrench to tighten the nut 1/2
turn, plus 1/8 turn. Fit the spinner cone to the backplate, then use a
#1 Phillips screwdriver to tighten the spinner screws.
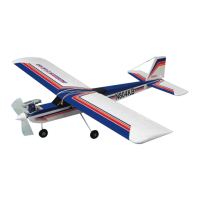
❏ 3. Connect the elevator pushrod to the fourth hole in the
elevator control horn. Connect the rudder pushrod to the
second hole in the rudder control horn.
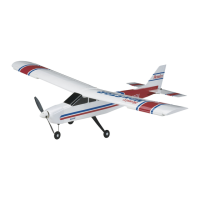
❏ 4. Insert the main landing gear wires into the holes in the
landing gear blocks in the bottom of the fuselage. Secure the
gear with two nylon straps and four #2 x 3/8" screws.
❏ 6. Fit the spinner back plate, followed by the prop, washer
and nut on the engine. Tighten the nut with your fingers.