8
This important step may also be referred to as “checking the C.G.” (center of gravity). Do not disregard this step.The C.G.can have
an even greater effect on how a model flies than the control throws. If the model has too much weight in the nose (“nose-heavy”), it
could be difficult to takeoff and land and lose some of its self-correcting tendencies. If the model has too much weight in the tail (“tail
heavy”), the controls may be too sensitive, making the model too difficult to control—especially for an inexperienced pilot!
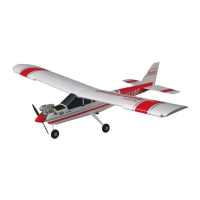
Balance the Model
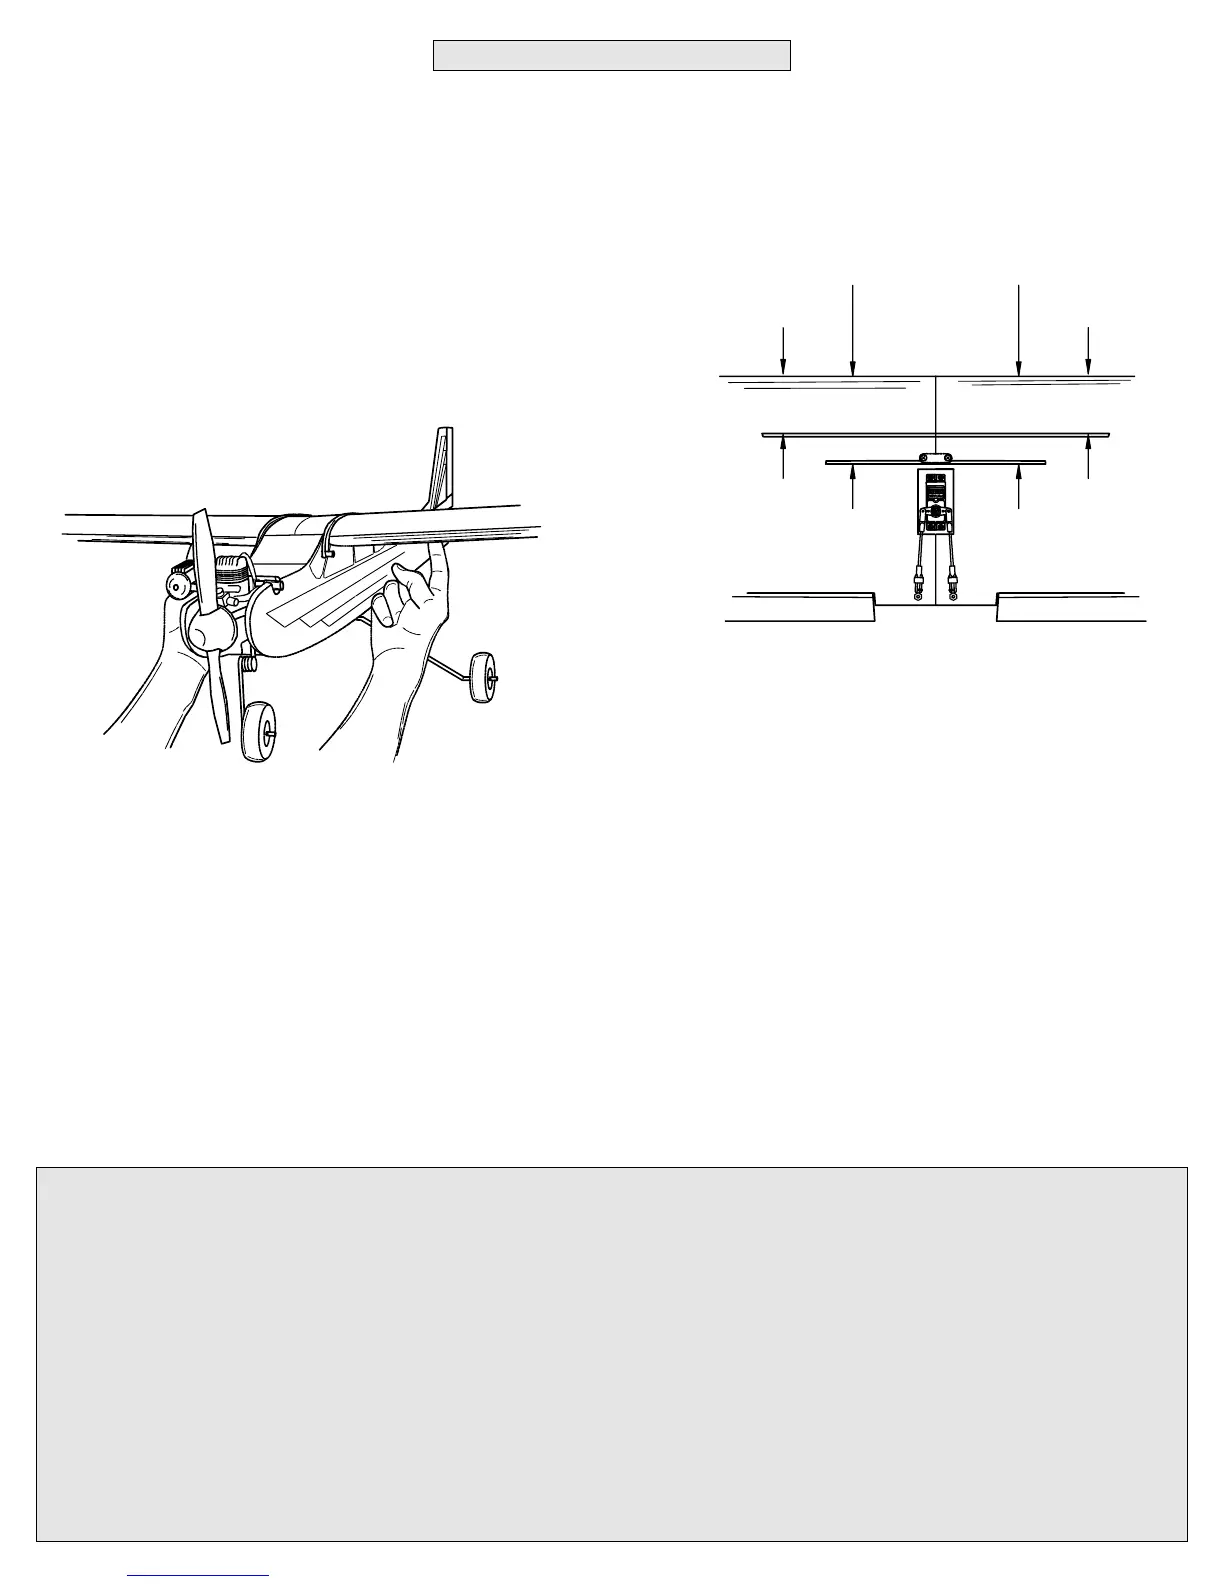
❏ 1.Take the wing off the fuselage. Use narrow tape or a felt-tip pen
to mark two lines on the bottom of the wing to note the balance range
as shown in the sketch at the right.
❏ 2. Mount the wing to the fuselage with four rubber bands. Lift the
model on both sides with your fingertips between the lines on the
bottom of the wing.
❏ 3. If the fuselage will rest level with your fingers between the lines, the C.G. is within the acceptable range. Proceed to the
checklist in the following section. If the tail drops, move your fingers aft until the plane balances or your fingers contact the aft line.
If the tail still drops, the plane is tail heavy and will require sticking weight to the front of the plane to balance. If the nose drops,
move your fingers forward until the plane balances or your fingers contact the forward line. If the nose still drops the plane is nose
heavy and will require sticking weight on the tail to balance.
If additional weight is required to balance the plane, purchase Great Planes Self Adhesive Lead Weights (GPMQ4485). If adding
tail weight, stick the weight to the left side of the fuse under the stab. If adding nose weight, stick the weight to the inside of the
fuselage side next to the engine.
❏ 4. If you found it necessary to add weight, recheck the C.G. after adding the weight.
Ten-Point Checklist
Now it’s time to do a final check before taking the model to the field. These checks are best done in the peace and comfort of your
own shop, so take the time now to make certain your model is ready.
1. Use a 1/16" hex wrench to ensure that the screws on all the wheel collars that hold the wheels on are secure.
2. Be certain the silicone retainers on all the nylon clevises are in position.
3. Make certain the elevator, rudder and ailerons respond in the correct directions.
4. Make certain the wing is securely joined with the metal straps.
5. Check to see that the nuts that hold the fin and stab in position are present and secure.
6. Inspect the rubber bands that hold the wing on and make sure they are in good condition.
7. Make certain the propeller and propeller spinner are secure.
8. Make certain you have balanced the model according to the instructions.
9. Check to see that the screws that hold the servo arms to the servos are present and secure.
10. Make certain you have filled out the I.D. card and placed it inside the model.

 Loading...