5
If you have not yet charged the batteries, you may continue with the setup procedures. However, as the batteries have not yet been
fully charged, they may not provide enough power to finish all of the procedures. If the batteries quit working, set your tools aside
and charge the batteries as described in the Futaba instruction manual that came with this kit.
Now the plane is assembled, but there are a few things that must be done before it will be ready to fly.You must carefully perform
all of the following Setup procedures. If possible, have your flight instructor assist you.
PART II: SETUP
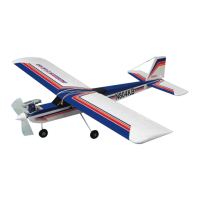
❏ 1. Connect the aileron servo in the wing to the plug
labeled “AILERON” coming from the receiver inside the
fuselage. Temporarily mount the wing to the fuselage with a
couple of rubber bands.
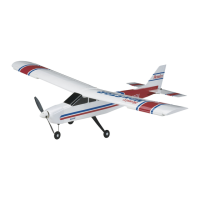
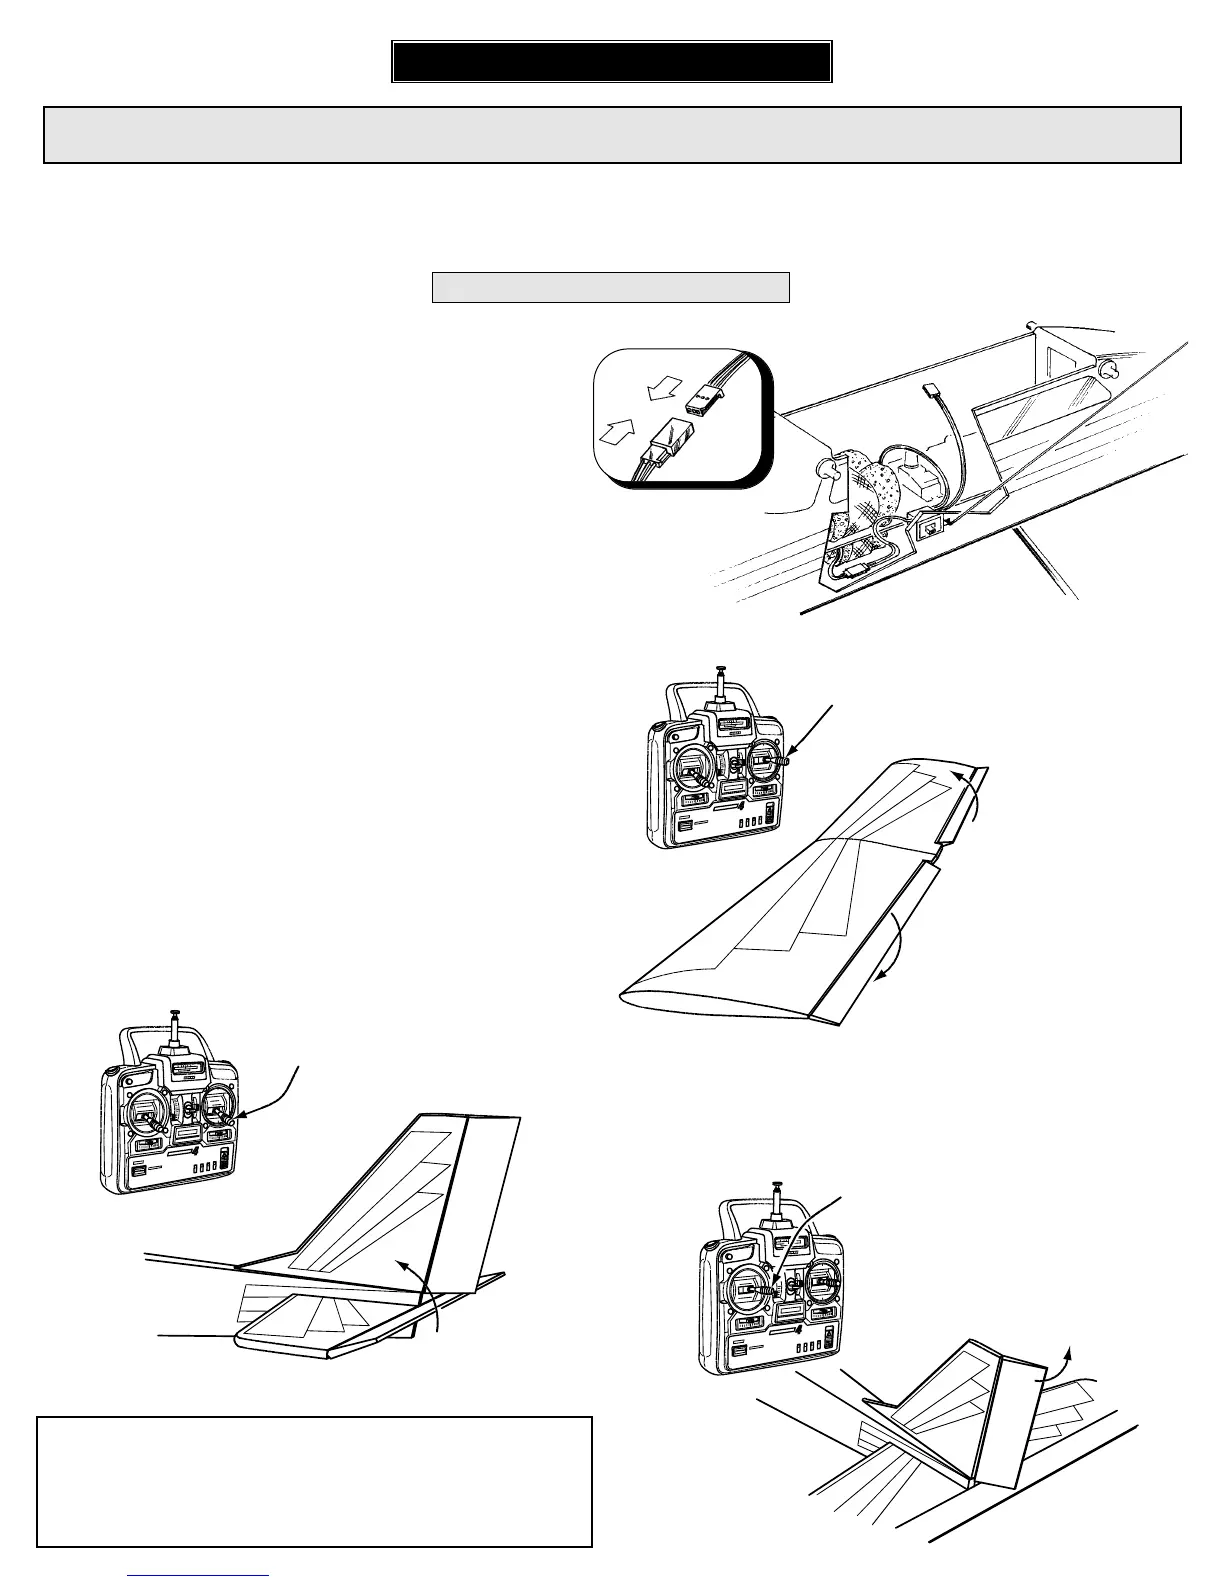
❏ 3. Move the control sticks on the transmitter as shown in
each diagram to be certain the controls on the airplane
respond in the correct direction. If any of the controls move
the wrong way, use the servo reversing switches on the
transmitter to make the controls respond correctly. If
necessary, refer to the instructions in the Futaba instruction
manual to identify the reversing switches.
Note that pulling the elevator stick back moves the elevator up
(which, in flight, pushes the tail down, thus raising the nose of
the plane to climb). The best way to keep this in mind is to
think in terms of a pilot in an airplane. He pulls the control
stick back to “pull up” the nose of the plane.
❏ 2. Turn on the transmitter, followed by the receiver. (The
goal is to never have the receiver on by itself.When turning off
the system, turn off the receiver first, then the transmitter.)
Check the Control Directions
 Loading...