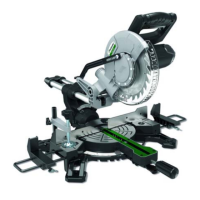
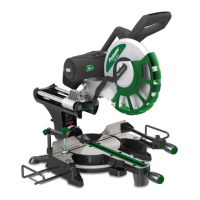
16 FKS 315-2000 E | Version 1.11
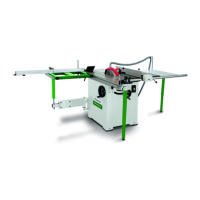
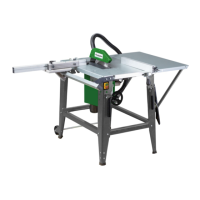
Operation of the Panel saw
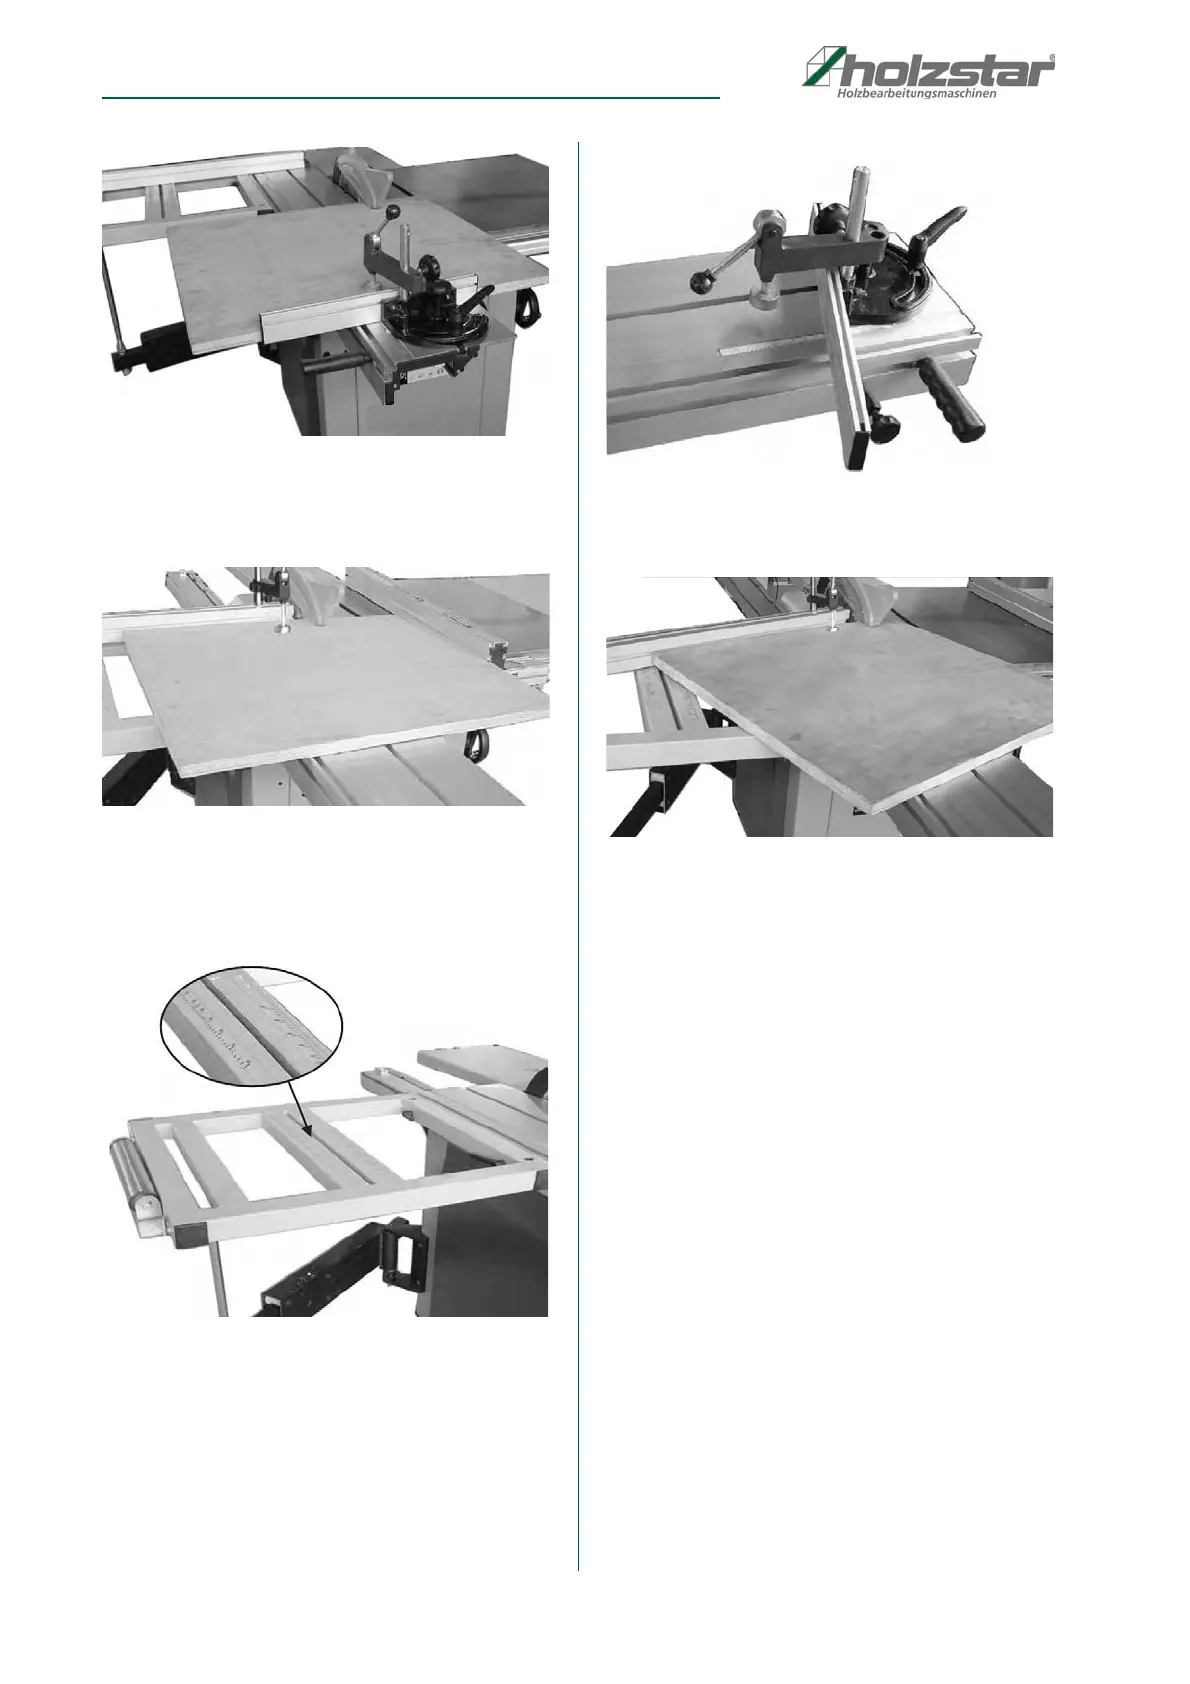
Fig. 37: Angle stop for miter cuts
The fence can also be used as a measure of the section
size of the workpiece.
Fig. 38: Stop as a yardstick
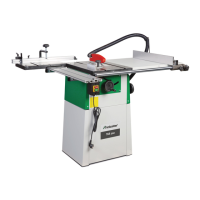
For the execution of miter cuts appropriate scales are at-
tached to the sliding table, both for the operation with
front stop as well as for the operation with rear stop.
Fig. 39: Scales for miter cuts
At the angle stop also scales for the implementation of
Miter cuts are attached.
Fig. 40: Scales for miter cuts on the angle stop
To make miter cuts, proceed as follows:
Fig. 41: Miter cut with stop
Step 1: Mount the stop on the sliding table.
Step 2: Adjust the stop to the desired angle and secure
with the clamping lever.
Step 3: Adjust the side stop according to the length of the
workpiece to be cut.
Step 4: Place the workpiece on the saw table, mount the
quick release and clamp the workpiece
Step 5: Switch on the suction device, switch on the saw
and carry out the sawing process.
 Loading...