42
STARTING THE ENGINE
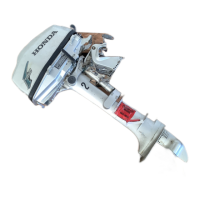
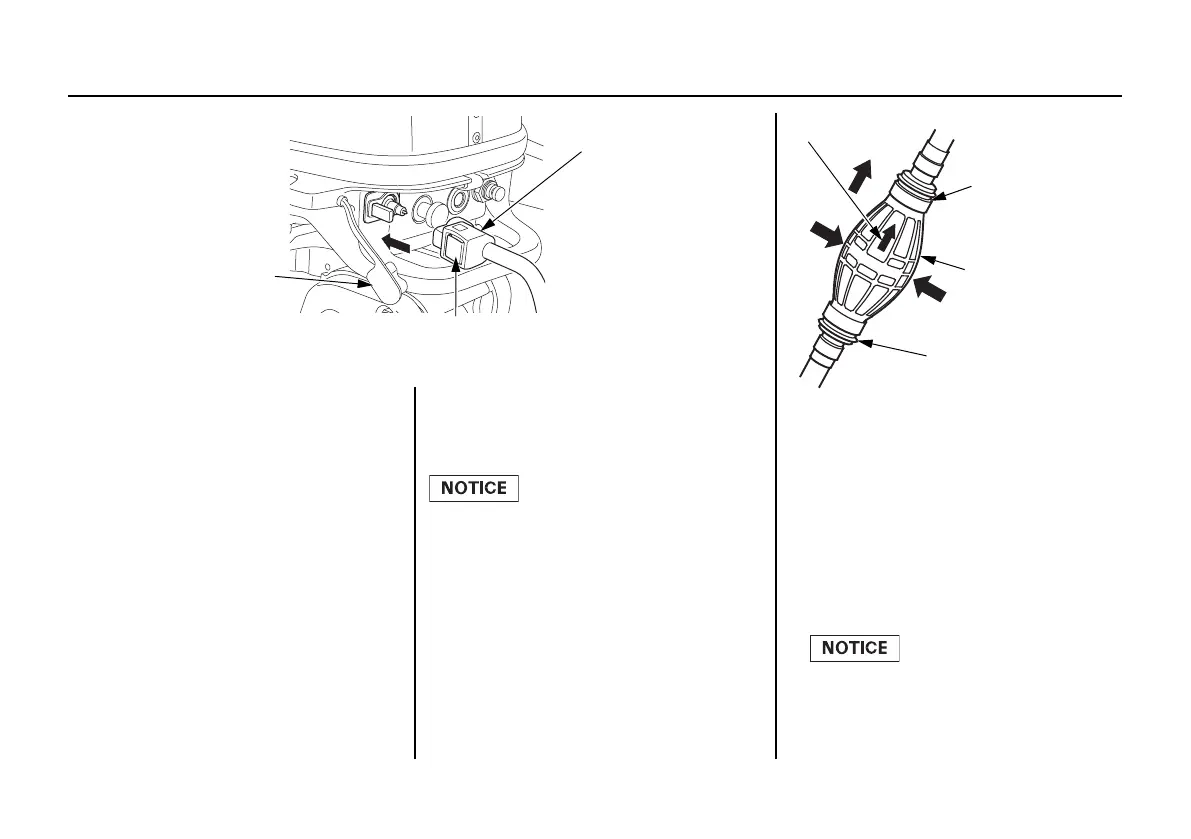
2. Remove the fuel inlet cap.
3. Connect the fuel line connector to
the outboard motor with the clip
toward the starboard side as shown.
Be sure the fuel line connector is
securely snapped in place.
Always disconnect the fuel line and
install fuel inlet cap when storing,
tilting or transporting the outboard
motor.
4. Turn the fuel valve lever to the
portable fuel tank position (see
page 15).
If the outboard motor end fuel line
connector is forcibly installed in the
reversed direction, the fuel line
connector O-ring seal can be
damaged. A damaged O-ring seal
can cause a fuel leak.
5. Hold the primer bulb so that the
outlet end is higher than the inlet
end. The arrow on the primer bulb
points upward. Squeeze the primer
bulb several times until it feels
firm, indicating that fuel has
reached the carburetor. Check for
fuel leaks and repair any leaks
before starting the engine.
Do not touch the primer bulb
with the engine running or when
tilting up the outboard motor.
The carburetor could overflow.
OUTLET END
(TO OUTBOARD
MOTOR)
ARROW
PRIMER BULB
INLET END
(TO FUEL TANK)
CLIP
(OUTBOARD MOTOR SIDE)
FUEL LINE
CONNECTOR
FUEL
INLET
CAP
32ZVC6000.book Page 42 Thursday, April 28, 2016 10:51 AM
 Loading...