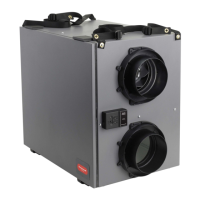
TrueFRESH™ ERV/HRV Ventilation Systems 69-2480EF—17
20
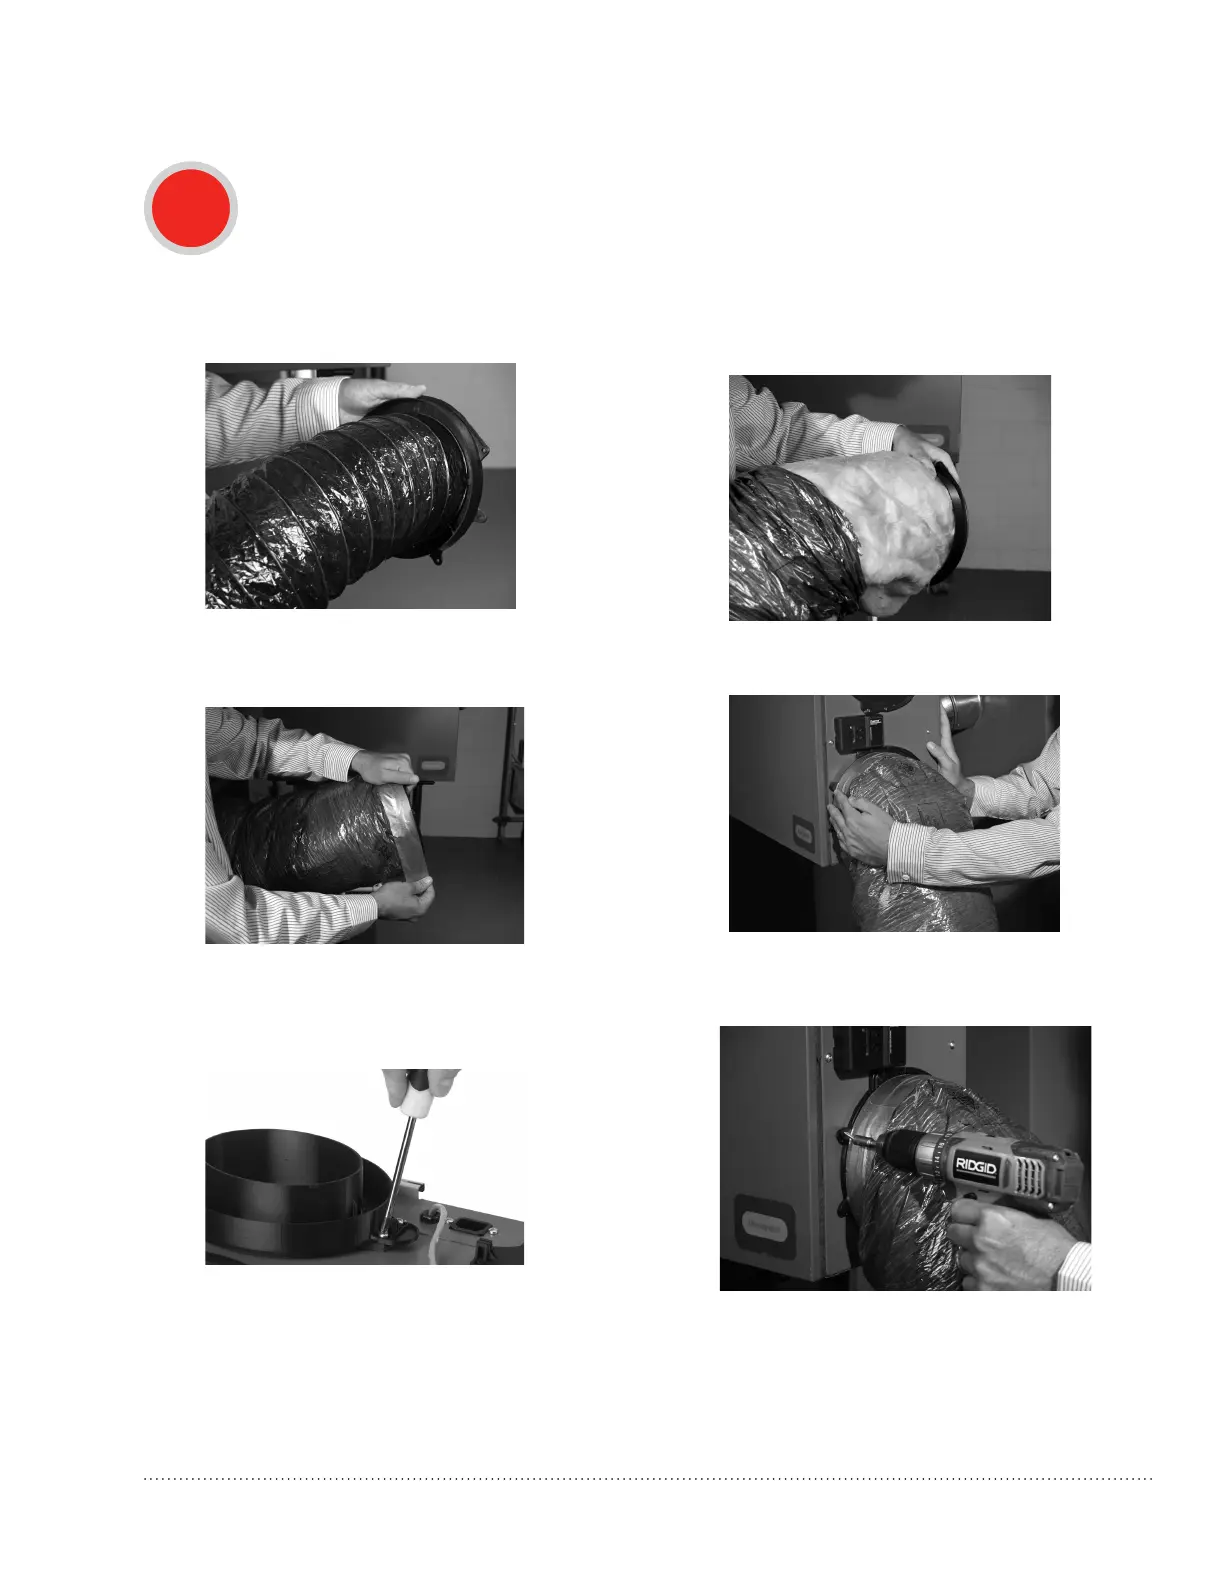
Installation Steps (continued)
4
Installing the flex duct to the ERV/HRV
TIP: Honeywell recommends using approximately 16 inches of flexible duct (supplied in kit with VNT5150,
VNT5200, VNT6150 and VNT6200) between the unit and the rigid duct for noise dampening. The flex duct
is mounted to the unit the same way as the insulated flex.
1. Insert the vinyl duct over the hooks on the
duct collar and seal with a supplied 30 inch
tie wrap.
2. Insert insulation inside the outer ring of the duct
collar.
3. Finish by taping the duct on the collar. 4a. Slide collar onto unit (VNT5150, VNT5200,
VNT6150 and VNT6200)
4b.Attachcollarontounit(VNT5070)
TIP: Attach the flex duct to the collar first, and then
attach the collar to the unit.
5. Secure collar with the supplied 5/8 in.
hex-head screws.
IMPORTANT: Always fix and secure each collar using
four of the 5/8 in. screws supplied.
This step is critical in order to prevent
condensation accumulation.
TIP: FortheVNT5070unit,balancingshouldbedone
before taping the insulation onto the collar. See
balancing steps on page 30.
 Loading...