- 3 -
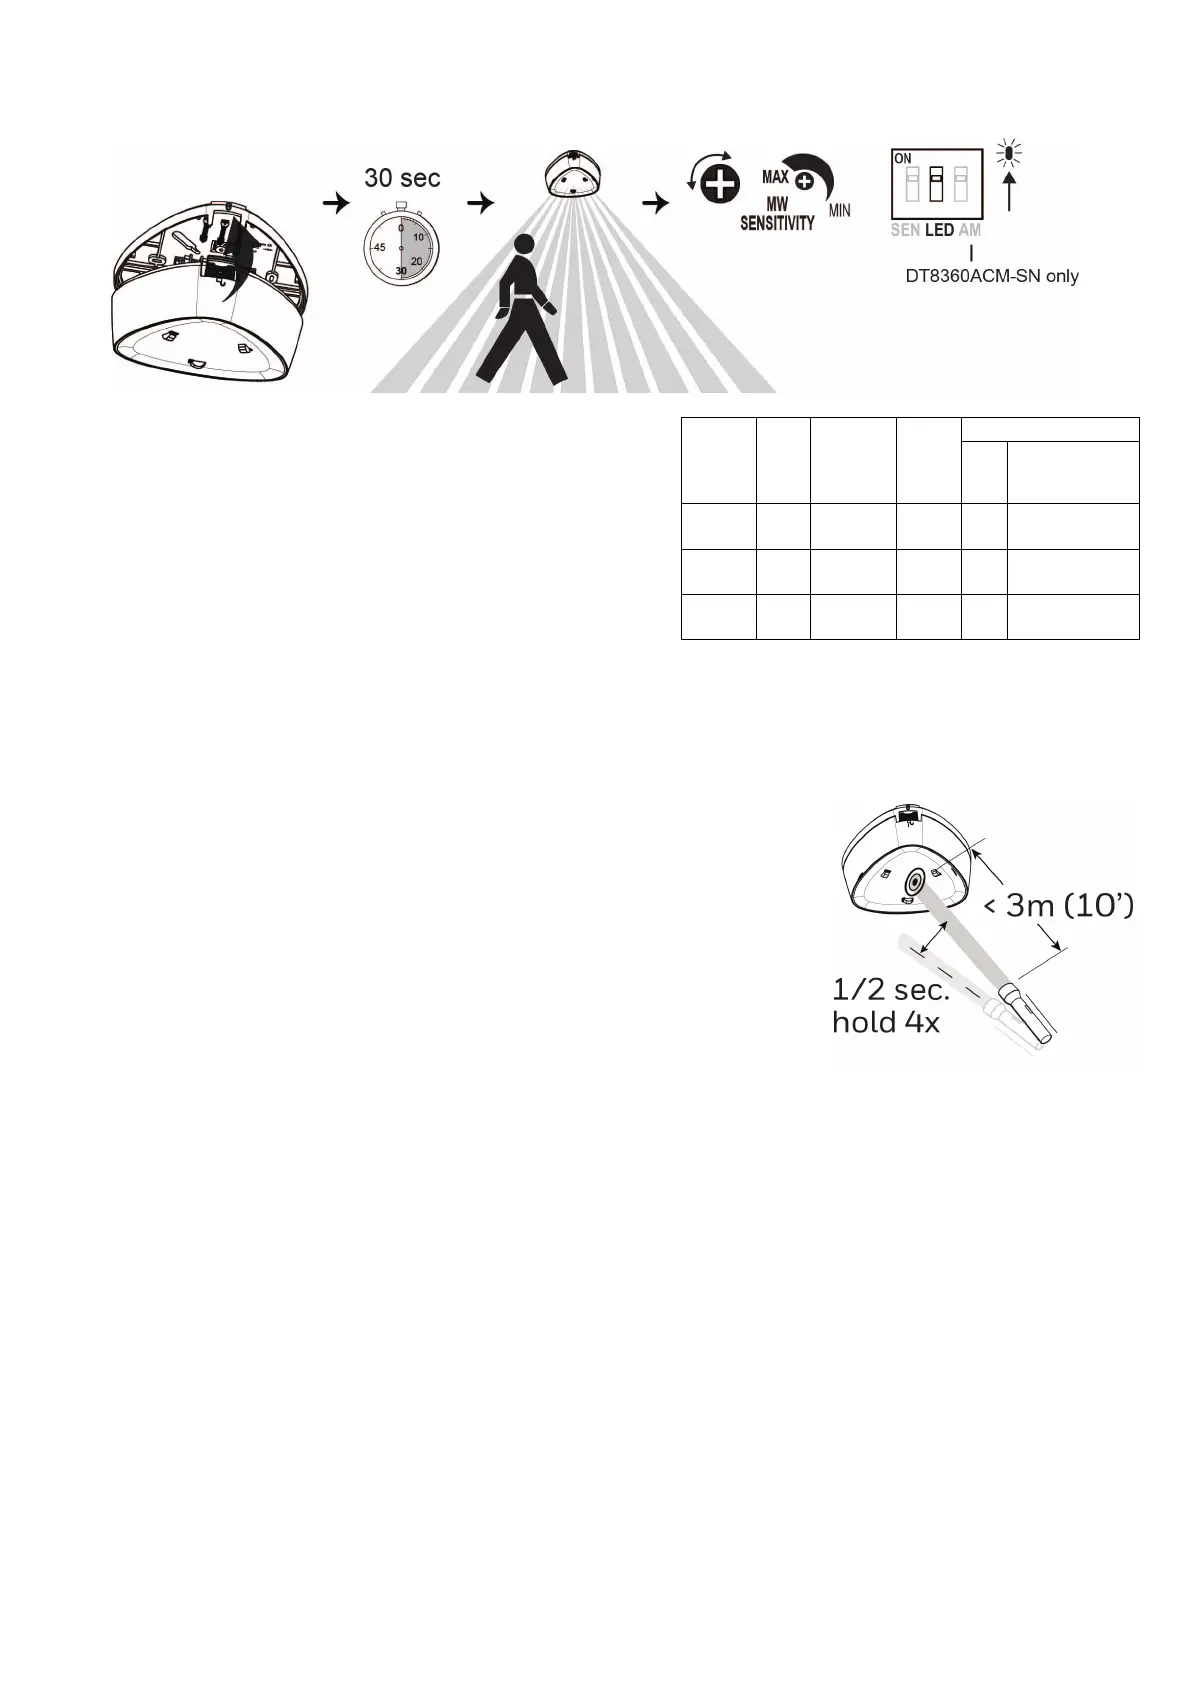
6. Walk Test the Sensor and Adjust as Needed
1. Close the sensor and apply power to the sensor. Initialization is
complete when the LED stops flashing slowly (about 30 seconds).
2. Walk through the detection area and observe the LED.
3. Adjust the microwave range as necessary to meet installation
requirements.
Walk test mode is active for 15 minutes, then automatically exits test
mode, disables the LED and enters normal operation mode. For an
additional 15 minute walk test, enable walk test mode again with the
flashlight feature.
Notes:
• During power up and walk test modes the LED is active regardless
of the LED Enable/Disable DIP switch setting.
• When the microwave sensitivity is set to minimum, the sensor range
is reduced to Ø 12m (40’). When the microwave sensitivity is set to
maximum, the sensor range is Ø 21m (70’).
LED
Up
Walk Test
[15 min.]
Normal
Fault
Anti-Mask
(DT8360ACM-SN
Red
Slow
Blink
ON
Alarm
ON
Alarm
Fast
Blink
OFF
Yellow OFF
ON
Microwave
OFF OFF
Fast
Blink
Green OFF
ON
OFF OFF OFF
Flashlight Feature:
1. Use a flashlight with a bright light beam, and stand within 3m (10’) of the sensor.
2. Swing the light beam past the sensor IR window 3-5 times consistently, holding the
beam on the window for 0.5 second each pass.
Notes:
• The flashlight feature is available for the first 24 hours after power up.
•
The flashlight feature only works with incandescent bulb flashlights. It does not work
with LED flashlights.
 Loading...