Chapter 5 — Printer Operation
48 MP Nova Mark II User Guide
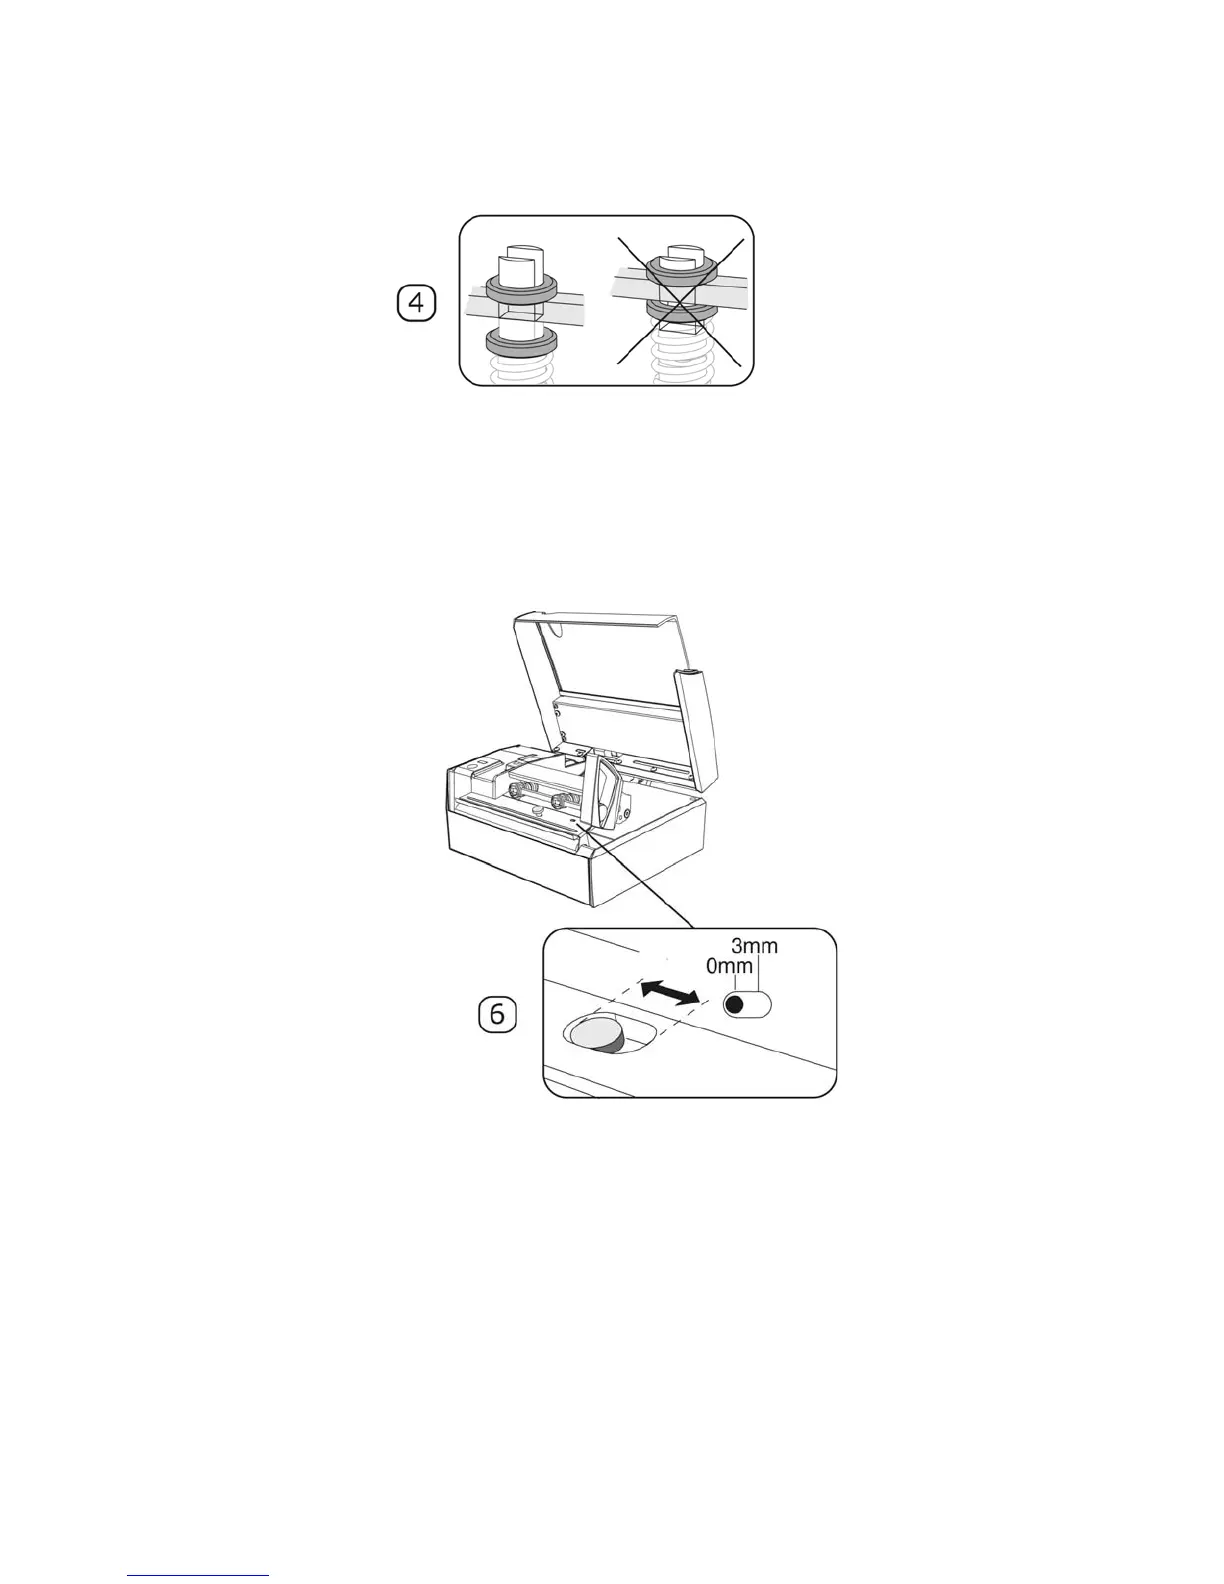
4 When tightening the upper nut, make sure it is pressing the sliding rail
against the bottom of the notch and not against the lower nut.
5 The adjustment screws should make the printhead press evenly onto the
media. Make test prints to find the correct positions.
6 For MP Nova4 DT only. On the MP Nova4 DT, the position of the printhead
itself can be changed. As default there is a 3 mm (0.12 in.) non-printable
area on the left side. To be able to print all the way to the edge of the label
the margin has to be set to 0 mm. Pull the handle. Loosen the finger nut and
slide the printhead into position. Tighten the finger nut.
 Loading...