8
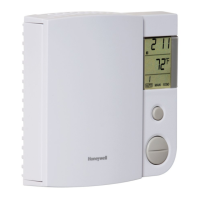
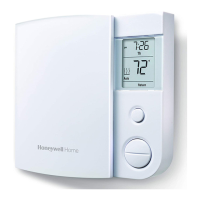
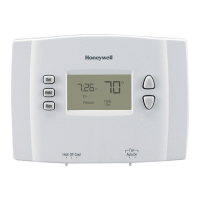
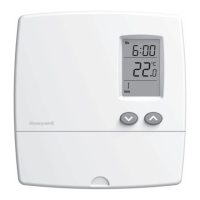
Advanced settings
1. Pull the cover down.
2. Briefly insert a pointed object (e.g., paperclip) through the advanced setting
opening. The first parameter will appear.
3. To display the next parameter, press the Mode button.
4. To modify a parameter, press the Up or Down button.
5. To exit the menu, press the Ret button or do not press any button for
1 minute.
Parameter and options
Display and
Default Setting
Parameter and
options
Display and
Default Setting
Temperature display format
• °C / °F
Time display format
• 24 h / 12 h
Early Start *
• OF (Off) / On
Automatic Daylight
Saving Time **
• OF (Off) / On
Year ***
• 00 - 99
Month ***
• 1 - 12
Day ***
• 1 - 31
Cycle length ****
• Std / Fan
* Early Start is used in Automatic mode only. When Early Start is enabled (On),
the thermostat determines when to start heating so the desired temperature be
reached at the beginning of periods 1 and 3. When Early Start is disabled (Off),
heating does not start in advance, and therefore the desired temperature will not
yet be reached at the beginning of these periods.
** When Automatic Daylight Saving Time is enabled (On), the thermostat auto-
matically switches to daylight saving time on the second Sunday of March and
to normal time on the rst Sunday of November.
*** Available only if Daylight Saving Time is enabled (On).
**** Generally set to 15-second cycle (Std) as it provides better temperature
control. However, set to 5-minute cycle (Fan) if you have a fan-forced heater to
prevent premature fan motor burnout. Fan appears on the thermostat’s screen
when 5-minute cycle is selected.
 Loading...