A
Anthony PhamAug 3, 2025
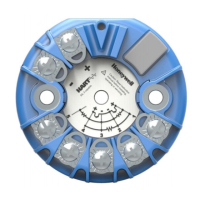
What to do if Honeywell STT750 SmartLine Transmitter shows Electronics Module Fault?
- MmvelezAug 3, 2025
If your Honeywell Transmitter indicates an Electronics Module Fault, try cycling the power to the transmitter. If the problem persists, it indicates a critical failure, and you should replace the Electronics Module.