Whenever working on the machine
pay attention to the associated safety
notes in the chapter "Safety and
prevention of accidents" as well as
the accident prevention instructions!
With negative drawbar load the machine may
tilt back and cause severe injury to persons.
¾ Trigger machine movements only when the
machine has been properly attached to a
tractor!
¾ No persons must be about in the danger zone
during machine movements.
¾ No work may be performed under raised
machine parts.
¾ Secure the coupling properly!
There is a risk that persons may become
crushed and severely injured between machine
and tractor!
¾ Instruct persons to leave the area between
tractor and machine.
Danger of severe accidents when manoeuvring.
Keep an eye on your environment.
¾ Keep persons (children) out of the manoeu-
vring range of the machine.
Leaking hydraulic uid can cause serious in-
juries! Danger of injury by unwanted machine
movements.
¾ Connect and disconnect the hydraulic lines
only when the hydraulics have been de-pres-
surized on both machine and equipment sides.
Serious accidents caused by the machine roll-
ing away!
¾ When connecting machines with pneumatic
brake always connect the connection
(brake line) rst.
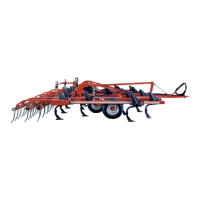
1. Clean the towing facilities of machine and
tractor and check for wear.
2. Move the tractor to the machine and set the
brake.
3. Coupling the machine.
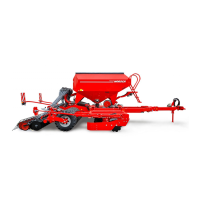
Machines with drawbar eye:
- Adjust the height of the drawbar by crank-
ing the support so that the machine can
be picked up, see chapter Support.
- Engage the machine.
- Insert the pins and secure them.
Machines with ball and socket coupling:
- Lower the drawbar or spherical cap onto
the ball by cranking on the support and
slightly raise the machine, see chapter
Support.
- Position the hold-down.
- Check the gap between hold-down and
spherical cap and adjust; see chapter
Maintenance overview.
4. Connect the brake.
5. Connect the hydraulic lines, see chapter
Hydraulics.
6. Connect lighting and ISOBUS.
7. Move the support all the way up and secure
it. See chapter Support.
8. Insert the wheel chocks into the brackets
provided and secure them.
9. Releasing the parking brake (option).
27
 Loading...