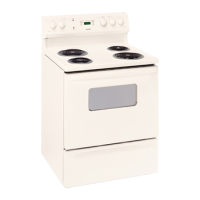
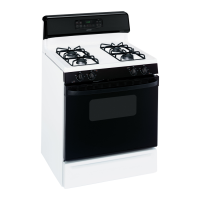
HOME CANNING
T~S
(continued)
Observe the Following Points in Canning
1. Be sure the
canner
fits over the center of the surface
unit.
If
your
range
or its location does not allow the
canner to be centered on the surface unit, use
smaller-diameter pots for good canning results.
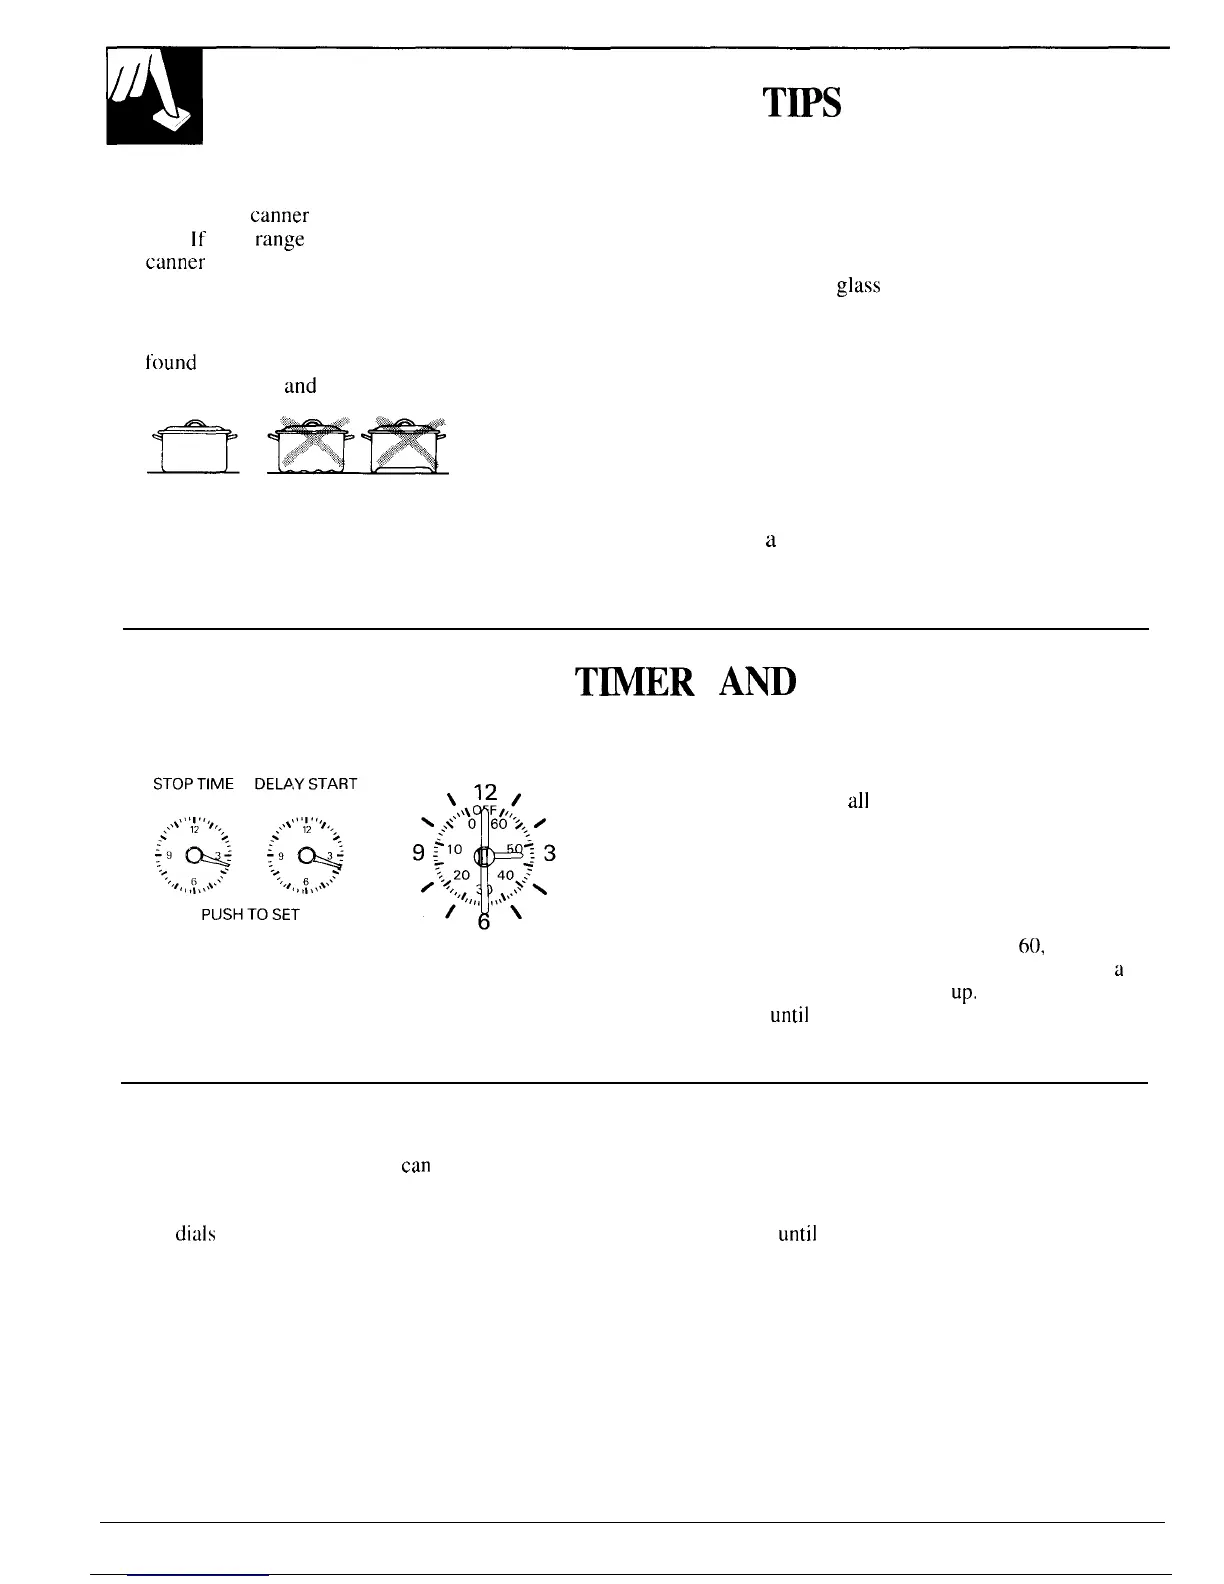
2. For best results, use canners with flat bottoms.
Canners with flanged or rippled bottoms (often
found
in enamelware) don’t make good contact with
the surface unit
and
take a long time to boil water.
Flat-bottomed canners are recommended.
3. When canning, use recipes and procedures from
reputable sources. Reliable recipes and procedures
are available from the manufacturer of your canner;
manufacturers of
glass
jars for canning, such as Ball
and Kerr; and the United States Department of
Agriculture Extension Service.
4. Remember that canning is a process that generates
large amounts of steam. To avoid burns from steam
or heat, be careful when canning.
NOTE: If your house has low voltage, canning may
take longer than expected, even though directions
have been carefully followed.
The process time will be shortened by:
(1) using
a
pressure canner, and
(2) starting with HOT tap water for fastest heating
of large quantities of water.
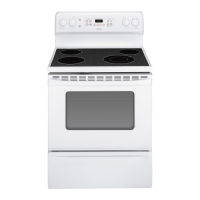
AUTOMATIC
TMER
Am
CLOCK
To Set the Clock
To set the clock,
push the right most
knob
in and turn
the clock hands to the correct time. (If the Automatic
Timer pointer should move also, let knob out, turn the
Timer pointer to OFF.)
To Set the Minute Timer
The Minute Timer has been combined with the range
clock. Use it to time
all
your precise cooking
operations. You’ll recognize the Minute Timer as the
pointer which is different in color and shape than the
clock hands.
To set the Minute Timer,
turn the center knob, without
pushing in, until pointer reaches number of minutes you
wish to time. (Minutes are marked, up to
60,
in the
center ring on the clock. ) “At the end of the set time,
u
buzzer sounds to tell you time is
up,
Turn knob, without
pushing in,
until
pointer reaches OFF and buzzer stops.
Time Bake Uses Automatic Timer
Self-Clean Uses Automatic Timer
Using the Automatic Timer, you
can
Time Bake with The self-cleaning function on your range uses the
the oven starting immediately and turning off at the Automatic Timer to set the length of time needed to
STOP TIME set, or set both DELAY START and STOP clean whether you wish to clean immediately, or delay
TIME
dials
to automatically start and stop oven at a
the cleaning
until
low energy times such as during the
later time of day. It takes the worry out of not being night. See the Operating the Self-Cleaning Oven section
home to start or stop the oven. of this book.
Setting the dials for Timed Baking is explained in detail
in the Baking section of this book.
10