© 2021 Hoymiles Power Electronics Inc. All rights reserved.
11
Single-phase Microinverter User Manual
5.6 Pre-installation
A) Plan the cable length to make the bus cable aligned with each PV module.
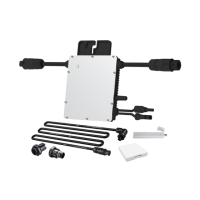
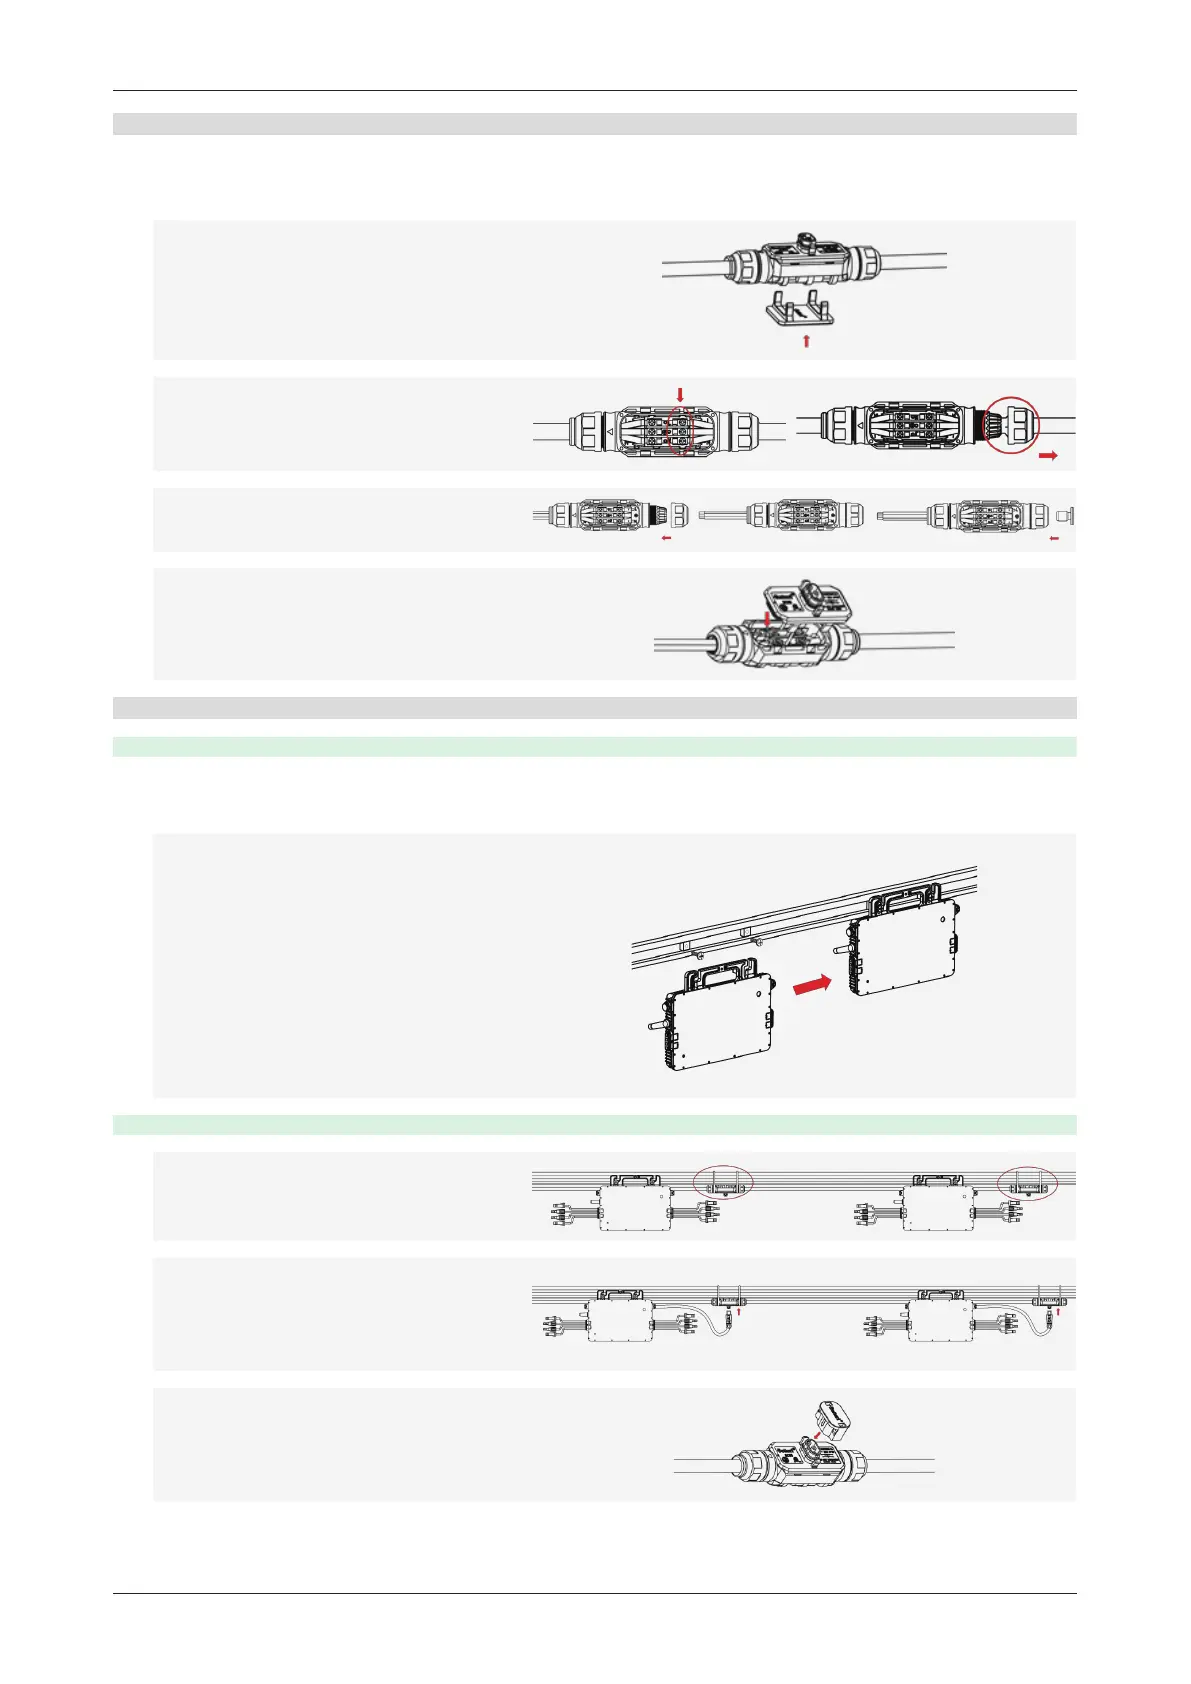
B) Install the AC bus end cap:
• Use the bus connector unlocking tool to
unlock the port upper cover.
• Loosen the three screws with a
screwdriver. Untighten the cap as circled
below, and remove the extra cable.
• Screw the cap back into the port, and
insert the AC bus end cap.
• Plug the upper cover back to the bus
connector.
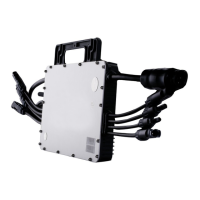
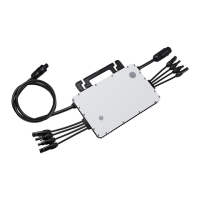
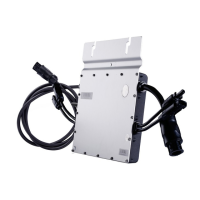
5.7 Installation Steps
Step 1. Attach Microinverter on Rail
A) Mark the approximate center of each panel on the frame.
B) Fix the screw on the rail.
C) Hang the microinverter on the screw
(as shown in the picture below), and
tighten the screw. The silver cover side
of the microinverter should be facing the
panel.
*Note: Please install the microinverter at
least 50 cm above the ground/roof for
better communication with the Hoymiles
DTU.
Step 2. Complete AC Connection
A) Attach the AC bus cable to the mounting
rail, and affix the cable with ties.
B) Push the AC connector of the
microinverter into the trunk cable
connector until you hear a clicking
sound.
C) If there is any vacant bus port, please
insert the AC sub cap in the vacant
plug to ensure waterproofing and
dustproofing.

 Loading...