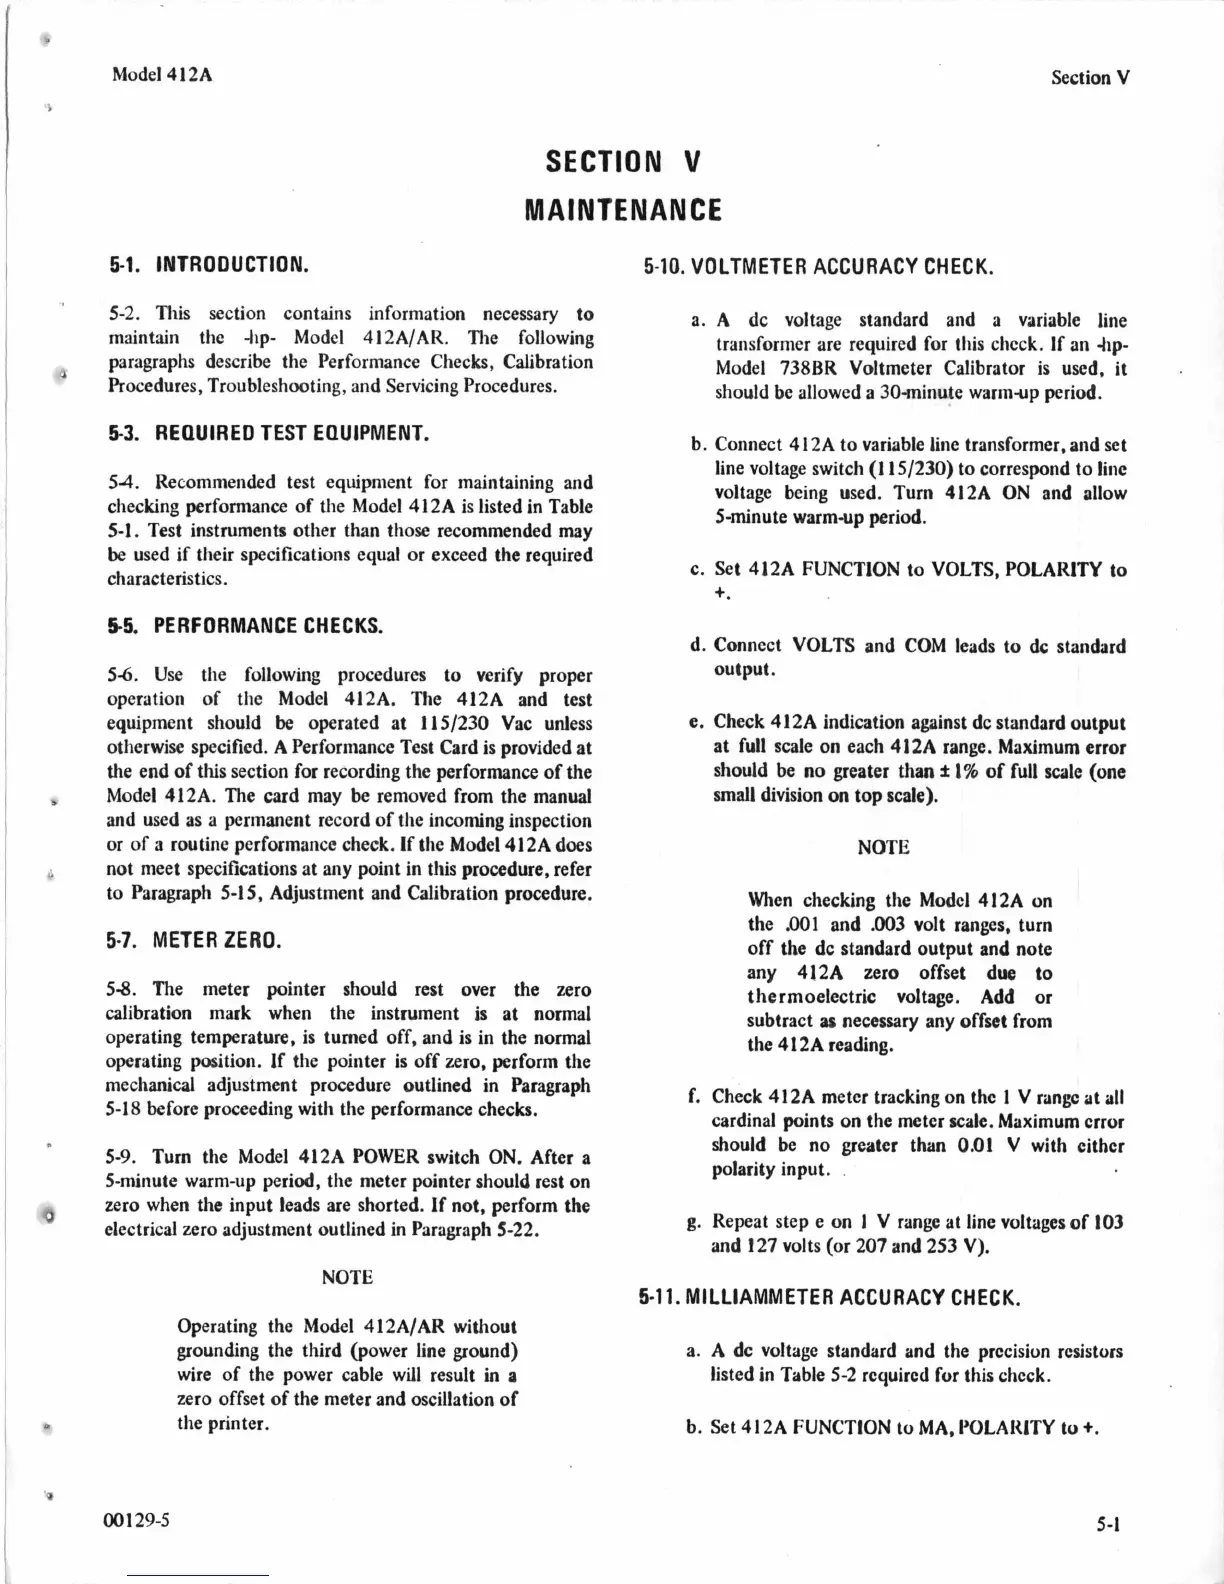
Model
4
12A
SECTION
V
MAINTENANCE
5-1.
INTRODUCTION.
5-2.
This section contains information necessary to
maintain the kp- Model 412A/AR. The following
paragraphs describe the Performance Checks, Calibration
Procedures, Troubleshooting, and Servicing Procedures.
5-3.
REQUIRED TEST EQUIPMENT.
54.
Recommended test equipment for maintaining and
checking performance
of
the Model 412A is listed in Table
5-1.
Test
instruments other than those recommended may
be
used if their specifications equal
or
exceed the required
characteristics.
55.
PERFORMANCE CHECKS.
5-6.
Use
the following procedures to verify proper
operation of the Model 412A. The 412A and test
equipment should
be
operated at 115/230 Vac unless
otherwise specified. A Performance Test Card is provided at
the end of this section for recording the performance of the
Model 412A. The card may
be
removed from the manual
and used as a permanent record
of
the incoming inspection
or
of
a routine performance check. If the Model 412A does
not meet specifications at
any
point in this procedure, refer
to Paragraph
5-1
5,
Adjustment and Calibration procedure.
5-7.
METER
ZERO.
5-8.
The meter pointer should rest over the zero
calibration mark when the instrument is at normal
operating temperature, is turned off, and is in the normal
operating position.
If
the pointer is off
zero,
perform the
mechanical adjustment procedure outlined in Paragraph
5-1
8
before proceeding with the performance checks.
5-9.
Turn the Model 412A POWER switch ON. After a
5-minute warm-up period, the meter pointer should rest on
zero
when the input leads are shorted. If not, perform the
electrical zero adjustment outlined in Paragraph 5-22.
Section
V
5-10.
VOLTMETER ACCURACY CHECK.
a.
A
dc voltage standard and a variable line
transformer are required
for
this chcck.
If
an -tip-
Model
738BR Voltmeter Calibrator is used, it
should be allowed a 30-minute warm-up period.
b. Connect 412A
to
variable line transformer, and set
line voltage switch (1
15/230)
to correspond to line
voltage being used. Turn 412A ON and allow
5-minute warm-up period.
c.
Set 412A FUNCTION to VOLTS, POLARITY to
+.
d. Connect VOLTS and COM leads to dc standard
out put.
e.
Check 412A indication against dc standard output
at full scale
on
each 412A range. Maximum error
should be
no
greater than
f
1%
of full scale (one
small division
on
top scale).
NOTE
When checking the Modcl 412A
on
the .001 and
.003
volt ranges, turn
off the dc standard output and note
any 412A
zero
offset due
to
thermoelectric voltage. Add
or
subtract
as
necessary any offset from
the 412A reading.
f. Check 412A meter tracking
on
the
1
V rang at
all
cardinal points on the meter scale. Maximum crror
should be no greater than
0.01
V
with cithcr
polarity input.
.
g. Repeat step e on
1
V
range at line voltages of
103
and I27 volts
(or
207 and 253 V).
NOTE
5-11.
MILLIAMMETER ACCURACY CHECK.
Operating the Model 412A/AR without
grounding the third (power line ground)
wire of the power cable will result in a
zero offset of the meter and oscillation
of
the printer.
a. A dc voltage standard and the prccision rcsistors
listed in Table
5-2
rcquircd
for
this chcck.
b. Set 4 12A FUNCTION to MA. I’OLARITY to
+.
001
29-5
5-1