Do not place the AP on a metal surface.
Install the AP where there are no obstacles and wireless clients can
receive a strong signal from the AP.
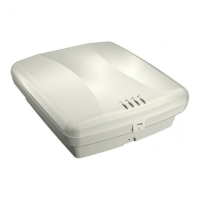
Installation
The AP can be mounted on a wall, a suspended ceiling or a ceiling. When
you mount the AP on a wall, suspended ceiling, or ceiling, mount the AP
bracket first, and then attach the AP to the bracket.
For more information, see HP 525 Wireless Dual Radio 802.11ac Access Point
Installation Guide.
Preparing for installation
HP recommends that you connect power and verify the Ethernet cable and
LEDs before you install the AP in a hard-to-reach location.
Record the MAC address and AP serial number for future reference. If part of
the power line is routed outdoors, connect the AP power cord to a
user-supplied power strip with lightning protection.
Mounting the AP on a wall
1. Hold the mounting bracket with the narrow end facing up. Place the AP
against the wall where you want to install the AP. Mark the location of
the three screw holes.
5