SVC 5-9
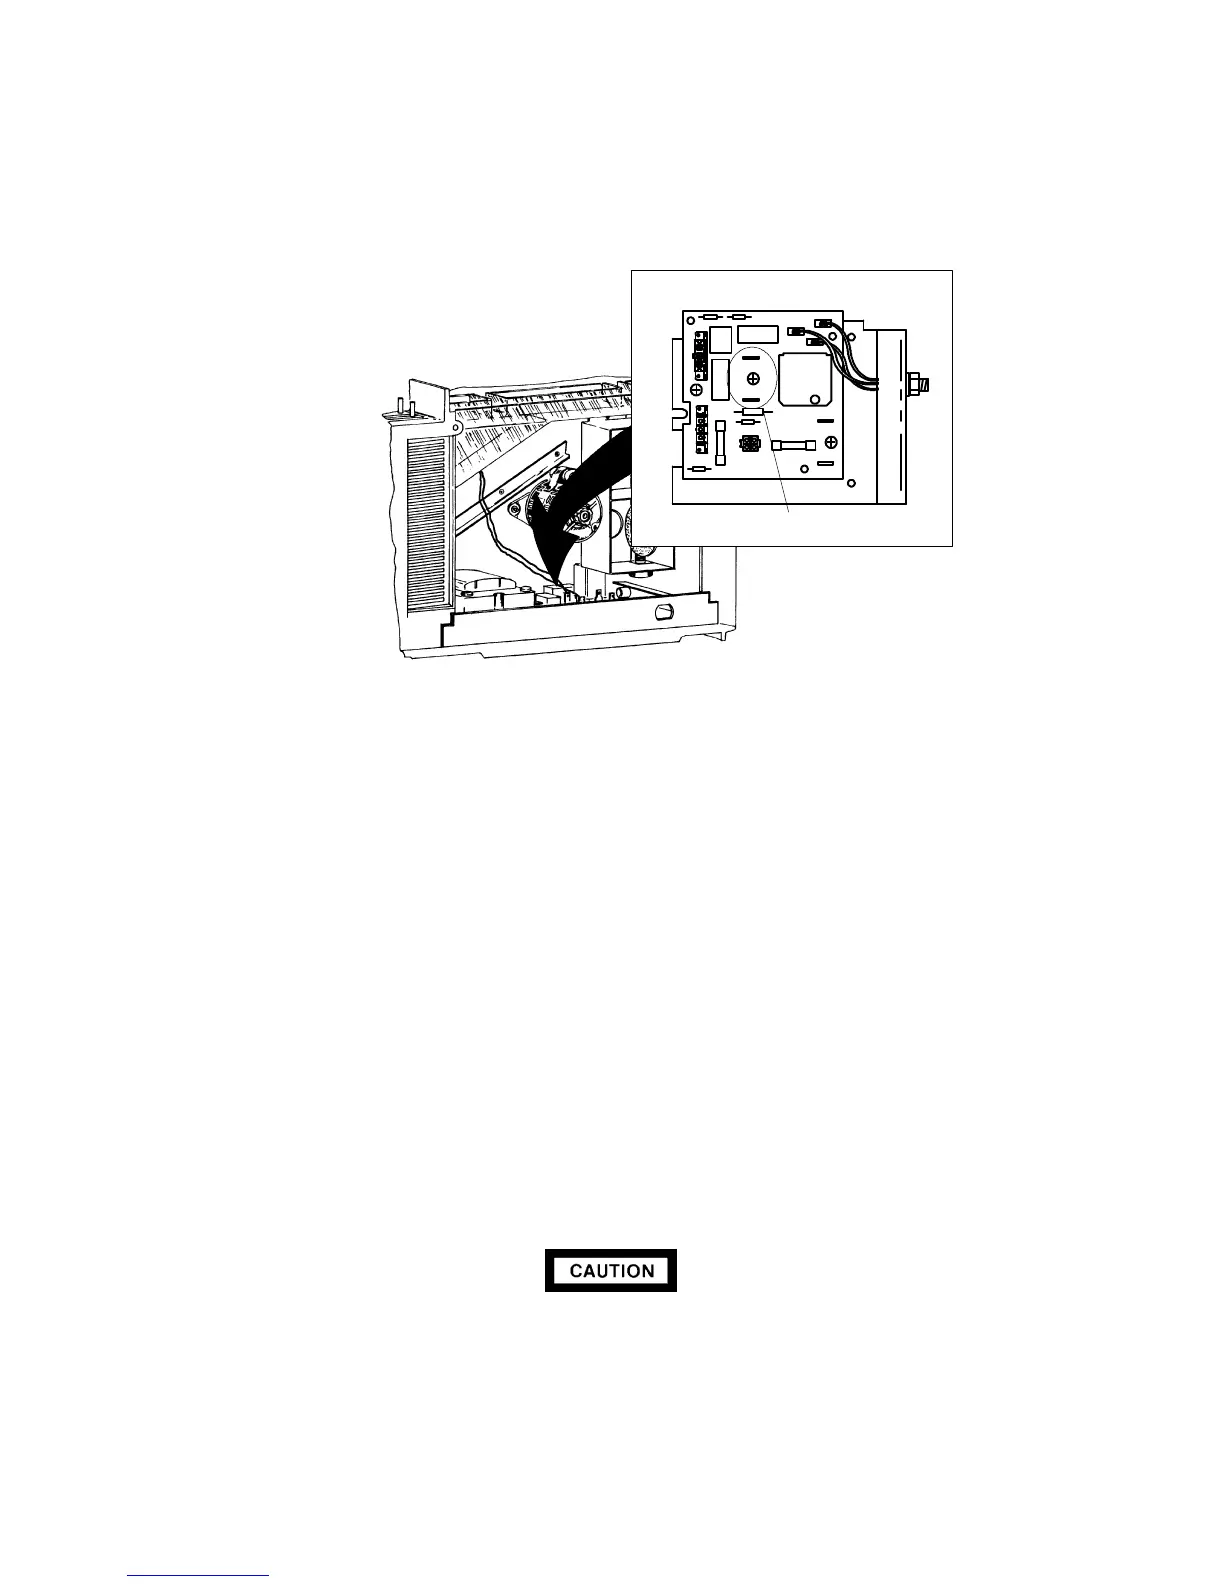
13. At the rear of the instrument, disconnect the two heater element leads at the AC power supply
PCB.
HEATER ELEMENT
CONNECTION TERMINALS
14. From inside the oven, draw the heater leads through the opening in the rear of the oven.
15. Remove the old heater element from the oven.
16. To prepare a new heater, note that it must be matched to a specific line voltage. From Table
4-1, verify the unstretched length of the replacement heater element, according to the line volt-
age of the instrument. Stretch the wire EVENLY to the indicated length and allow it to contract
back to an approximate 720 mm length.
Table 4-1. Preparing Replacement Oven Heater Element
INSTRUMENT RESISTANCE UNSTRETCHED STRETCHED CONTRACTED
VOLTAGE (ohms) LENGTH (mm) LENGTH (mm) LENGTH (mm)
120(1) 9.05(+/-0.05) 136 975 720
220(2) 30.42(+/-0.17) 180 1110 720
240(3) 36.20(+/-0.20) 214 1185 720
17. Route the new heater through insulators so that its ends terminate at the connection locations
on the power supply PCB.
CERAMIC OVEN HEATER STANDOFFS ARE FRAGILE. OVER-TIGHTENING OF
SCREWS WILL CAUSE BREAKAGE.
18. Secure the heater to its standoffs with two screws.
19. Secure the two heater standoffs to the shroud with screws.
Artisan Scientific - Quality Instrumentation ... Guaranteed | (888) 88-SOURCE | www.artisan-scientific.com
 Loading...


