SVC 5-20
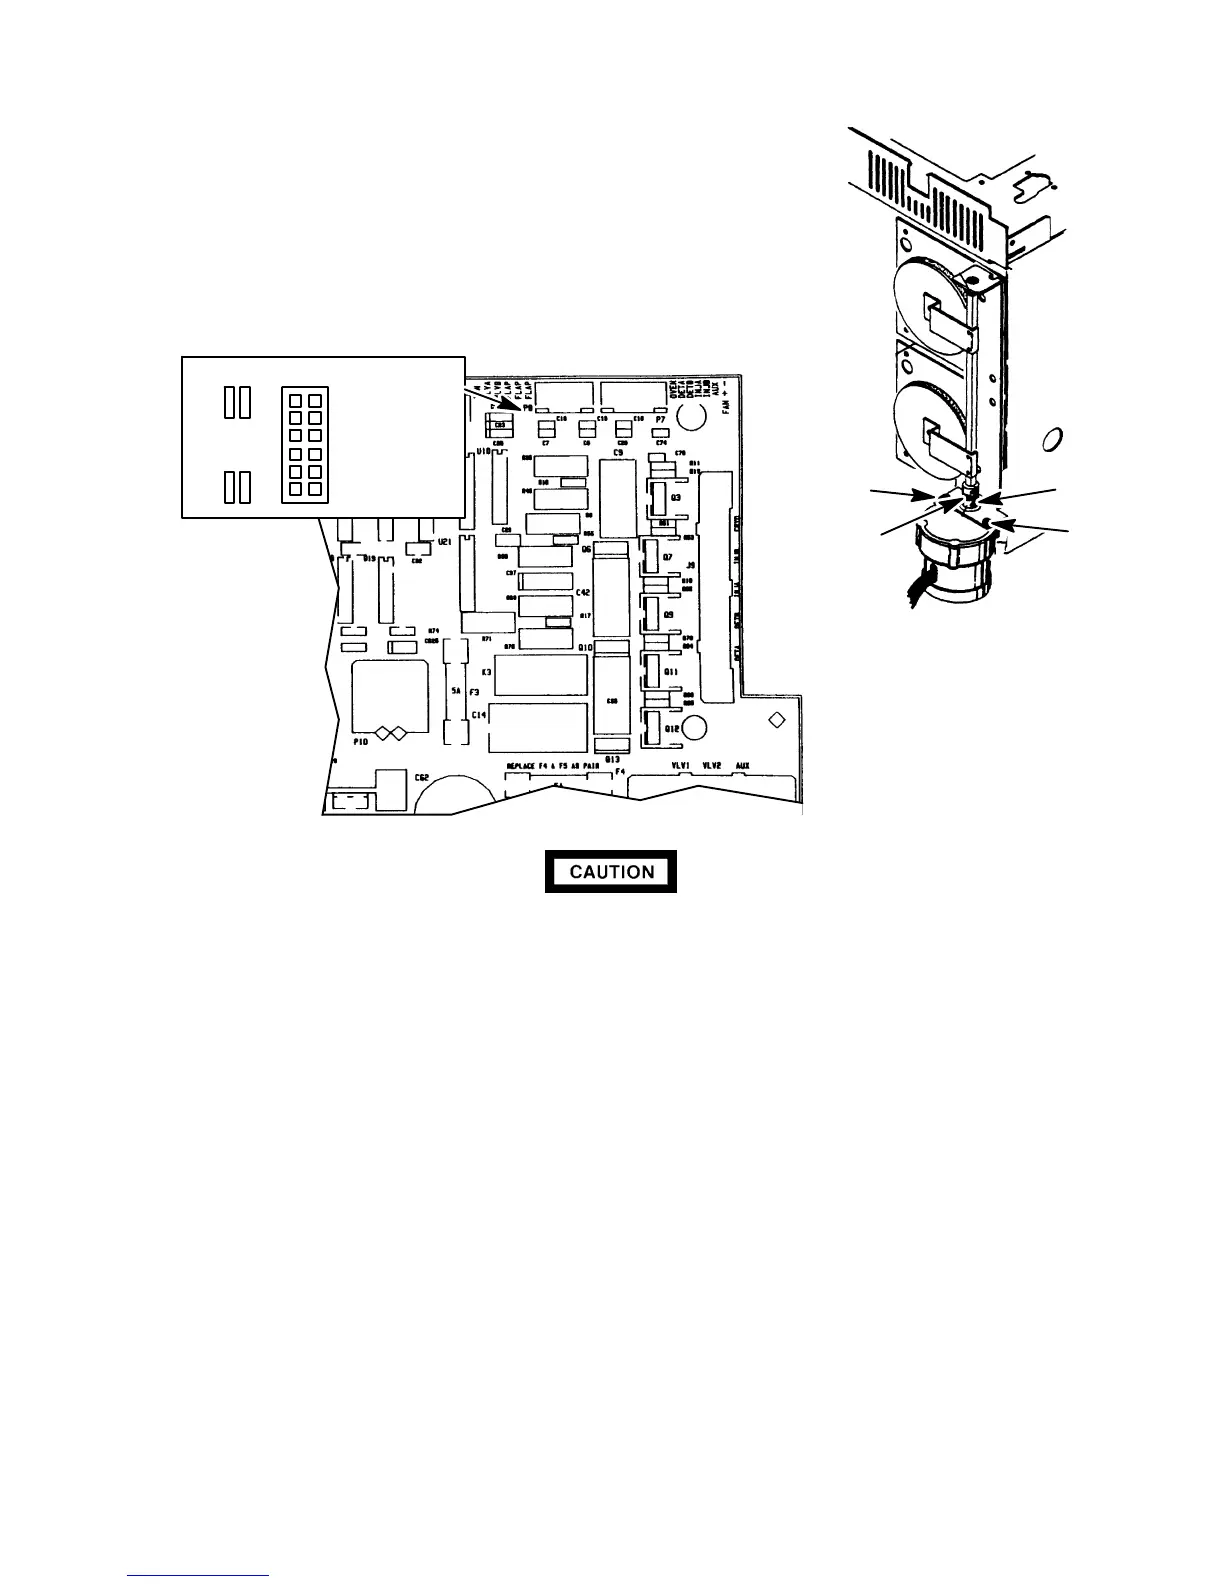
9. Facing the rear of the instrument, locate the
oven flap motor (mounted on the oven at its
lower right corner). Trace and free its wire
harness to the P8 connector on the main
PCB.
10. Disconnect connector P8 from the main PCB
by pulling it straight out of its receptacle.
WHENDISCONNECTINGA PLUG,PULL ON THE PLUG NOT ONITSWIRES. PULLING
ON THE WIRES MAY CAUSE BREAKAGE.
11. Remove the air duct located above the upper oven flap by removing two nuts, one each along
its upper and lower edges.
12. Use a Pozidriv screwdriver to remove the two screws securing the flapper bracket to the instru-
ment.
13. Lift the flapper bracket assembly from the instrument.
14. Use a hex wrench to loosen the motor shaft setscrew on the flexible coupling closest to the flap
motor.
15. Use a small Pozidriv screwdriver to remove the motor from the bracket.
16. Insert the shaft of the new stepper motor into the flexible coupling on the flapper assembly.
17. Secure the motor to the flapper bracket using two screws.
18. Tighten the setscrew on the coupling to a snug fit.
19. Mount the oven flap assembly on the instrument and secure using two screws.
1
3
5
7
9
11
2 IGA
4 VLVA
6 VLVB
8 FLAP
10 FLAP
12 FLAP
P 8
SCREW
SET SCREW
COUPLING
SCREW
Artisan Scientific - Quality Instrumentation ... Guaranteed | (888) 88-SOURCE | www.artisan-scientific.com
 Loading...


