SVC 6-43
11. Cap the base of the inlet, inside the column oven.
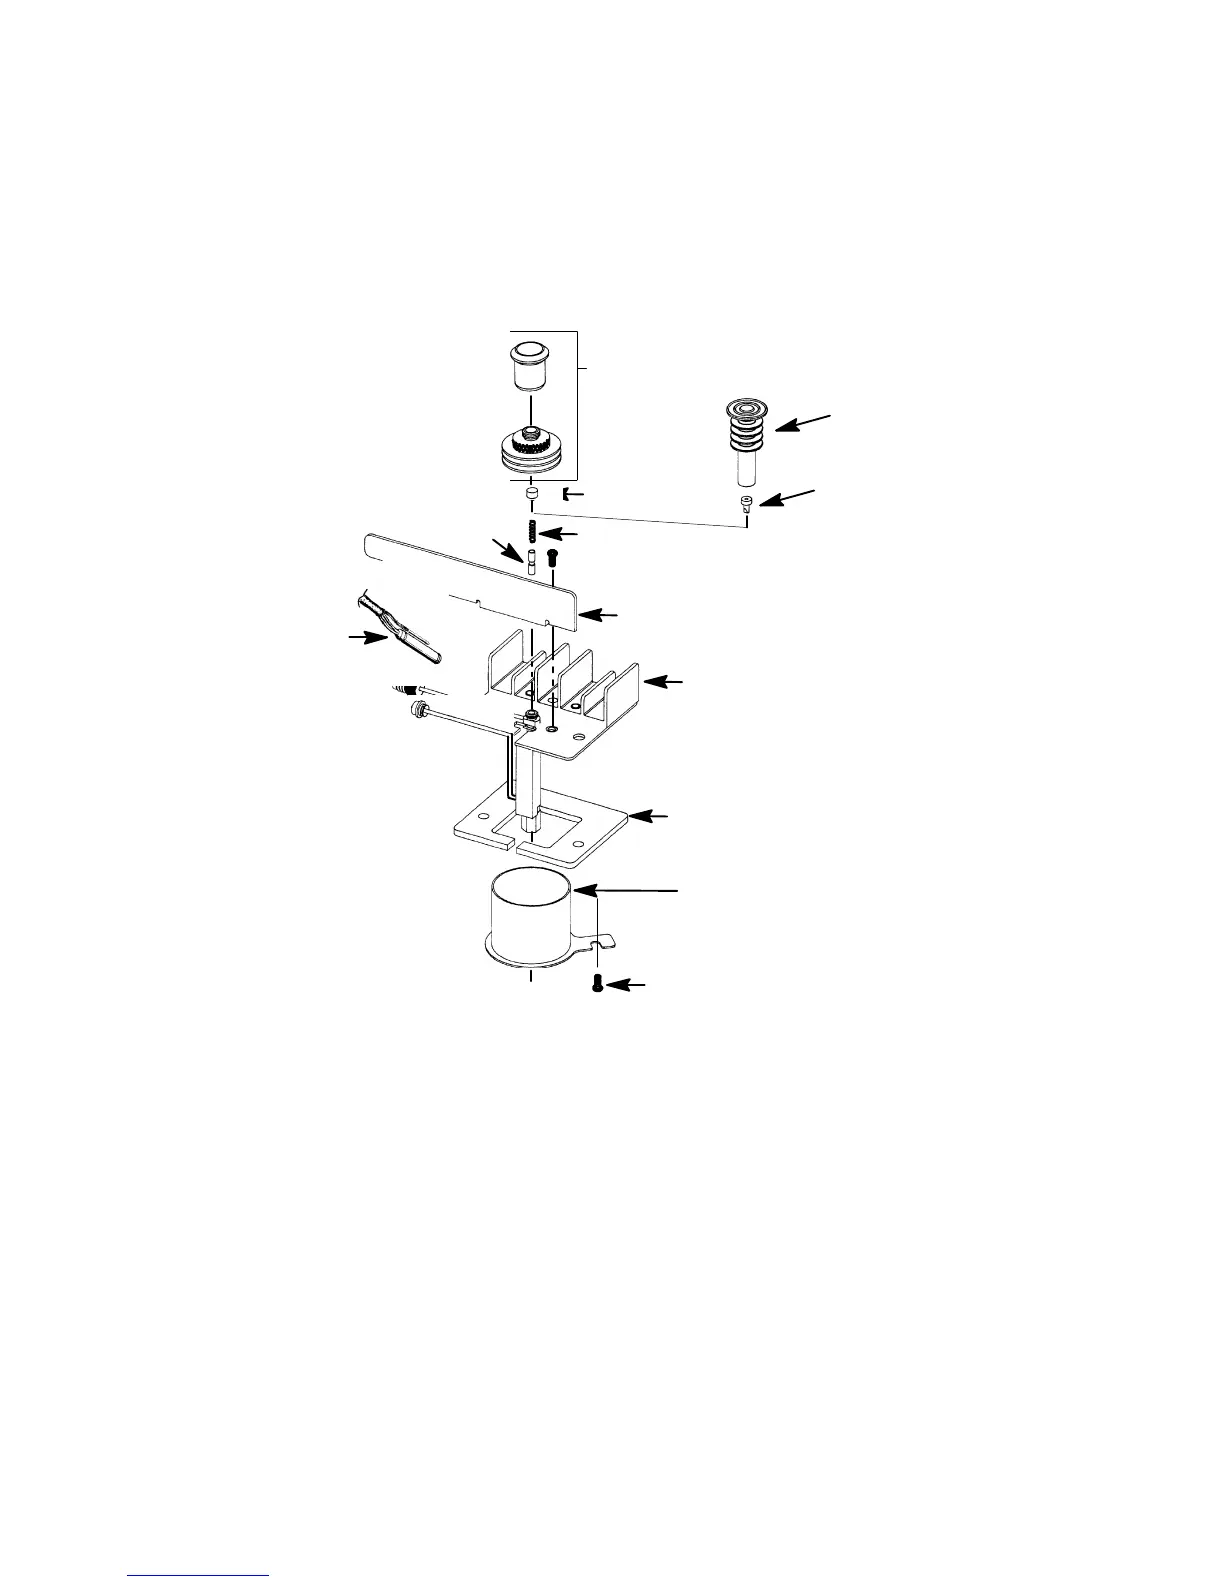
12. Remove the auto-injection assembly (or optional manual injection assembly) by rotating it
counter-clockwise). Be careful not to loose the septum, insert, or PCOC insert spring which
are installed under the injection assembly.
AUTO
INJECTION
ASSEMBLY
OPTIONAL
MANUAL
INJECTION
ASSEMBLY
DUCKBILL
SEPTUM
SEPTUM
PCOC INSERT
SPRING
AIR DEFLECTOR
WELDMENT
INSULATION
CAVITY
SLEEVE
SCREW
INSERT
HEATER/SENSOR
CABLE ASSEMBLY
13. Remove the air deflector using a Pozidriv screwdriver to remove the screw securing the air de-
flector to the inlet weldment.
14. Use a Pozidriv screwdriver to remove the two screws securing the inlet to the instrument.
15. Lift the inlet enough to expose the heated block.
16. Remove the cryo-blast tube from the inlet weldment.
Artisan Scientific - Quality Instrumentation ... Guaranteed | (888) 88-SOURCE | www.artisan-scientific.com

 Loading...


