Check LEDs
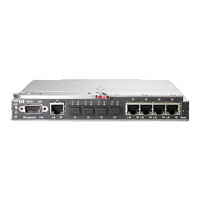
See Figure 6 to locate power-on LEDs. Verify that the LEDs match the indicators described in Table
10.
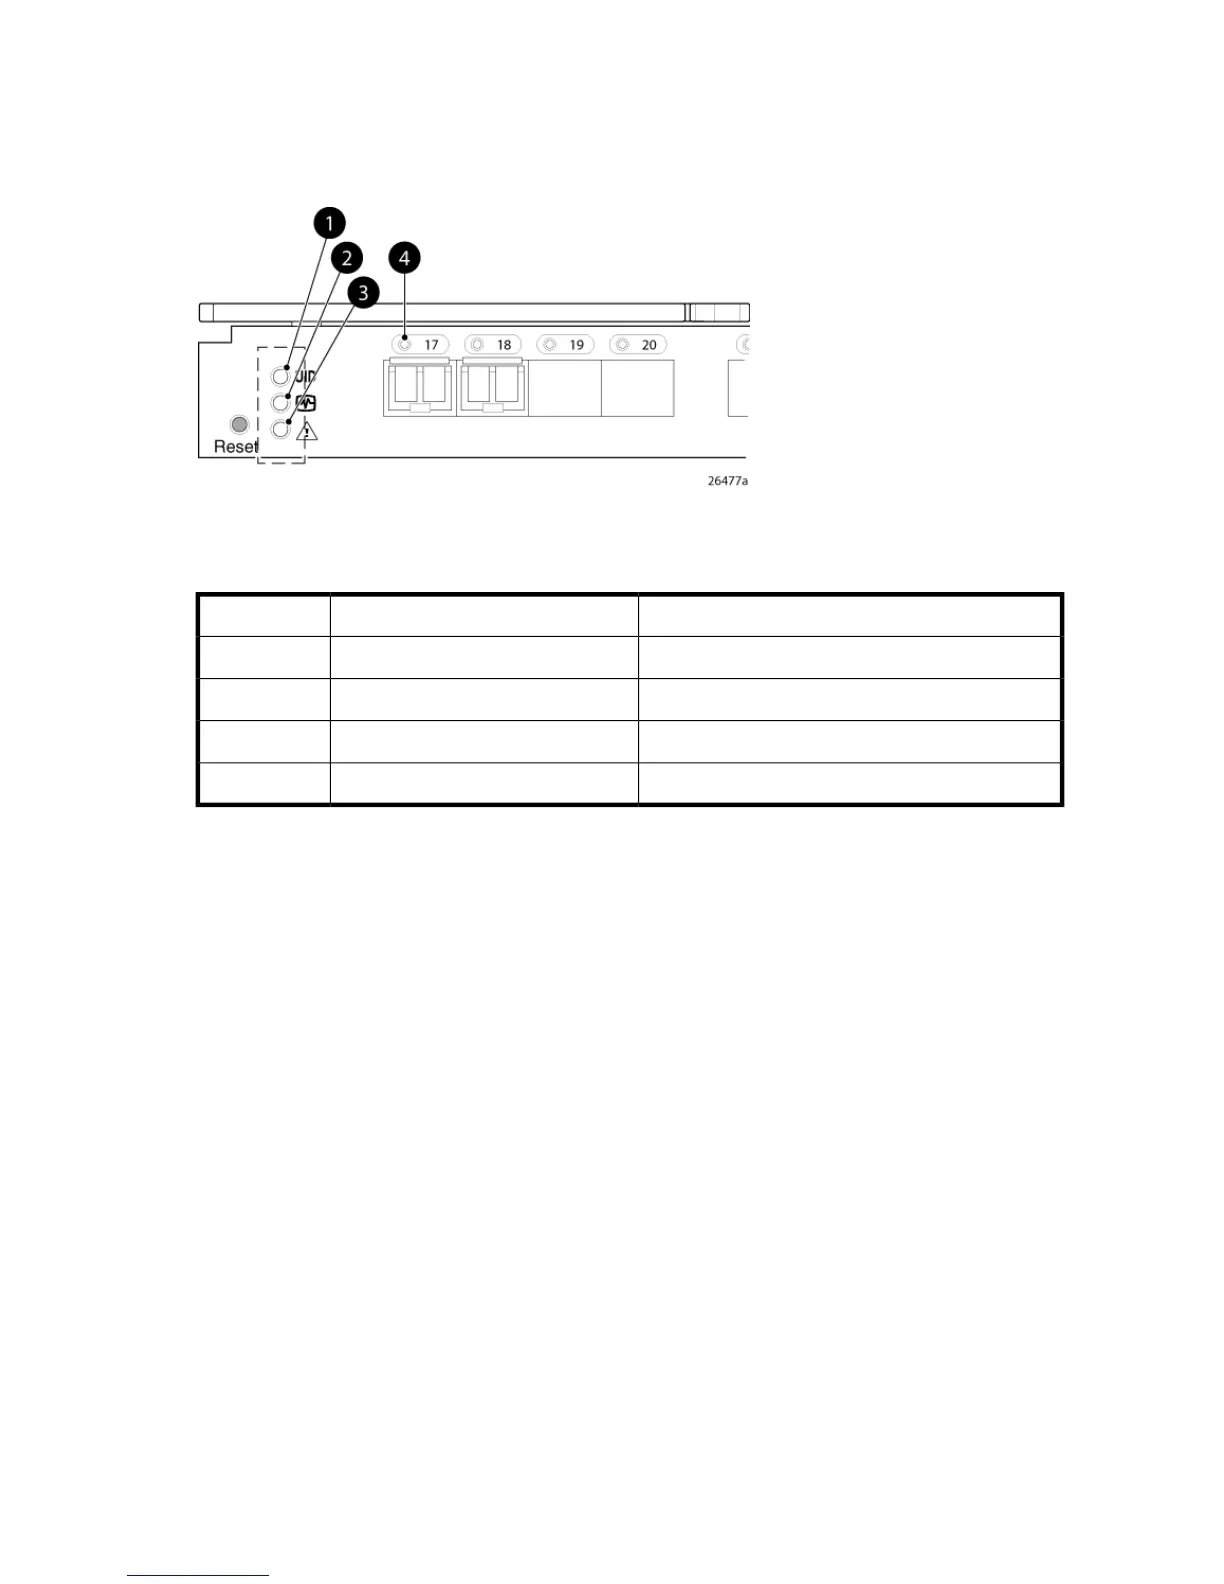
Figure 6 Verifying power-on LEDs
.
Table 10 Power-on LEDs
IndicatorsDescriptionItem
OffUID LED1
Steady green lightHealth ID LED2
Steady green lightModule status LED3
Steady green lightPort status LED4
Set the switch Ethernet IP address
To set the Ethernet IP address:
1. Verify that the enclosure is powered on.
2. Verify that the switch is installed.
3. Choose one of the following methods to set the Ethernet IP address:
• Using Enclosure Bay IP Addressing (EBIPA)
• Using external DHCP
• Setting the IP address manually
Using Enclosure Bay IP Addressing (EBIPA)
To set the Ethernet IP address using EBIPA:
1. Open a web browser and connect to the active OA.
2. Enable EBIPA for the corresponding interconnect bay.
3. Click Apply to restart the switch.
4. Verify the IP address using a Telnet or SSH login to the switch, or by selecting the switch in the
OA GUI Rack Overview window.
Brocade 8Gb SAN Switch for HP BladeSystem c-Class 23
 Loading...