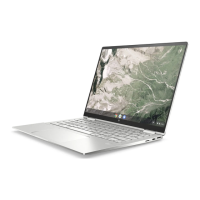
Solid-state drive
To remove the M.2 solid-state drive, use this procedure and illustration.
Table 5-3 Solid-state drive descriptions and part numbers
Description Spare part number
256 GB, PCIe, value M11042-002
128 GB, PCIe, value M11040-002
Solid-state drive cover (included in the Miscellaneous Kit) M10735-001
Before removing the solid-state drive, follow these steps:
1. Prepare the computer for disassembly (Preparation for disassembly on page 22).
2. Remove the bottom cover (Bottom cover on page 22).
3. Disconnect the battery cable from the system board (see Battery on page 23).
Remove the solid-state drive:
1. Use a thin tool to remove the cover from the solid-state drive (1).
2. Remove the Phillips M2.0 × 3.0 screw (2) that secures the drive to the computer.
3. Pull the drive away from the socket to remove it (3).
To install the solid-state drive, reverse the removal procedures.
NOTE: Solid-state drives are designed with a notch to prevent incorrect insertion.
Replace the cover by inserting the edges of the cover into the clips on the system board near the sides of the
solid-state drive.
Touchpad
To remove the touchpad, use this procedure and illustration.
Component replacement procedures 25

 Loading...


