6. Secure the heatsink to the processor
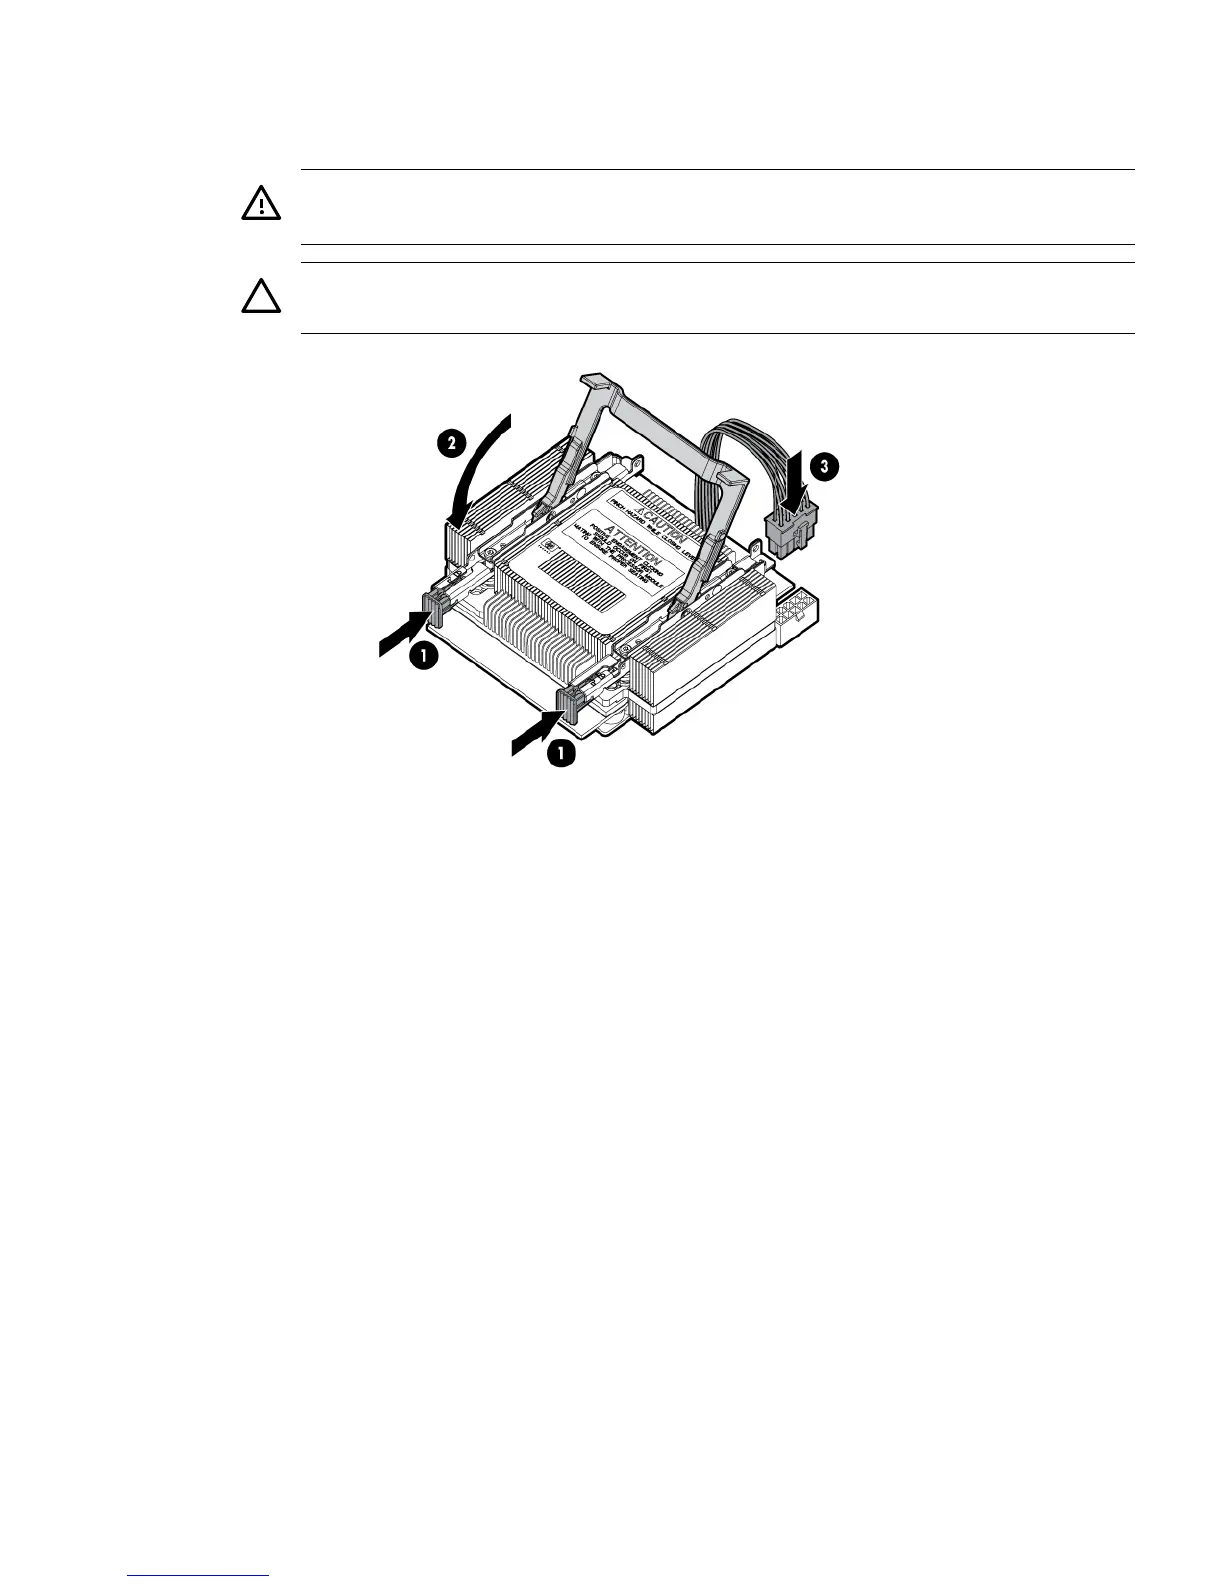
a. Slide both plastic locking tabs into place (see callout 1 in the image below).
b. Flip the latch down (see callout 2 in the image below).
WARNING! The heatsink locking lever can constitute a pinch hazard, keep your hands
on top of the lever during installation to avoid personal injury.
CAUTION: To prevent thermal instability and damage to the server, do not separate
the processor module from the processor's heatsink after they have been coupled.
7. Connect the power cord (see callout 3 in the image above).
Installing additional components 25
 Loading...


