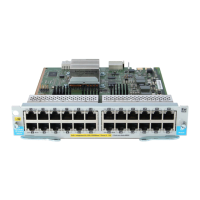
• Ensure you fully insert the modules. That is, press the module into the slot until the
bulkhead on the module is contacting or is very close to contacting the front face of the
switch chassis.
• Once the module is fully inserted, make sure you screw in the two retaining screws to secure
the module in place.
• For safe operation, proper switch cooling, and reduction of electromagnetic emissions,
ensure that a slot cover is installed on any unused module slot. For safety, no more than
one slot should be uncovered at a time when the switch is powered on, except when installing
a module that requires two slots.
• Ensure you check the temperature specifications for each module that will be installed into
the chassis as different modules have different temperature requirements.
Installation Procedures
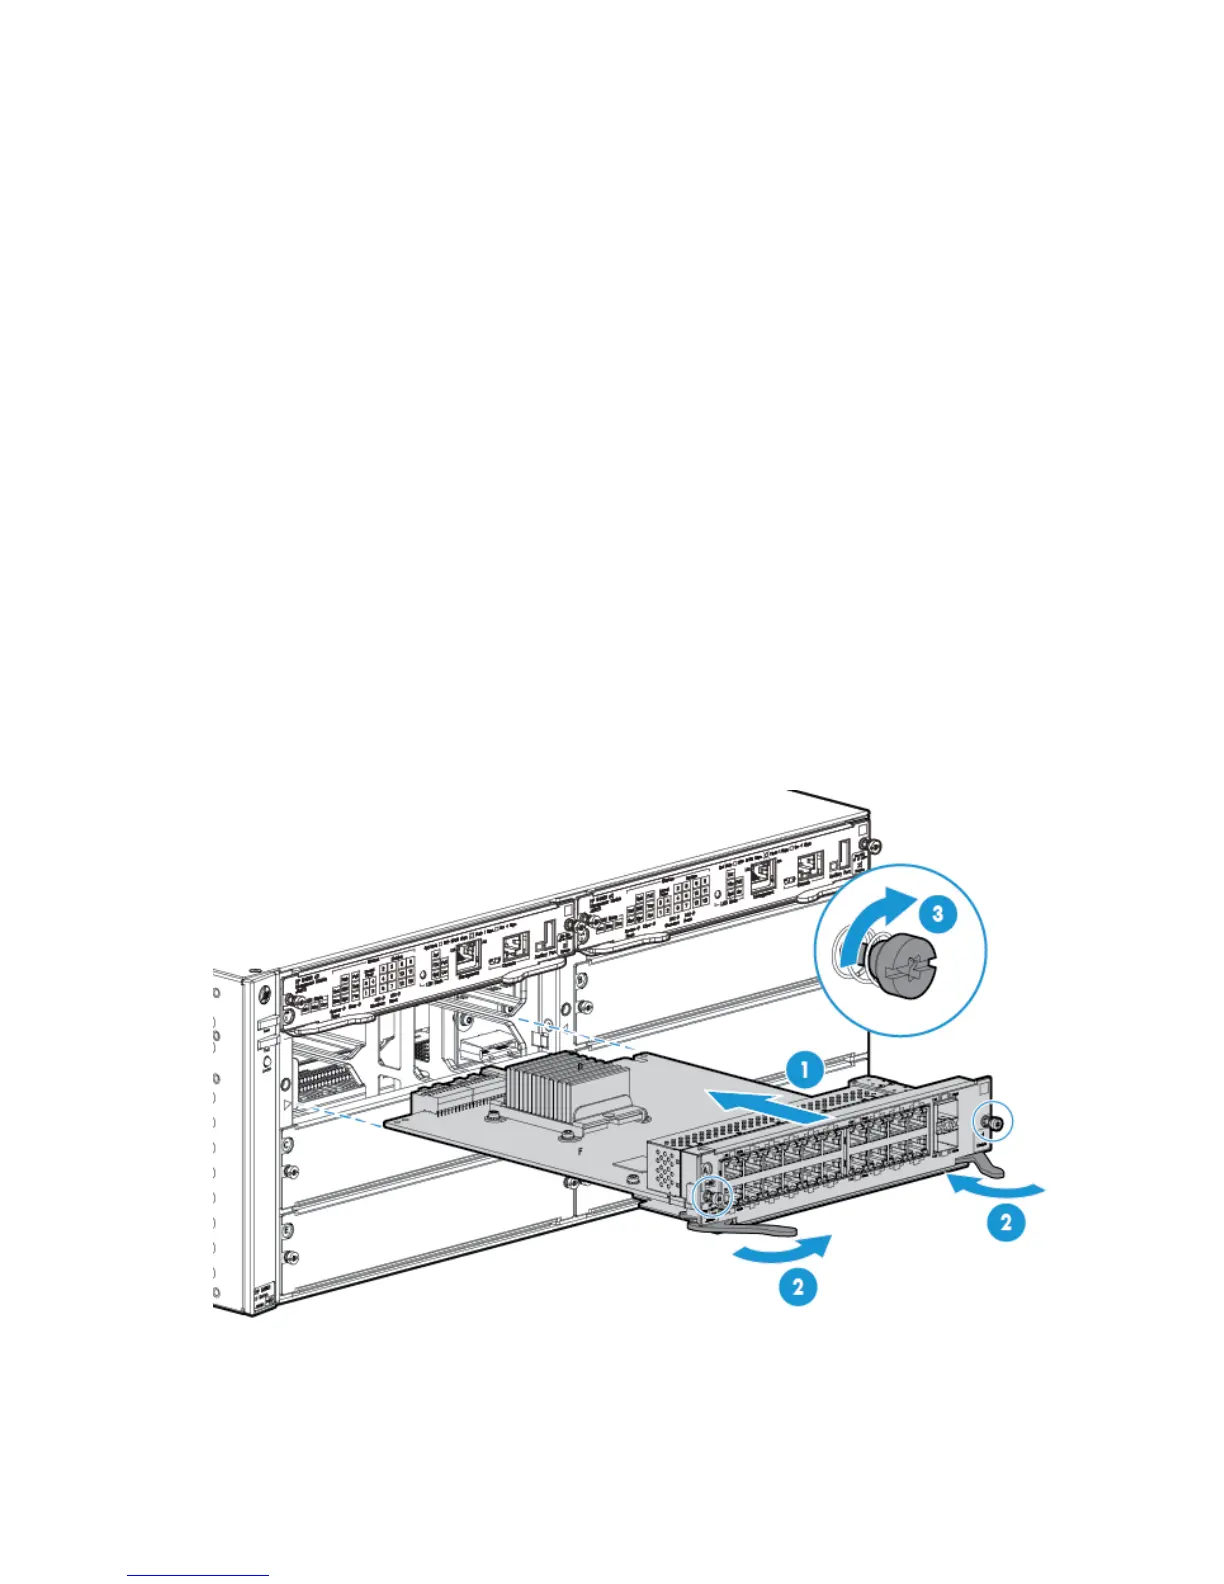
1. Use a Torx T-10
1
or flat-bladed screwdriver to unscrew the screws in the
cover plate over the slot you want to use, and remove the cover. Store the
cover plate for possible future use.
2. Hold the module by its bulkhead—taking care not to touch the metal
connectors or components on the board.
3. Open the extractor handles.
4. Insert the module aligning with the guides in the slot and slide it into the slot
until it stops.
5. Once the contacts have engaged, use the extractor handles to seat the module
completely.
6. Tighten the screws.
Figure 3. Example: Module being installed
Installation Procedures 13