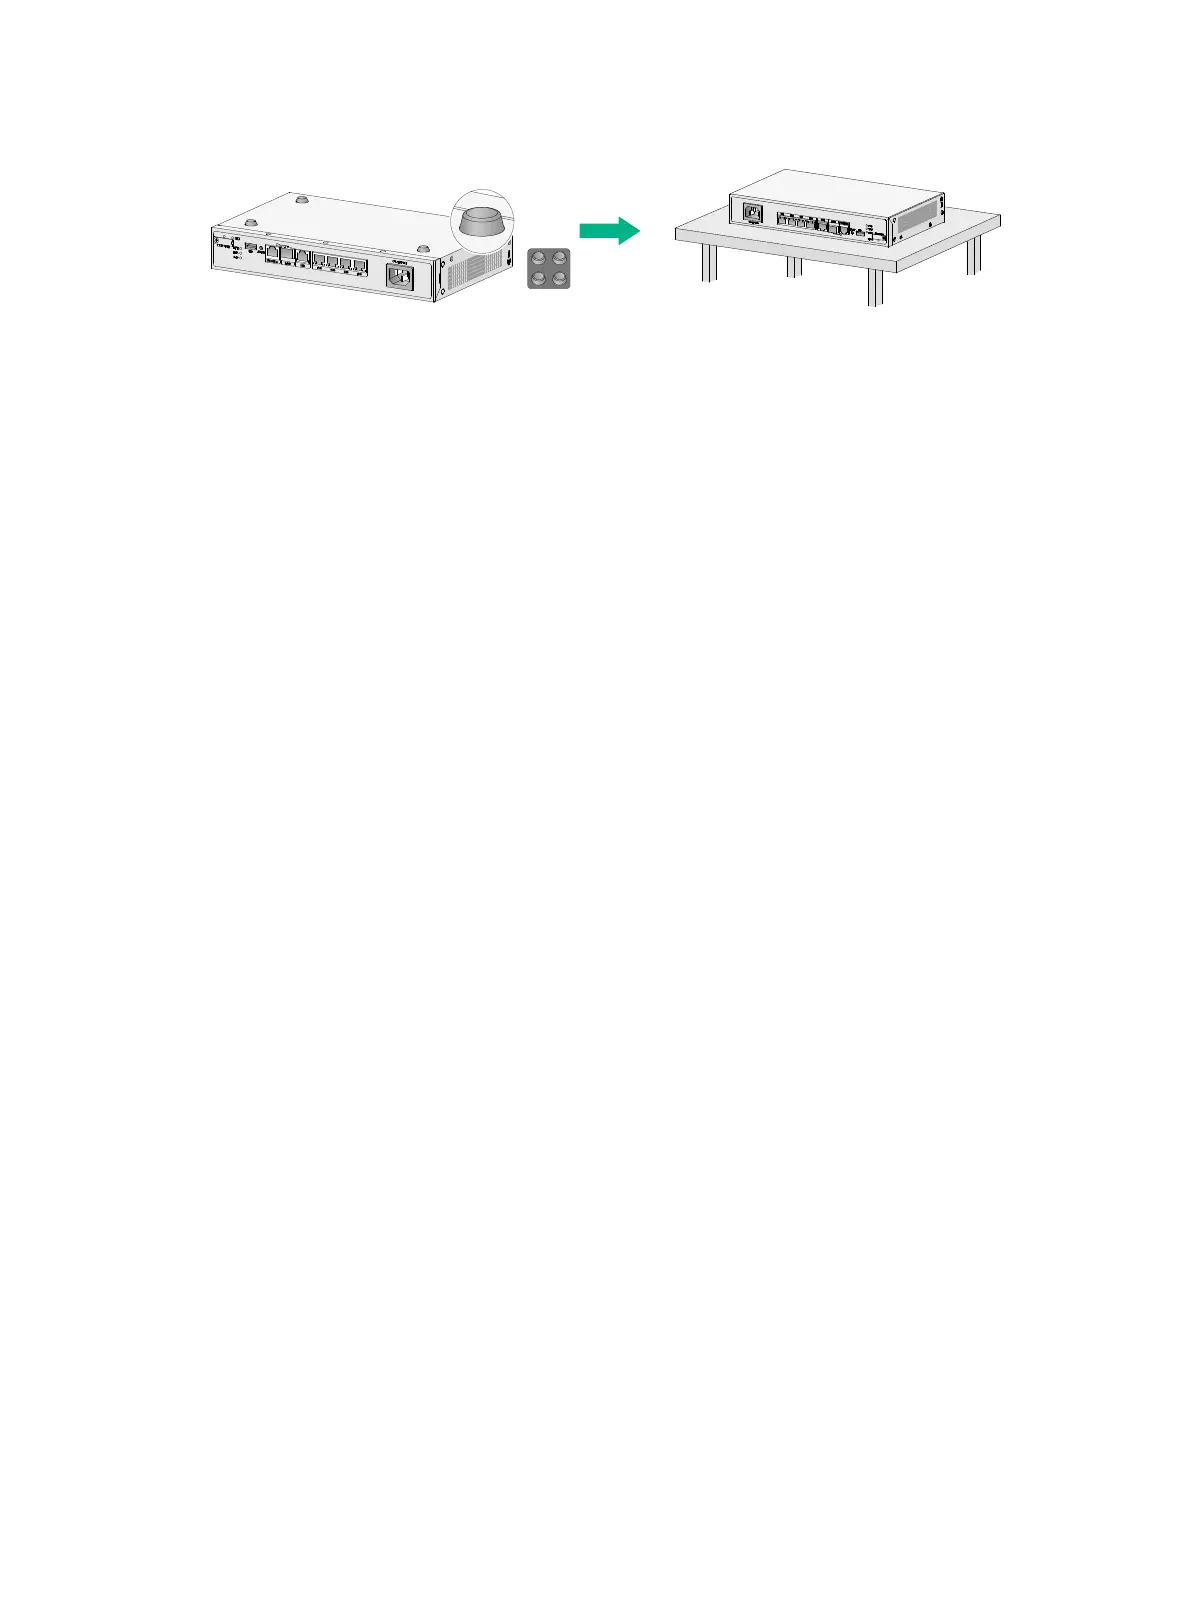
9
Figure 3 Mounting the router on a workbench
Mounting the router on a wall
1. Mark two screw hole locations on the wall.
2. Drill holes with a minimum depth of 22 mm (0.87 in) in the marked locations.
3. Use a hammer to tap an anchor into each hole until the anchor end is flush with the wall.
4. Drive a screw into each anchor and make sure the screw protrudes a minimum of 1.5 mm
(0.06 in) from the wall.
5. Hang the router on the screws.
Position the router so the network interfaces face downwards, and the sides with ventilation
openings are perpendicular to the ground, as shown in Figure 4.
 Loading...