EasyManuals Logo

HP P6000 Installation Guide

HP P6000
74 pages
To Next Page IconTo Next Page
To Previous Page IconTo Previous Page
Page #26 background imageLoading...
Page #26 background image
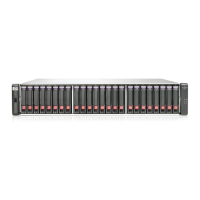
1. Align the enclosure with the rails and slide it into the rack (Figure 13 (page 26)).
Figure 13 Installing an enclosure (view from front of rack)
2. Continue sliding the enclosure into the rack until the front edge is flush with the front of the
rack (1, Figure 14 (page 26)). Tighten the enclosure screws into the rack (2) taking care not
to strip the screws.
Figure 14 Securing the rear of the enclosure in the rack (view from front of rack)
3. At the rear of the rack, loosen the screw on the shipping retaining bracket (1, Figure 15 (page
27)) and slide the bracket forward (2) until the tab engages the slot in the chassis. Tighten the
screw on the bracket.
26 Installing components

Table of Contents

Other manuals for HP P6000

Questions and Answers:

Question and Answer IconNeed help?

Do you have a question about the HP P6000 and is the answer not in the manual?

HP P6000 Specifications

General IconGeneral
RAID Levels Supported0, 1, 5, 6, 10
Form FactorRack-mountable
Hard Drive Form Factor2.5", 3.5"
Drive Types SupportedSAS, SSD, SATA
RedundancyRedundant power supplies
Host ConnectivityFibre Channel, iSCSI
Operating Temperature10° to 35°C (50° to 95°F)

Related product manuals