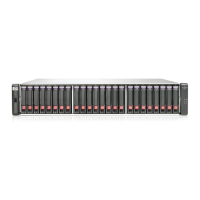
Figure 17 M6625 disk drive numbering (LFF)
CAUTION: Install disk drives in the enclosures only after securing the enclosures in the rack.
Observe the following precautions:
• An enclosure populated with disk drives is too heavy to lift safely.
• Movement of an enclosure during installation might damage the internal storage media of
installed disk drives.
• Follow industry-standard practices when handling disk drives. Internal storage media can be
damaged when drives are shaken, dropped, or roughly placed on a work surface.
• When installing a disk drive, make sure it is fully seated in the drive bay.
• When removing a disk drive, press the release button and pull the drive only slightly out of
the enclosure. Then, to allow time for the internal disk to stop rotating, wait approximately 10
seconds before completely removing the drive from the enclosure.
To install the disk drives:
1. Unlatch and swing out the drive handle, and slide the drive into the enclosure (1,
Figure 18 (page 28)).
2. Rotate the drive lever to the right (2, Figure 18 (page 28)) until it locks.
Figure 18 Installing drive into enclosure
28 Installing components
 Loading...