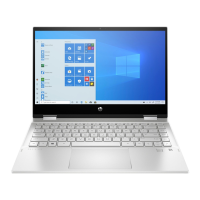
1. Remove the plastic that covers the antenna connectors (1).
2. Carefully disconnect the antenna cables from the module (2).
3. Remove the Phillips M2.0 × 2.5 screw (3), and then remove the WLAN module (4).
NOTE: Models have either one or two WLAN antennas. On models with two antennas, the #1 white
WLAN antenna cable connects to the WLAN module #1 Main terminal. The #2 black WLAN antenna cable
connects to the WLAN module #1 Aux terminal.
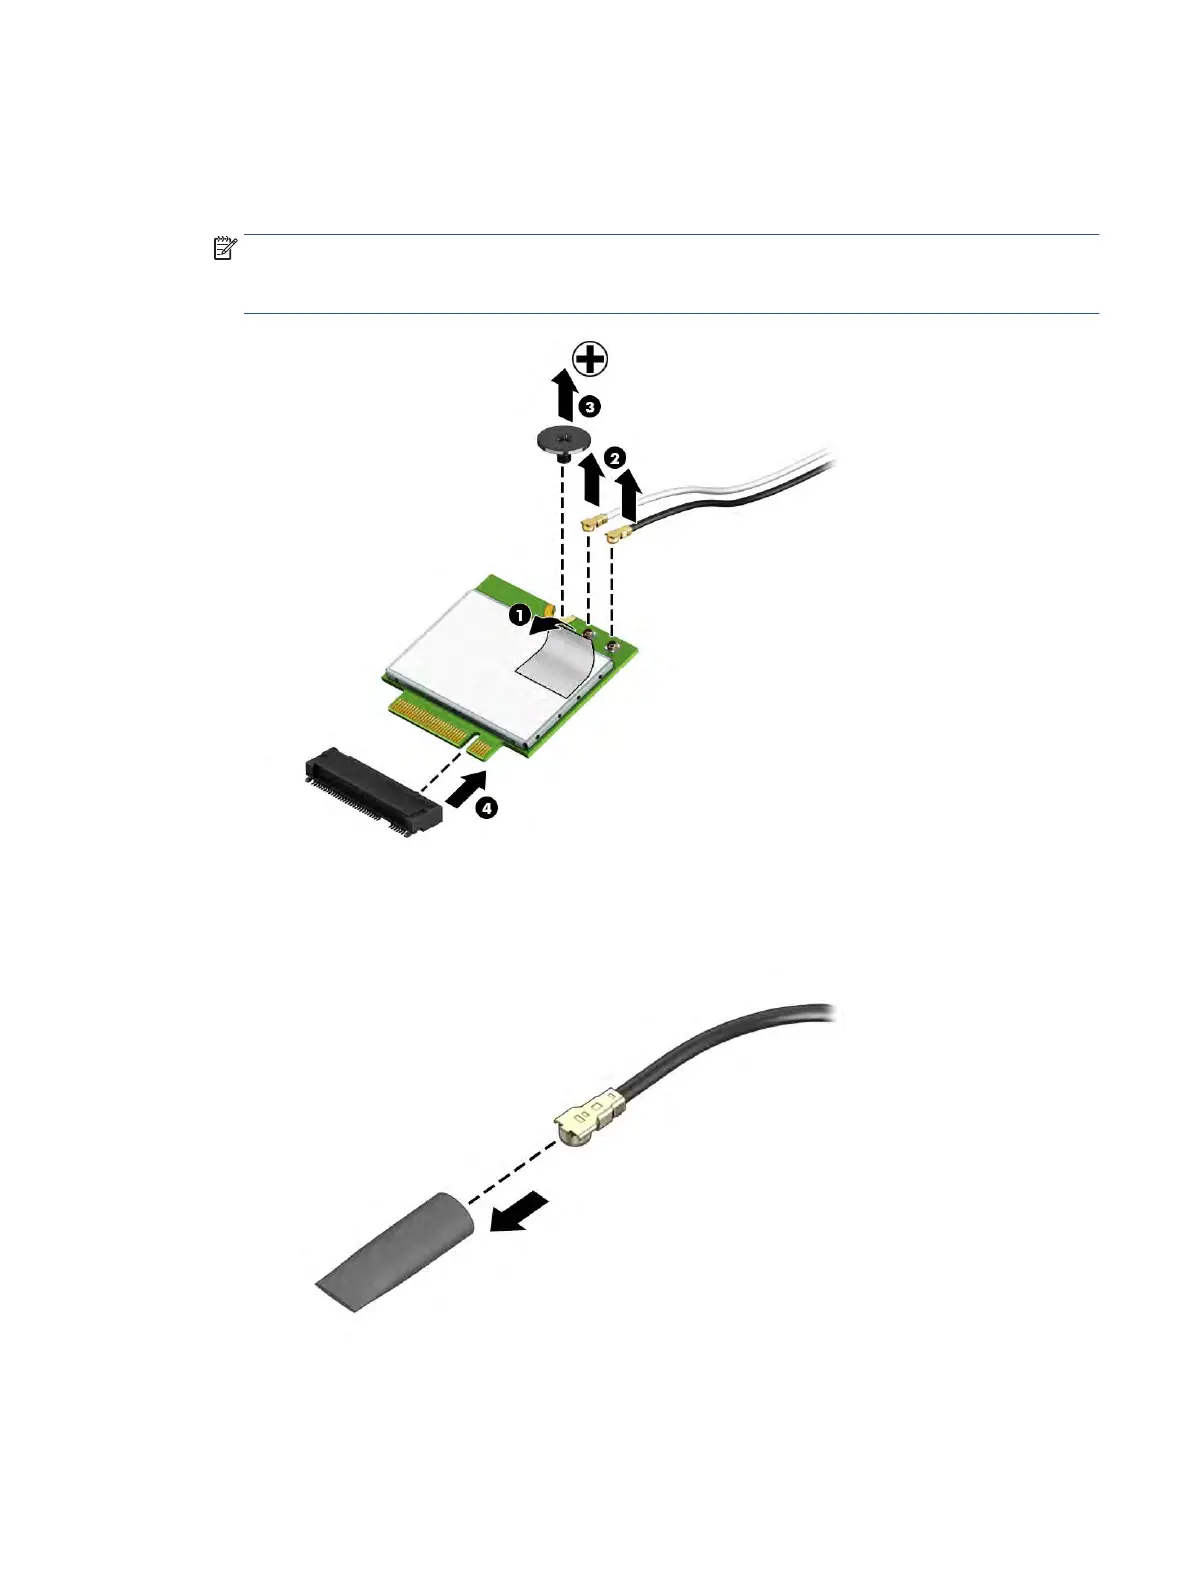
4. If the WLAN antenna is not connected to the terminal on the WLAN module, you must install a protective
sleeve on the antenna connector, as shown in the following illustration.
Reverse this procedure to install the WLAN module.
Component replacement procedures 35
 Loading...