EasyManuals Logo

HP ProBook 5320m - Notebook PC User Manual

HP ProBook 5320m - Notebook PC
143 pages
To Next Page IconTo Next Page
To Previous Page IconTo Previous Page
Page #90 background imageLoading...
Page #90 background image
Removing a digital card
CAUTION: To prevent loss of data or an unresponsive system, use the following procedure to safely
remove the digital card.
1. Save your information and close all programs associated with the digital card.
NOTE: To stop a data transfer, click Cancel in the operating system Copying window.
2. To remove a digital card:
a. Click the Safely Remove Hardware and Eject Media icon in the notification area, at the far
right of the taskbar.
NOTE: To display the Safely Remove Hardware and Eject Media icon, click the Show
hidden icons icon (the arrow at the left side of the notification area).
b. Click the name of the digital card in the list.
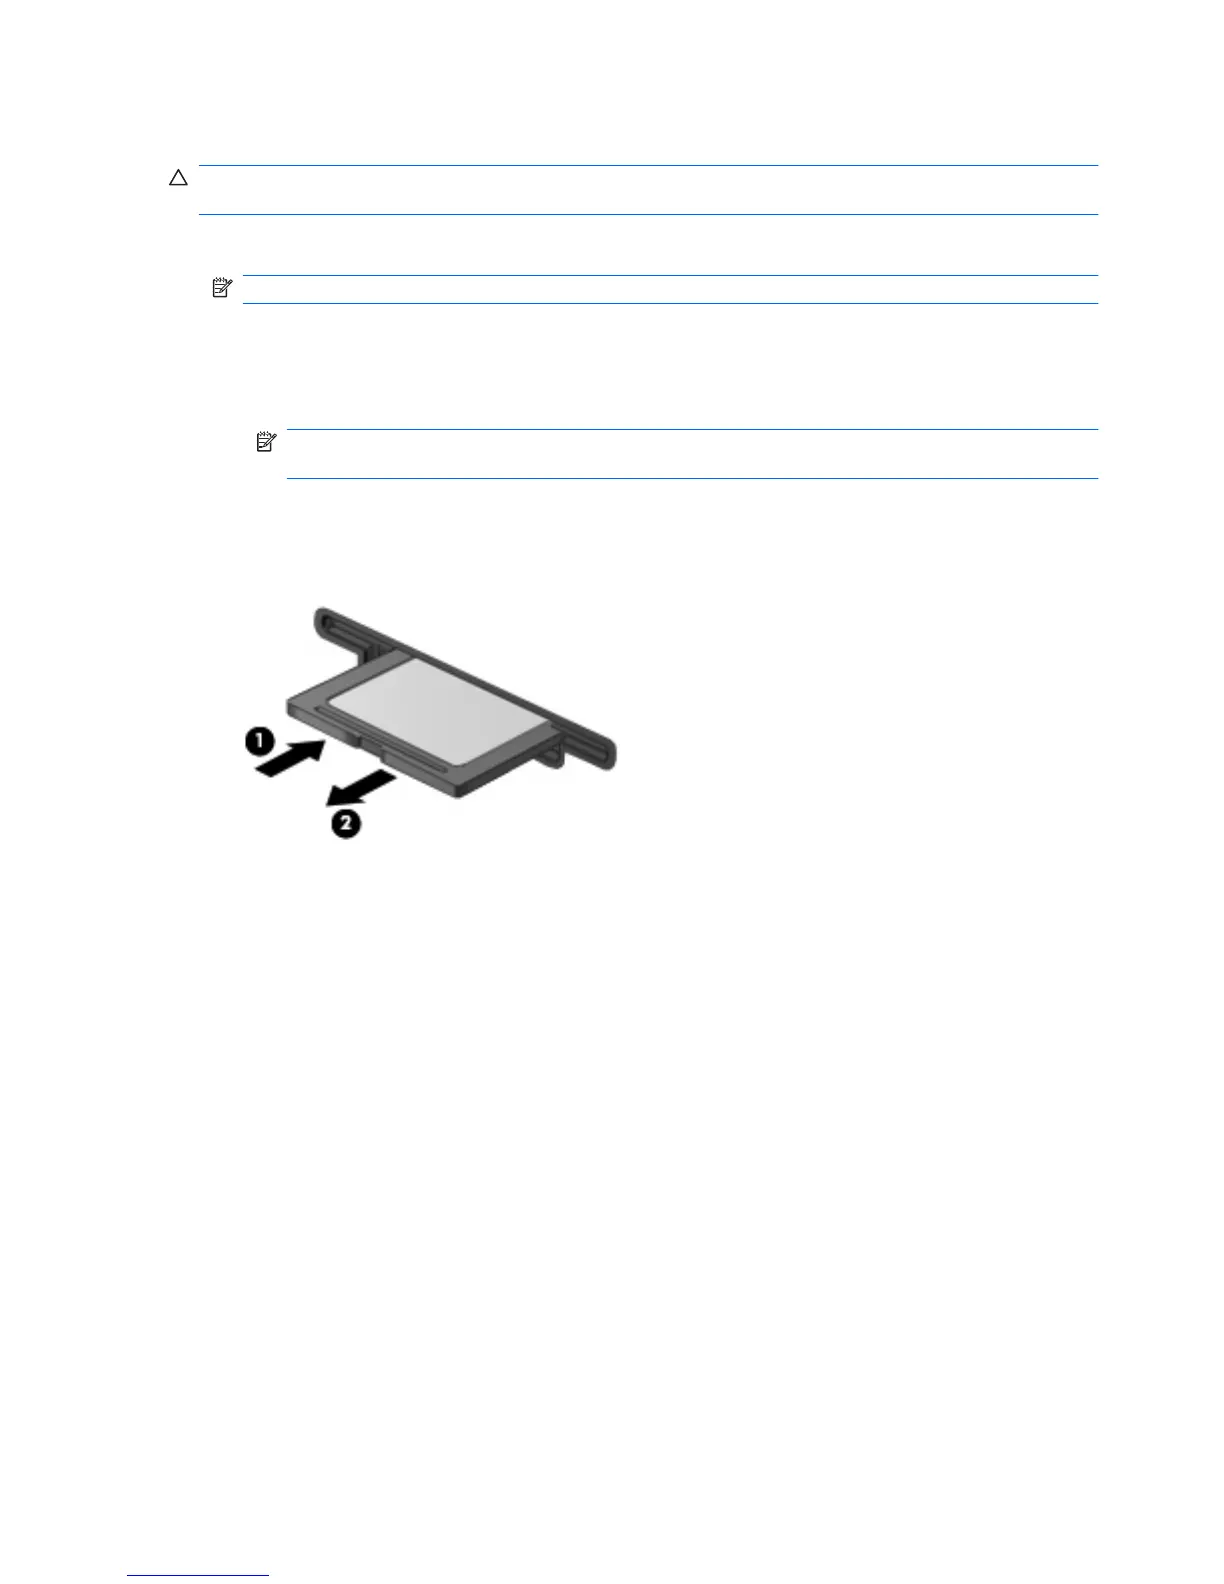
3. To eject the digital card, press in on the card (1), and then remove it from the Digital Media Slot
(2).
80 Chapter 8 External media cards

Table of Contents

Questions and Answers:

Question and Answer IconNeed help?

Do you have a question about the HP ProBook 5320m - Notebook PC and is the answer not in the manual?

HP ProBook 5320m - Notebook PC Specifications

General IconGeneral
RAMUp to 8 GB DDR3
Display13.3-inch diagonal LED-backlit HD anti-glare (1366 x 768)
GraphicsIntel HD Graphics
Operating SystemWindows 7 Professional
Wireless802.11a/b/g/n, Bluetooth
Webcam2 MP webcam
Storage128 GB SSD
Battery4-cell (41 WHr) Li-Ion
ChipsetMobile Intel HM57 Express
AudioStereo speakers, microphone
PortsUSB 2.0, VGA, headphone/microphone combo
ProcessorIntel Core i5-450M / Intel Core i3-350M
Dimensions32.6 x 22.5 x 2.3 cm

Related product manuals