2-4
Installing the Switch
Installation Procedure
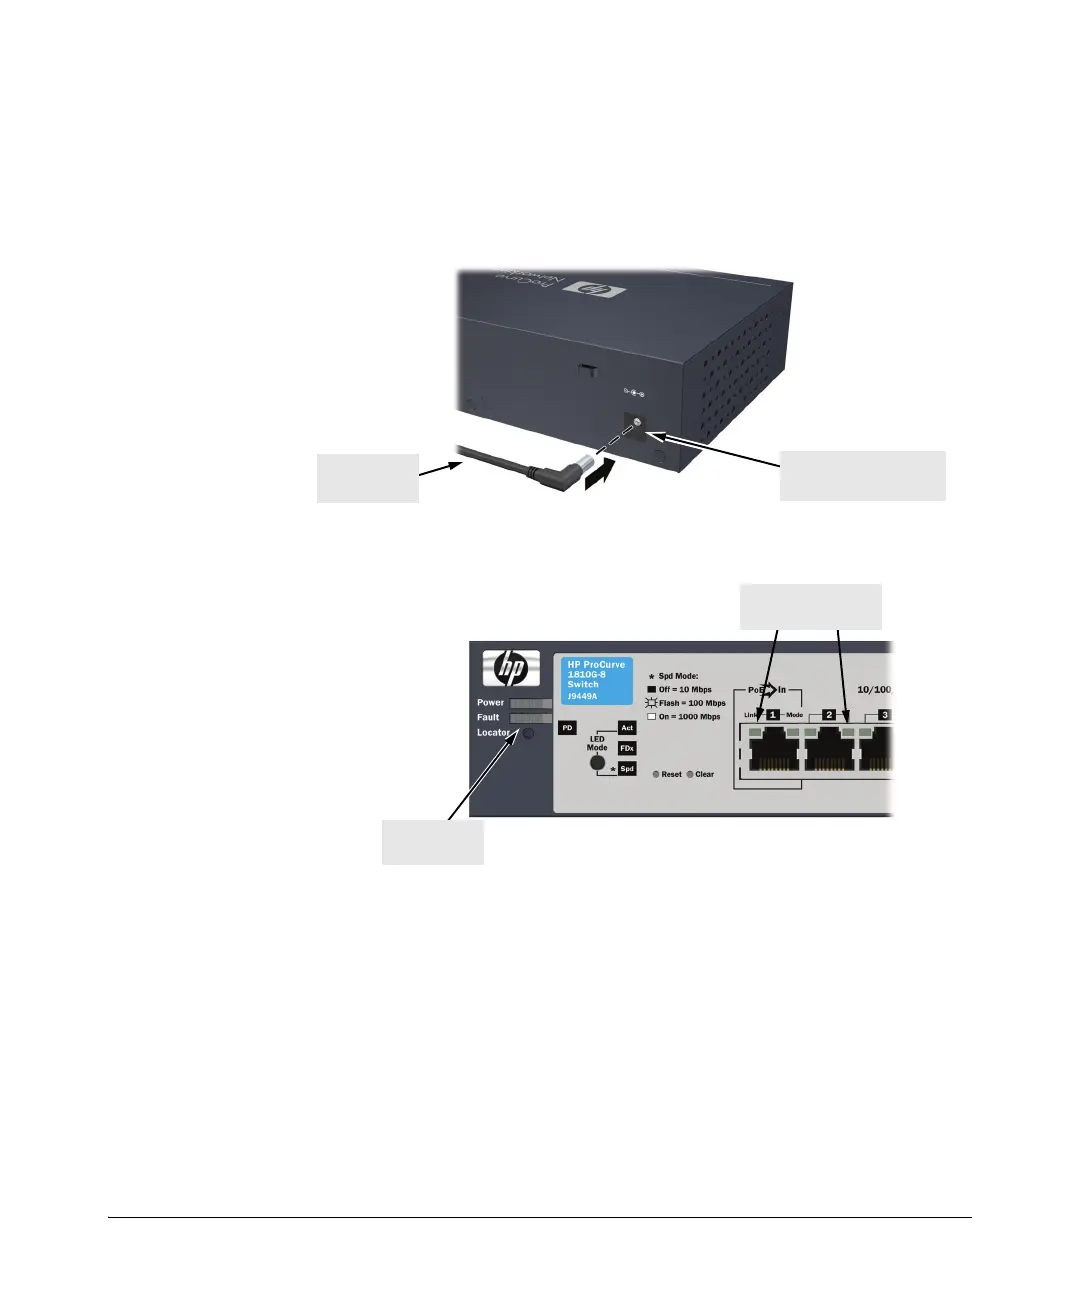
1. Connect the adapter’s power cord to the power connector on the back of
the switch, and then plug the AC power adapter into a nearby properly
grounded electrical outlet. If the power adapter module 5188-6700 is used;
first plug the country specific power cord into the adapter, and then into
the AC power source. Then connect the switch to the power adapter.
2. Check the LEDs on the switch as described below.
When the switch is powered on, it performs its diagnostic self test. The
self test takes approximately 30 seconds to complete.
Self Test LED Behavior:
During the self test:
• Initially, all the status, and all port Link and Mode LEDs turn on, with
the Locator LED blinking (the PD LED also blinks when the switch is
powered by the external adapter).
• After several seconds all LEDs turn off, except for the Power, Fault,
Locator, and Act LEDs, which remain on (the PD LED also remains on
when PoE power is available on Port 1).
Connect power cord to
the power socket
From power
adapter
Power, Fault,
Locator LEDs
Port Link and Mode
LEDs
 Loading...