2-6
Installing the Switch
Installation Procedure
Note Make sure the air flow is not restricted around the sides of the switch.
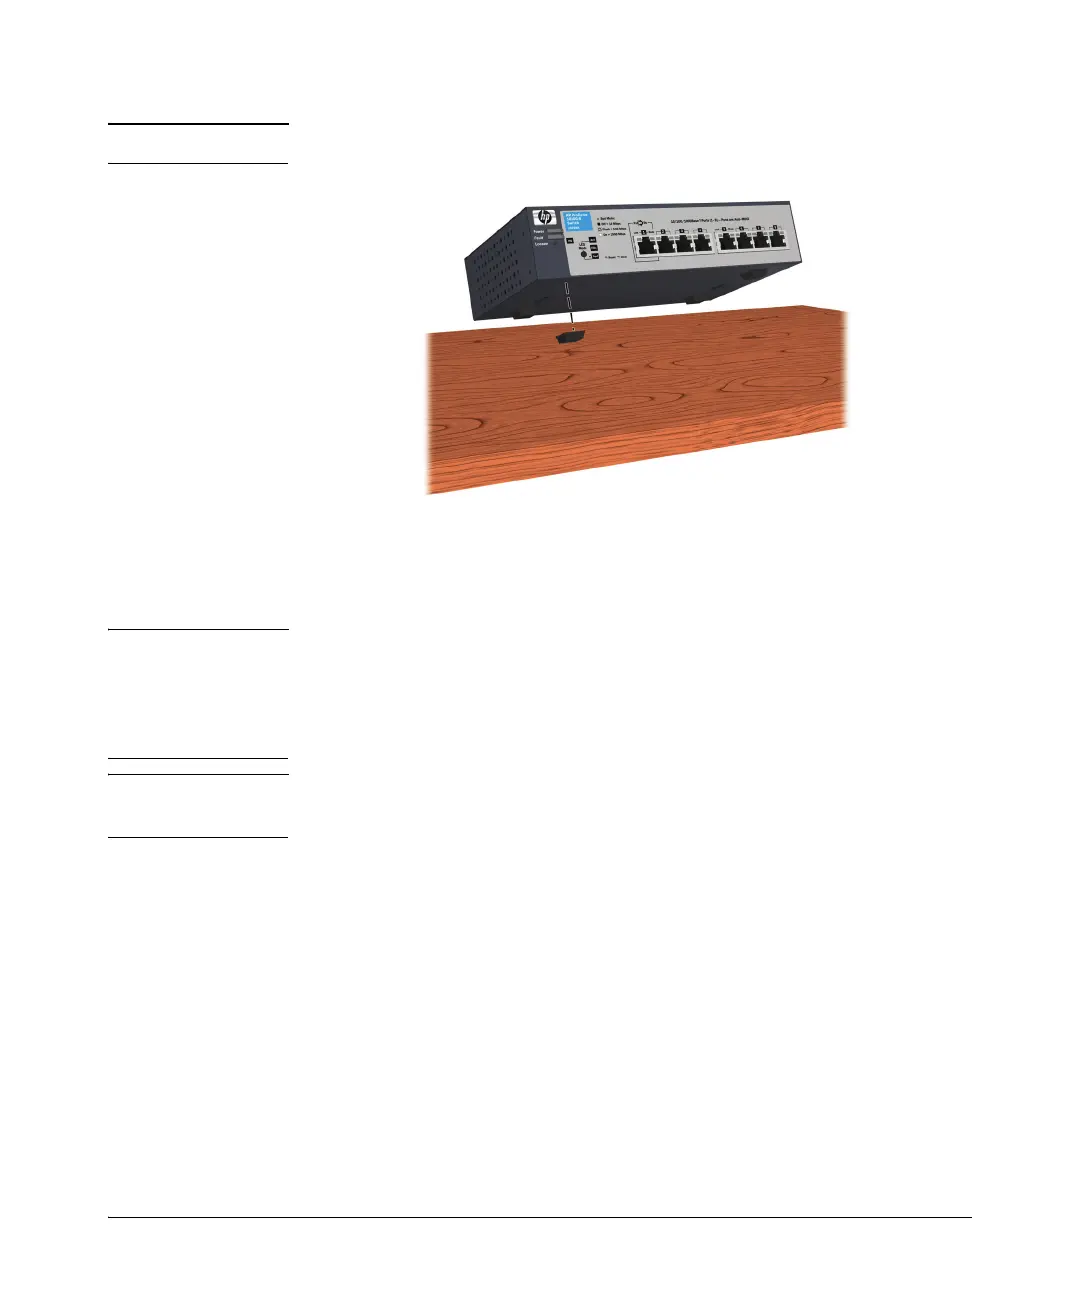
Wall Mounting
You can mount the switch on a wall with either the front or rear panel facing
up.
WARNING For safe operation, please read the “Installation Precautions” on
page 2-2 before mounting the switch.
It is recommended the switch be mounted with the ports facing up or
downward.
Caution The switch should be mounted only to a wall or wood surface that is at least
3/4-inch (19.1 mm) plywood or its equivalent.
1. Position the mounting template (included in the Quick Setup Guide) on
the wall, and mark the position for the mounting screws. The screw holes
must be 5.5 in. (140 mm) apart.
2. Set the mounting screws in the wall:
a. For a plastered brick or concrete wall, first drill two holes 22 mm deep
and 3.5 mm in diameter, and press the two included wall plugs firmly
into the drilled holes. Then set the two 20-mm M4 tap screws in the
holes, leaving about 3 mm (0.12 in.) clearance from the wall.
b. For a wood wall, directly screw the two 20-mm M4 tap screws into
the wall, leaving about 3 mm (0.12 in.) clearance from the wall.
3. Position the switch over the mounting screws, and then slide the switch
down to secure it to the wall.
 Loading...