2-12
Installing the Switch
Installation Procedures
Installing the Switch
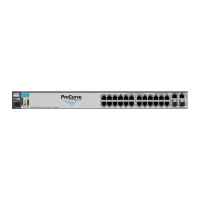
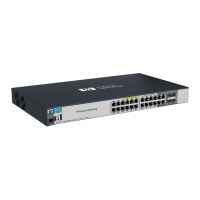
Rack Mounting the Non-PWR Switches
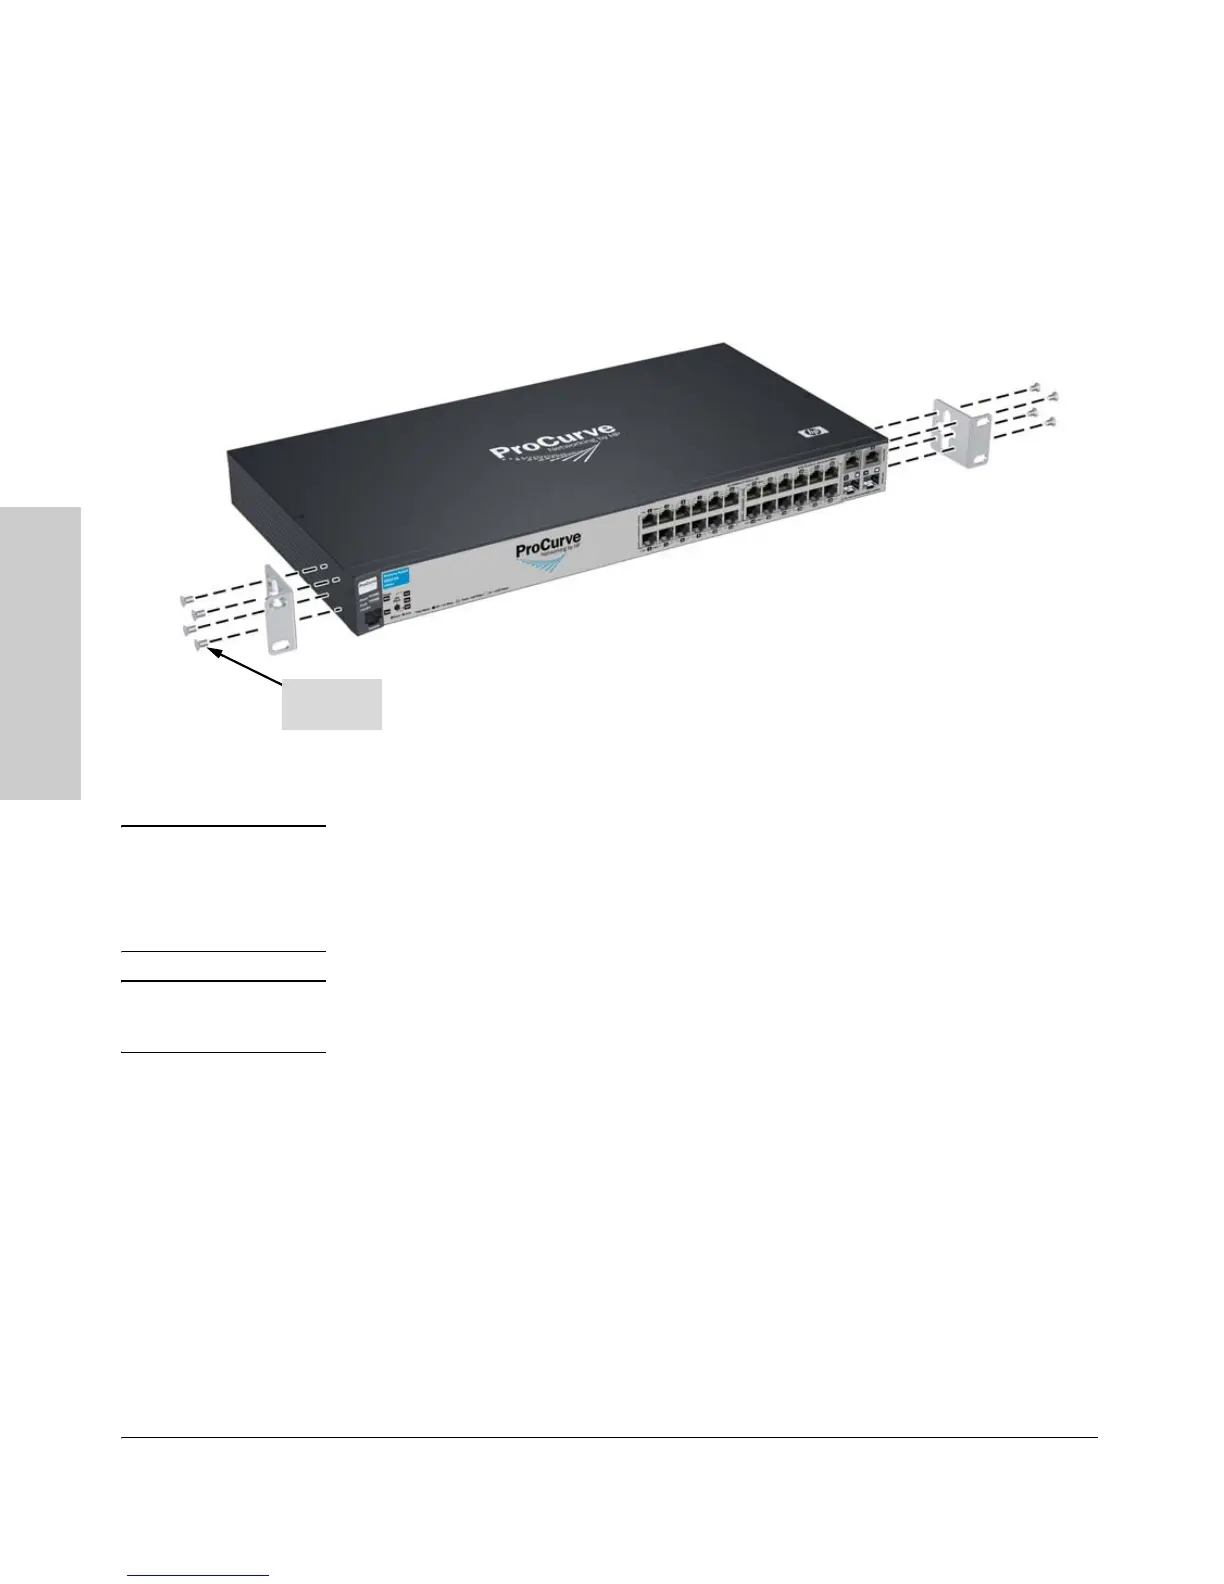
1. Use a #1 Phillips (cross-head) screwdriver and attach the mounting
brackets to the switch with the included 8-mm M4 screws.
Figure 2-6. Attaching small mounting brackets
Note The mounting brackets have multiple mounting holes and can be rotated
allowing for a wide variety of mounting options. These include mounting the
switch so that its front face is flush with the face of the rack, or mounting it
in a more balanced position as shown in the illustration.
WARNING For safe reliable installation, only use the screws provided in the
accessory kit to attach the mounting brackets to the switch.
8 mm
M4 screws
 Loading...