4 – Index
Index
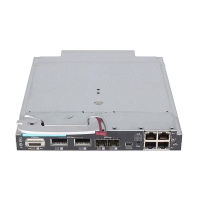
Port LED View
indicator LEDs … 1-8
select button … 1-8
selecting the display … 1-8
port LEDs
description … 1-7
Link … 1-7
normal operation … 2-7
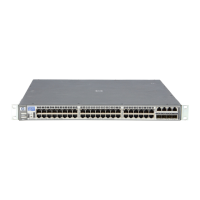
ports
10/100Base-TX, location on switch … 1-4
connecting to … 2-18
console … 2-19
HP Auto-MDIX feature … B-6
network connections … 2-18
power connector … 1-11
Power LED … 1-6
behavior during self test … 2-7
behaviors … 1-6
location on switch … 1-4
power source
connecting the switch to … 2-14
power supply
replacing … 4-5
precautions
mounting the switch … 2-3
power requirements … 2-3
preparing the installation site … 2-5
Proactive Network tools
diagnostics with … 5-8
R
rack
mounting precautions … 2-3
mounting the switch in … 2-10
ranges
voltage … 1-11, 2-6
recycle statements … D-1
regulatory statements … C-8
replacing components
battery … 4-3
power supply … 4-5
replacing hardware
fans … 4-1
Reset button
description … 1-9
location on switch … 1-4, 1-9
restoring factory default configuration … 5-11
resetting the switch
factory default reset … 5-11
location of Reset button … 1-9
troubleshooting procedure … 5-9
reversing air flow
default air flow … 2-8
S
safety and regulatory statements … C-1
safety specifications … A-2
savepower CLI command … 1-8
selecting the Port LED View display … 1-8
self test
Fault LED behavior … 2-7
LED behavior during … 2-7
Power LED behavior … 2-7
Self Test LED … 1-7
behavior during factory default reset … 5-11
serial cable
for direct console connection … 2-20
slots for mini-GBICs
location on switch … 1-4
Spd LED … 1-9
Spd LEDs … 1-7
specifications
cabling … B-1
distance … B-3
electrical … A-1
environmental … A-1
physical … A-1
safety … A-2
straight-through cable
pin-out … B-7, B-9
subnet mask
configuring … 3-3
summary
of switch installation … 2-4

 Loading...