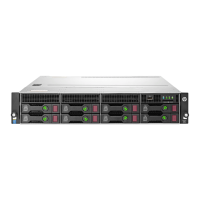
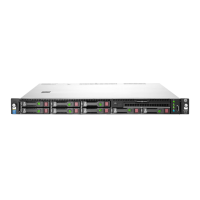
Hardware options installation 64
9. Tighten the two screws to secure the cage.
10. Install the access panel (on page 21).
11. Install the server into the rack ("Installing the server into the rack" on page 31).
12. Power up the server (on page 17).
Expansion board options
The server has both full-height/half-length and low-profile expansion slots for controller option installation.
For more information about product features, specifications, options, configurations, and compatibility, see
the product QuickSpecs on the HP website (http://www.hp.com/go/qs).
CAUTION: To prevent damage to the server or expansion boards, power down the server, and
disconnect all power cords before removing or installing the PCI riser cage.
CAUTION: To prevent improper cooling and thermal damage, do not operate the server unless
all expansion slots have either an expansion slot cover or an expansion board installed.
To install the component:
1. Power down the server (on page 17).
2. Remove all power:
a. Disconnect each power cord from the power source.
b. Disconnect each power cord from the server.
3. Do one of the following:
o Extend the server from the rack (on page 17).
o Remove the server from the rack (on page 19).
4. Remove the access panel (on page 20).
5. Remove the secondary PCI riser cage. ("Remove the PCI riser cage" on page 23)
6. Identify the expansion slot compatible with the new option, and then remove the cover opposite that
slot.
 Loading...