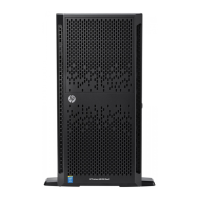
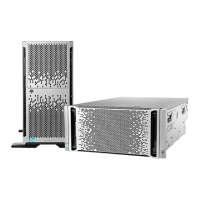
Hardware options installation 62
8.
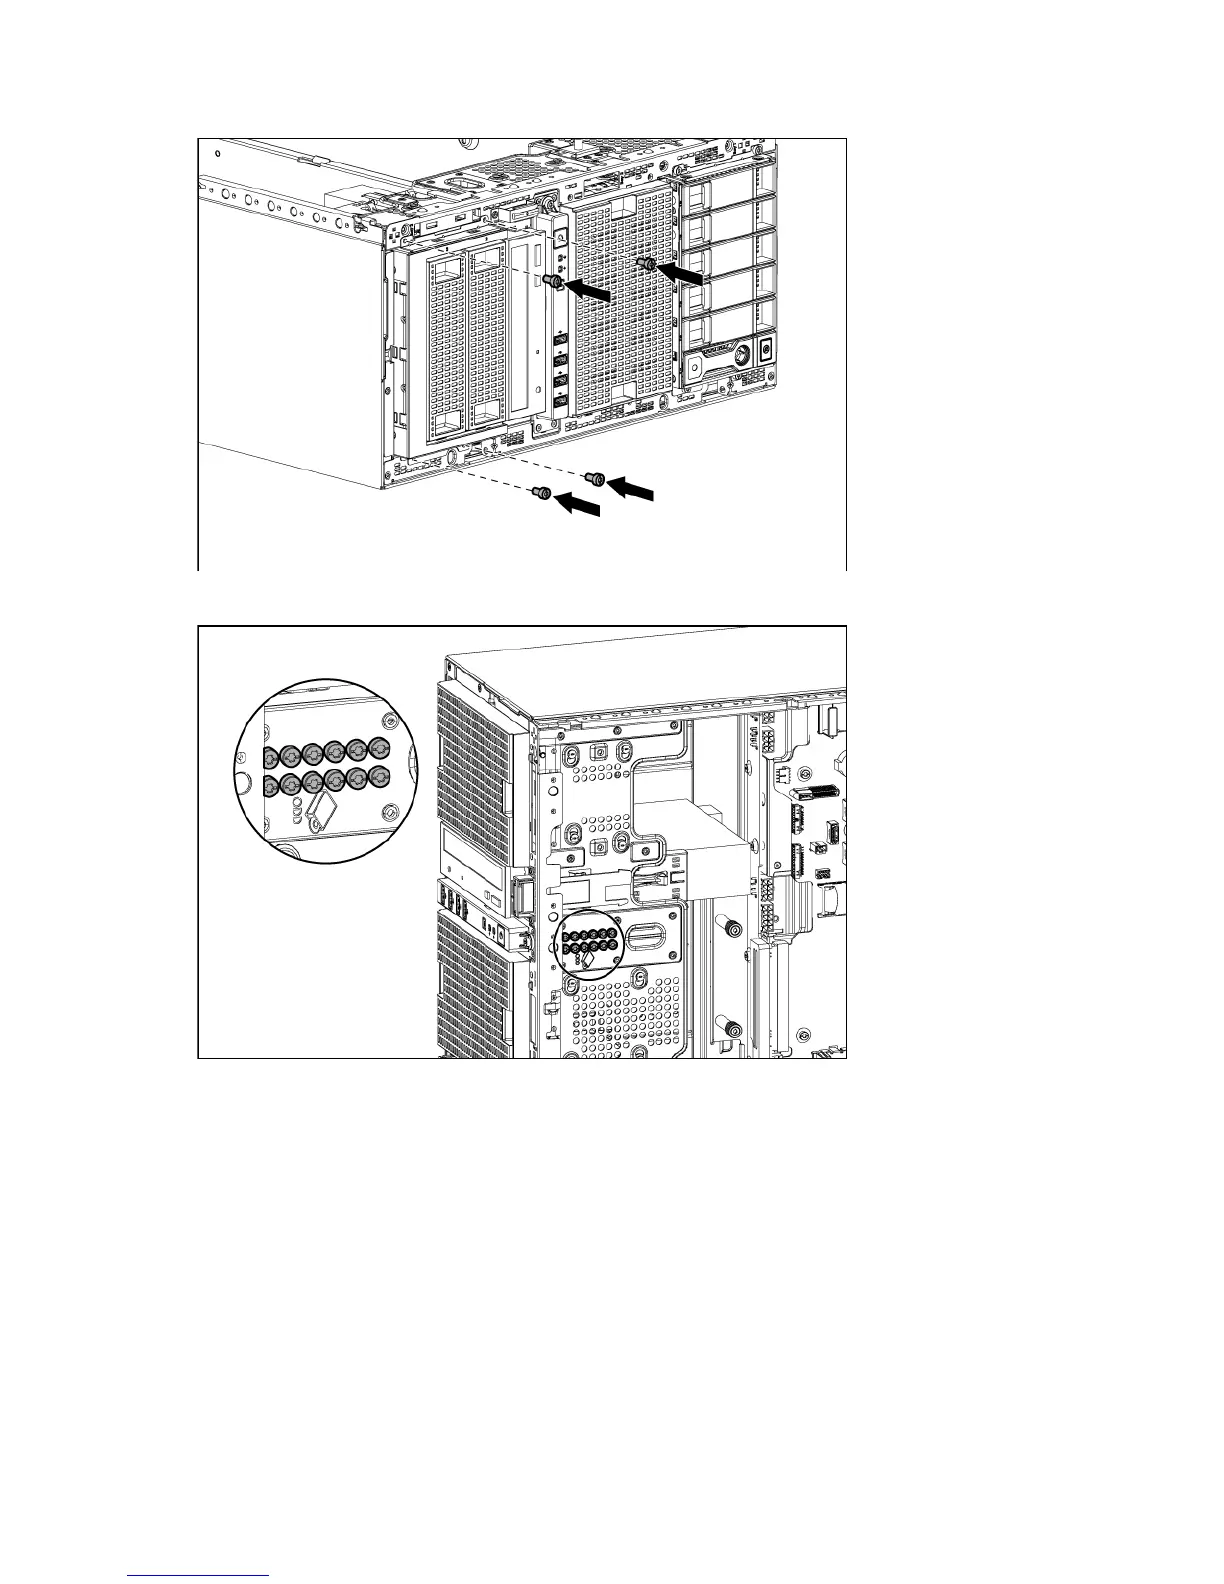
Using the T-15 screws, secure the optical drive cage.
9. The Torx screws required to install optical drives are located on the chassis.
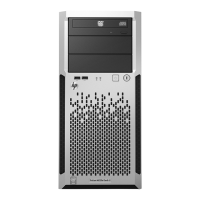
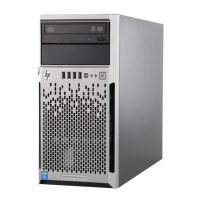
10. For tower models, do the following:
a. Install the access panel (on page 24).
b. Return the server to an upright position.
11. For rack models, do the following:
a. Install the rack bezel (on page 23).
b. Install the access panel (on page 24).
c. Slide the server back into the rack.
12. Connect each power cord to the server.
13. Connect each power cord to the power source.
14. Press the Power On/Standby button.
 Loading...