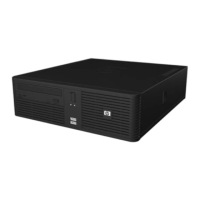
4. Pull out the lever on the left side of the drive (1) to release the drive, and then slide the drive forward
out of the drive bay (2).
Figure 7-41 Removing the Optical Drive
5. When replacing the drive, transfer the four screws from the old drive to the new one. The screws
take the place of drive rails.
CAUTION: Use only 5-mm long screws as guide screws. Longer screws can damage the internal
components of the drive.
To replace an optical drive, reverse the removal process.
96 Chapter 7 Removal and Replacement Procedures — Small Form Factor (SFF) Chassis ENWW

 Loading...