24
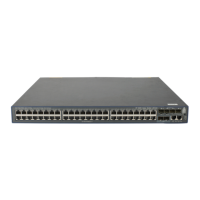
Figure 25 Connect the AC power cord (A)
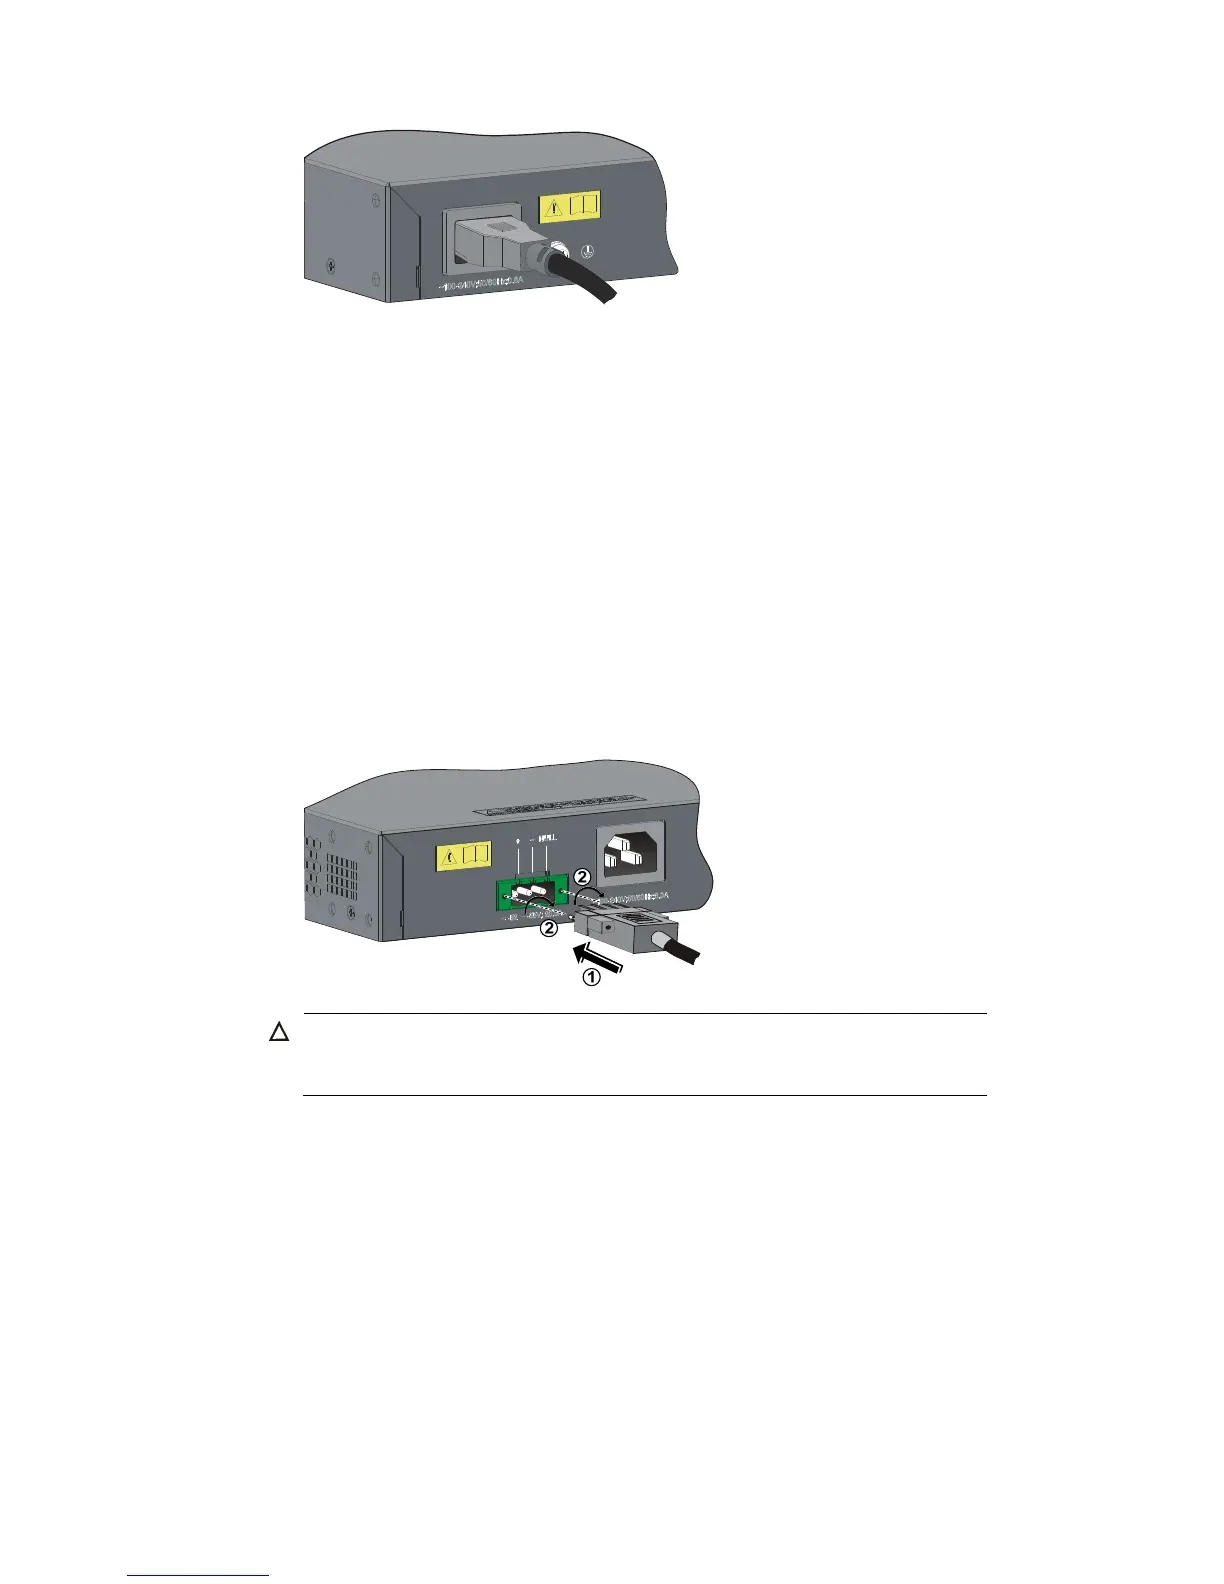
Connecting an RPS DC power cord
The HP V1910-24G-PoE (365W) Switch JE007A also supports RPS DC power input with the input voltage
ranging from –52 V to –55 V. Follow these steps to install a DC power cord:
Step1 Connect one end of the supplied grounding cable to the grounding screw on the rear panel of the
chassis and the other end to the ground as near as possible.
Step2 Keep the upside of the DC RPS plug on top and plug it in the RPS DC receptacle (see callout 1 in Figure
26). (If you plug it with the upside down, the insertion is not smooth because of the specific structure
design of the RPS DC receptacle and the RPS plug.)
Step3 Use a flat-blade screwdriver to fix the two screws on the RPS plug clockwise to secure the plug to the RPS
DC receptacle (see callout 2 in Figure 26).
Step4 Connect the other end of the RPS DC power cord to the external RPS power supply system (–54 V/25 A
output).
Step5 Check whether the RPS LED on the front panel of the switch is ON. If the LED is ON, it shows the power
cord is properly connected.
Figure 26 Connect an RPS DC power cord to the HP V1910-24G-PoE (365W) Switch JE007A
CAUTION:
Make sure that the grounding cable has been properly connected before powering on the switch.
The length of the DC power cord must be less than 3 m (9.8 ft).
 Loading...