16
Installing the switch into a 19-inch rack
The V1910 Switch Series is shipped with a pair of mounting brackets to fix and support the switch. Figure
12 shows how to install a V1910 into a 19-inch rack.
Figure 12 Install a V1910 into a 19-inch rack
Introduction to mounting brackets
Table 14 Mounting brackets for the V1910 Switch Series
Model
Mounting
brackets
Appearance Mounting position Description
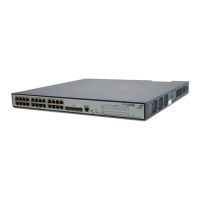
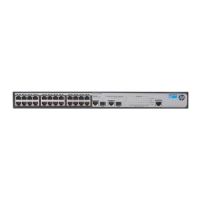
HP V1910-16G Switch
JE005A
Provided
by default
See callout A
in Figure 13
Front or rear part of the
chassis’s side
See Figure 14 and
Figure 15
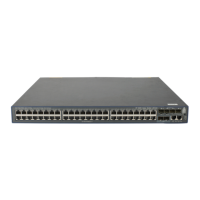
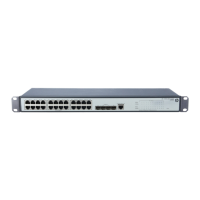
HP V1910-24G Switch
JE006A
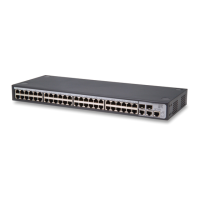
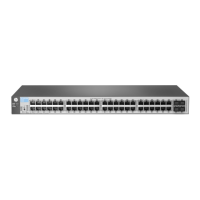
HP V1910-48G Switch
JE009A
Provided
by default
See callout B
in Figure 13
Front or rear part of the
chassis’s side
See Figure 16 and
Figure 18
HP V1910-24G-PoE
(170W) Switch JE008A
Front, center, or rear part of
the chassis’s side
See Figure 16,
Figure 17, and
Figure 18
HP V1910-24G-PoE
(365W) Switch JE007A
Front, center, or rear part of
the chassis’s side
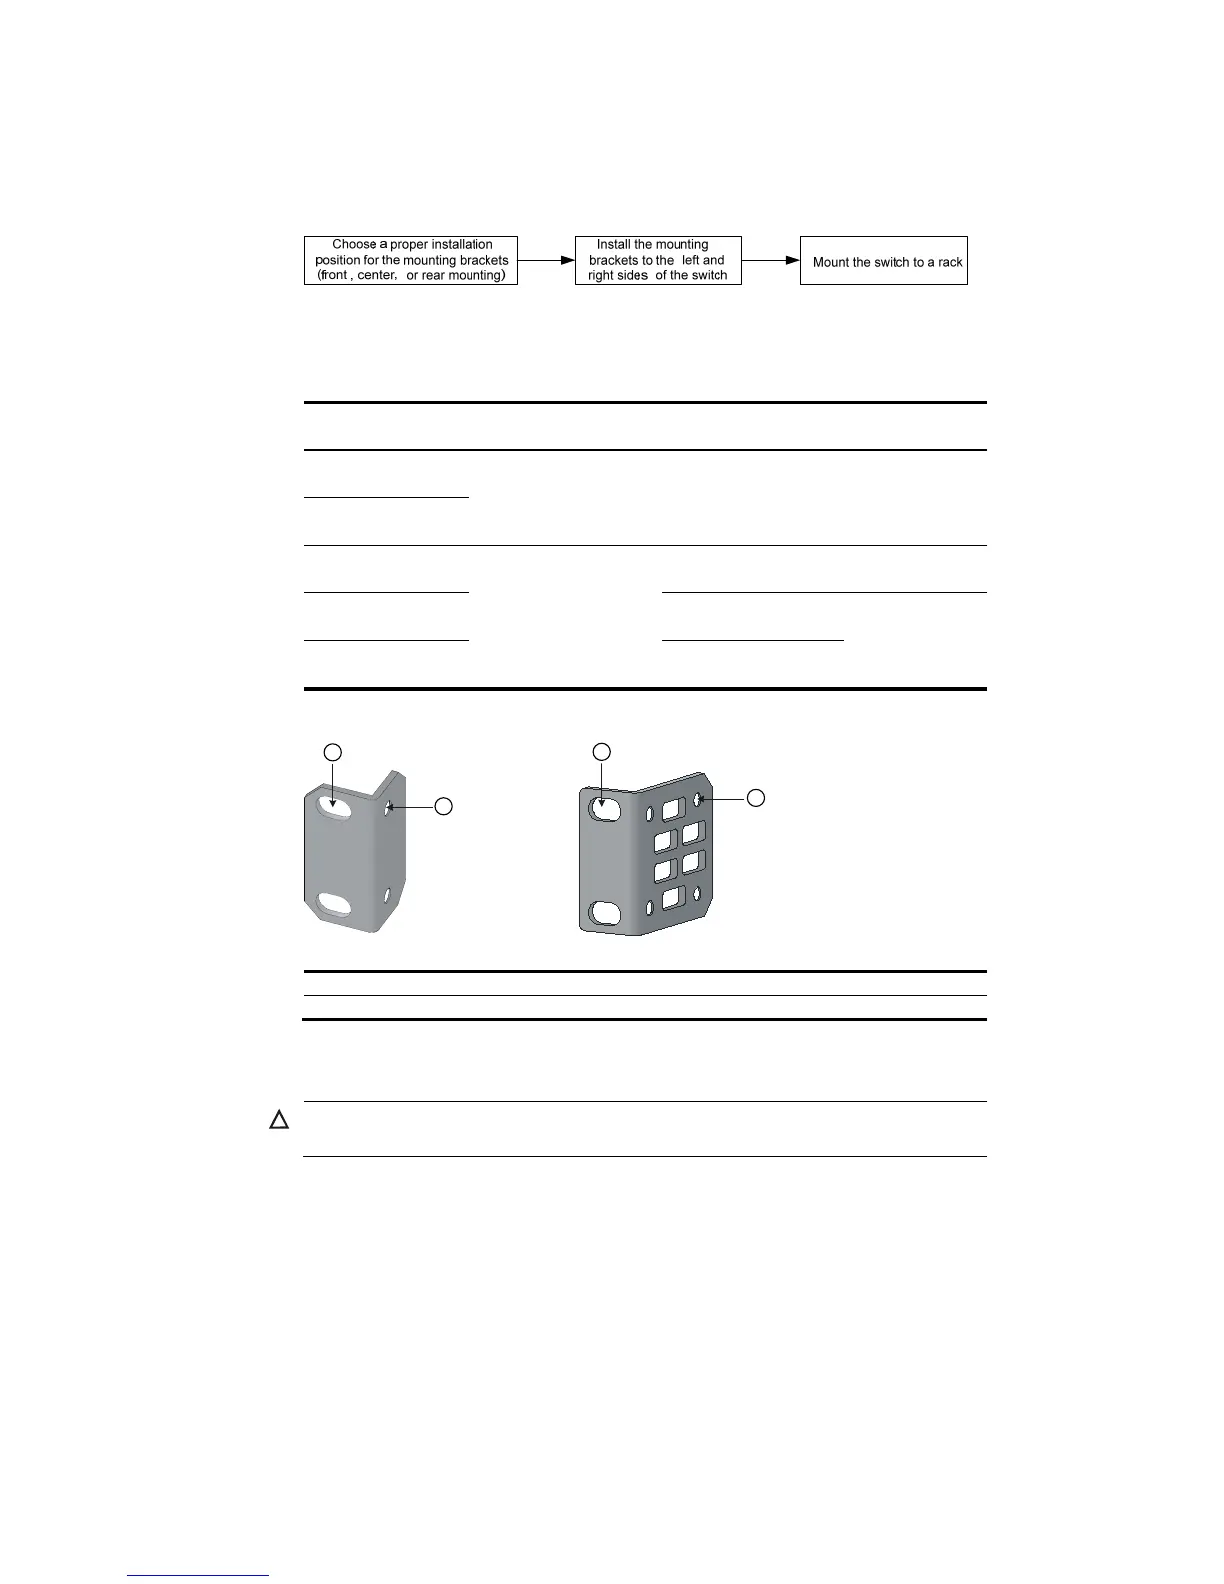
Figure 13 Mounting brackets
(A) (B)
1
2
1
2
(1) Screw hole used to fix the mountin
(2) Screw hole used to fix the switch to the mounting bracket
Attaching the mounting brackets to the switch
CAUTION:
The installation of mounting brackets varies depending on your switch model.
 Loading...