English 15
2 How to Install Accessories In Your PC
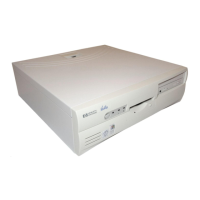
Removing and Replacing the Cover
2
Installing Accessories
Removing and Replacing the Cover
Removing the Cover
1 Switch off the display and the PC.
2 Disconnect the power cords from the power outlets, the PC, and the
display. Disconnect any connection to a telecommunications
network. Then remove the display.
3 If necessary, unlock the cover using the key provided with the PC.
4 Slide the two tabs on the front of the computer inwards. Firmly slide
the cover forward 5 cm (2 inches), and lift it up and off the
computer.
Replacing the Cover after Installing Accessories
1 Check that you have installed all your accessories.
2 Make sure that all internal cables are properly connected and safely
routed so they will not be entangled when you replace the cover.
3 Ensure the cover lock is unlocked and the tabs are inwards.
4 Lower the cover onto the computer, and firmly slide it into position.
5 Slide the two tabs on the front of the cover outwards.
6 If a keylock is fitted, lock the cover using the key.
7 Place the display on top of the computer. Reconnect all cables and
power cords.
 Loading...