EasyManuals Logo

HPE OfficeConnect 1420 Series User Manual

HPE OfficeConnect 1420 Series
26 pages
To Next Page IconTo Next Page
To Previous Page IconTo Previous Page
Page #8 background imageLoading...
Page #8 background image
7
Figure 7 Wall-mounting anchor kit
To install the switch on a concrete wall:
1. Drill two holes at the same height, as shown in Figure 8.
Figure 8 Hole spacing
The hole depth and diameter depend on the wall anchors and screws you use. Make sure you can
push the anchors to their full depth in the holes.
Installation hole spacing varies by switch model, as shown in Table 4.
Table 4 Installation hole spacing requirements
Installation hole spacing
1420-5G 74 mm (2.91 in)
1420-5G-PoE+ (32W) 90 mm (3.54 in)
1420-8G 90 mm (3.54 in)
1420-8G-PoE+ (64W) 90 mm (3.54 in)
1420-16G 160 mm (6.30 in)
2. Insert one wall anchor into each hole until the anchors are flush with the wall surface.
3. Drive one screw into each wall anchor, and tighten the screws just enough to keep it secure in
the wall anchor.
Leave a minimum clearance of 1.5 mm (0.06 in) between the base of the screw head and the
wall anchor so the switch can hang on the screws securely.
Xmm

Questions and Answers:

Question and Answer IconNeed help?

Do you have a question about the HPE OfficeConnect 1420 Series and is the answer not in the manual?
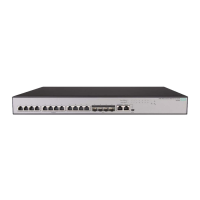
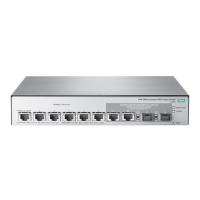
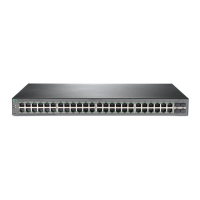
HPE OfficeConnect 1420 Series Specifications

General IconGeneral
ModelHPE OfficeConnect 1420 Series
LayerLayer 2
Operating Temperature0°C to 40°C (32°F to 104°F)
Input Voltage100-240 VAC
ManagementUnmanaged
Power over EthernetNo
DimensionsVaries by model
WeightVaries by model
TypeSwitch
Ports8, 16, 24
Port TypeGigabit Ethernet
Form FactorDesktop or Rackmount
Power SupplyExternal power adapter
ThroughputUp to 35.7 Mpps
Operating Relative Humidity15% to 90% non-condensing
Power ConsumptionVaries by model
Jumbo Frames9216 bytes
MAC Address Table Size8K entries

Related product manuals