The Create Logical Drive screen appears.
Creating a profile-based logical drive
WARNING: Creating a logical drive will permanently delete any data on an associated drive.
Procedure
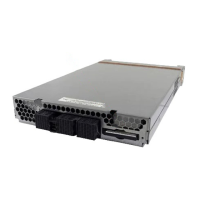
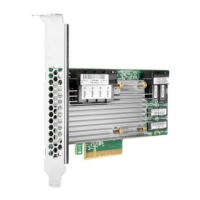
1. From the System Utilities screen, select System Configuration > HPE Smart Array P824i-p MR
Gen10 > Main Menu > Configuration Management > Create Profile Based Logical Drive.
2. In the Create Profile Based Logical Drive screen, select a RAID level.
3. In the Generic R<level> screen, select the drive criteria.
4. View the profile parameters.
Parameter Description
Logical Drive Name Name of the logical drive
RAID Level RAID level based on the profile selected.
Logical Drive Size Amount of logical drive storage space. By default,
the maximum capacity available for the logical
drive is displayed.
Strip Size Stripe element size for the logical drive. Drive
striping involves partitioning each drive storage
space into strips of different sizes the controller
firmware supports.
Read Policy Reach cache policy for the logical drive. For any
profile, if the drive is an SSD, the No Read Ahead
option is displayed. If the drive is not SSD, the
default option is displayed. Possible options are
Read Ahead or No Read Ahead.
Write Policy Write cache policy for the logical drive. For any
profile, if the drive is an SSD, the Write Through
option is displayed. If the drive is not SSD, the
default option is displayed. Possible options are
Write Through or Write Back.
IO Policy I/O policy for the logical drive. For any profile, if
the drive is an SSD, the Direct IO option is
displayed. If the drive is not SSD, the default
option is displayed. Possible options are Direct IO
or Cached IO.
Access Policy Access policy for the logical drive. Possible
settings are Read/Write, Read Only, or Blocked.
Table Continued
40 Configuration
 Loading...