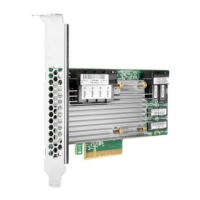
14. Slide the Smart Array along the slot alignment guide, if one is present, and then press the board
firmly into the expansion slot so that the contacts on the board edge are seated properly in the slot.
15. Secure the Smart Array in place with the retaining screw. If the slot alignment guide has a latch (near
the rear of the board), close the latch.
16. Connect the controller backup power cable.
17. Connect storage devices to the controller.
For cabling information, see the server user guide.
18. Install the HPE Smart Storage Battery or HPE Smart Storage Hybrid Capacitor.
19. Reinstall the riser.
20. Connect peripheral devices to the server.
21. Connect the power cord to the server.
22. Connect the power cord to the power source.
23. Power up all peripheral devices.
24. Power up the server.
More information
Powering on and selecting boot options in UEFI Boot Mode on page 32
Updating software and firmware on page 58
Array and controller configuration on page 34
Connecting internal storage on page 33
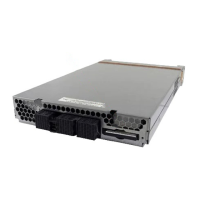
Installing an HPE Smart Array P824i-p MR Gen10 controller in an
unconfigured server
For server-specific procedures, see the server user guide.
Procedure
1. Select an available x8 or larger PCIe expansion slot.
A x8 physical size slot is required, even though the slot width may be electrically x4 or x1. Hewlett
Packard Enterprise recommends using a slot that is electrically x8.
2. Remove the slot cover.
Save the retaining screw, if one is present.
3. Slide the Smart Array along the slot alignment guide, if one is present, and then press the board
firmly into the expansion slot so that the contacts on the board edge are seated properly in the slot.
4. Secure the Smart Array in place with the retaining screw. If the slot alignment guide has a latch (near
the rear of the board), close the latch.
5. Install the HPE Smart Storage Battery or HPE Smart Storage Hybrid Capacitor.
6. Connect the controller backup power cable.
For cabling information, see the server user guide.
7. Install physical drives, as needed.
8. Connect drives to the controller.
30 Installation
 Loading...