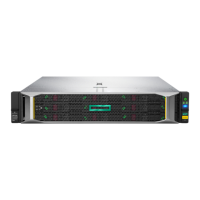
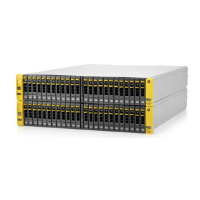
TIP: Hard disks are preconfigured and must remain installed or returned to the same disk slots they
arrived in.
You can remove the hard disks to make the enclosures lighter and easier to install. All hard disks
must be returned to their original slots before the system is powered on. Failure to return each disk
to its proper location will result in the system failing to start.
Label the disks with the provided label kits before removing them from the enclosure for ease of
installation and maintenance.
Skip this step if the system does not have a capacity upgrade enclosure.
If you are adding a capacity upgrade enclosure to a running system, see Installing and connecting the
capacity upgrade enclosures.
Procedure
1. Power off the StoreOnce server.
2. Verify the rack locations for the capacity upgrade enclosures.
If the system has two capacity upgrade enclosures, install the rails for both enclosures and then install
the lowest storage enclosure first.
Figure 11: StoreOnce 3640 System rack layout
Item Description
1 Server node.
2 JBOD 1: First capacity upgrade kit. Install below the server.
3 JBOD 2: Second capacity upgrade kit. Install below JBOD 1.
3. Install the enclosure rails in the rack.
a. Adjust the back bracket on the standard rail kit so it accommodates the storage enclosure. Attach
rear hold down brackets by sliding the tab with the arrow pointed forward (1) into the corresponding
slot on the left and right side of the rear of the chassis. Use the black headed thumb screw to
secure tightly to the rail in the second hole from the rear (2).
NOTE: It is easier to make this adjustment prior to mounting the rails.
HPE StoreOnce 3640 System 27

 Loading...
