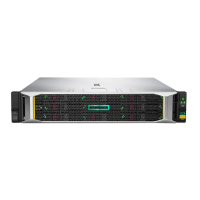
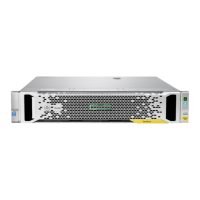
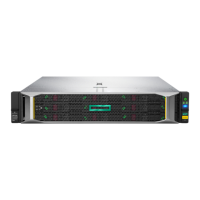
Figure 20: Removing the front bezel
2. Remove the blanking plates from the right six disk bays numbered 3, 4, 7, 8, 11, and 12. Push in the
latch (1) until it releases and pull out the plate (2).
NOTE: All six disks must be installed before you can expand storage.
Figure 21: Removing the blanking plates
3. Push the hard drive assembly into each drive bay (1) until it stops and press the HDD carrier latch (2)
inward until it clicks.
Figure 22: Installing the hard disk
4. Replace the front bezel when all six disks are installed, and install the locking device.
Installing capacity upgrade kits 73

 Loading...
