1.“Image Overlapping” Submenu
2. Introduction to “image” Sub-menu
1.1. Description of Image Overlapping
2.1. View Image
2.2. Delete Images
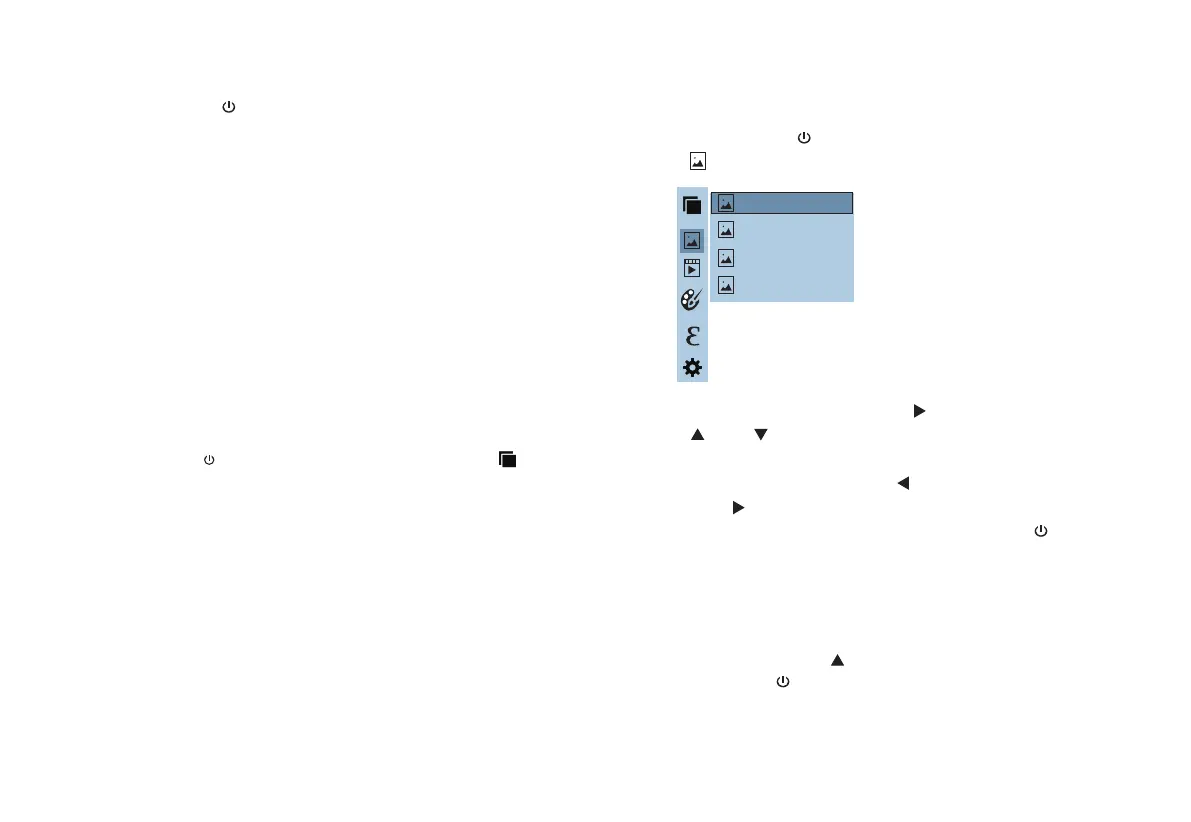
Introduction to the Menu
As shown in the figure, Then press “ ” key to enter image list. Press
“ ”or “ ” key in navigation to select the image. Then press
“
SELECT/ENTER
” key to view image.
When viewing the images, press “ ” key to view the precious image,
Press “ ” to view the next image.
Press “
SELECT/ENTER
” key to return. Press “
MENU/
” key to exit
from the menu.
When viewing the images, the screen will show the prompt of “Delete
photo?” by pressing “ ” key. If “yes” is selected at the moment,
press “
MENU/
” key to determine to delete the image. If “no” is
selected, press “
SELECT/ENTER
” key to determine not to delete the
image.
Press the left of “
MENU/
” key and the menu bar appears. They are
“image overlapping”, “image”, “video”,“color palette”, “emissivity” and
“setting” submenus.
Press the “
MENU/
” button to enter the main menu, and select
“ ” (image) in the main menu.
Image overlapping makes it easier for users to understand the infrared
images by using aligned visible images and infrared images. The use of
image overlapping can capture the visible image of every infrared image
so as to display the temperature distribution in the target region correctly
and share with other people more effectively.
1.2. Application of Image overlapping
Press the “
MENU/
” button to enter the main menu, and select “ ”
(Image registration) in the main menu.
Press the “
SELECT/ENTER
” button to enter the image overlap
adjustment mode.Press the navigation keys (up, down, left and right
buttons) to perform the visible image shift operation.
Press the “
SELECT/ENTER
” button to exit the image blending mode
(Note: If there is no operation for more than 6 seconds, the image blending
mode will be automatically exited).
19 20
20220210-175305
20220210-174633
20220210-174635
20220210-174334