13
2
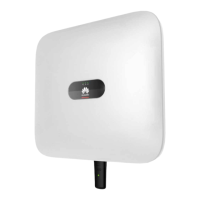
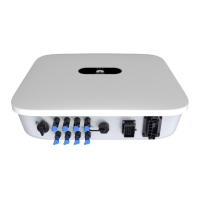
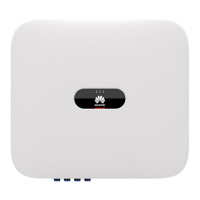
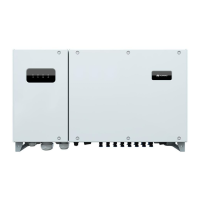
SUN2000-(8KTL–20KTL)-M0 Replacement Scenario
Remove SUN2000-
(8KTL–20KTL)-M0.
Install SUN2000-
(8KTL–20KTL)-M2.
Perform SUN2000-(8KTL–
20KTL)-M2 electrical connections.
Check the installation and
power on the SUN2000.
Removing SUN2000-(8KTL–20KTL)-M0
1.1
Removing Cables from SUN2000-(8KTL–20KTL)-M0 for Future Use
1. Power off the SUN2000 to be replaced.
2. Remove the AC connector for future use.
Cable
cutter
3. Remove the DC connectors and use a cable cutter to cut off the terminals of DC input power
cables. Set the cables aside for future use.
DC input terminals
•
Before removing the original SUN2000, ensure that the DC switch on the SUN2000 and all
the switches connected to the SUN2000 are set to OFF. Otherwise, the high voltage of the
SUN2000 may result in electric shocks.
•
After the SUN2000 is powered off, the remaining electricity and heat may still cause electric
shocks and body burns. Therefore, put on protective gloves and begin operating the SUN2000
five minutes after the power-off.
Perform the SUN2000-(8KTL–
20KTL)-M2 deployment wizard.
AC output port (AC)
Start
End

 Loading...

