15
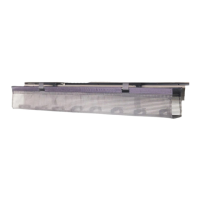
Using the (2) ST5 X 16 Screws� Align the control box with the pilot holes included if using a
Humanscale universal worksurface� Alternatively, place the Control box at your desired location on
the worksurface, ensuring it is within reach of the cable from one of the legs�
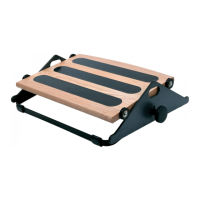
Secure the hand switch to the worksurface in your desired location using the (2) ST4 X 16, screw
along the front edge of worksurface� If using a Humanscale Universal Worksurface, Pilot holes are
positioned on the left/right hand side of the worksurface in our recommended location(s)�
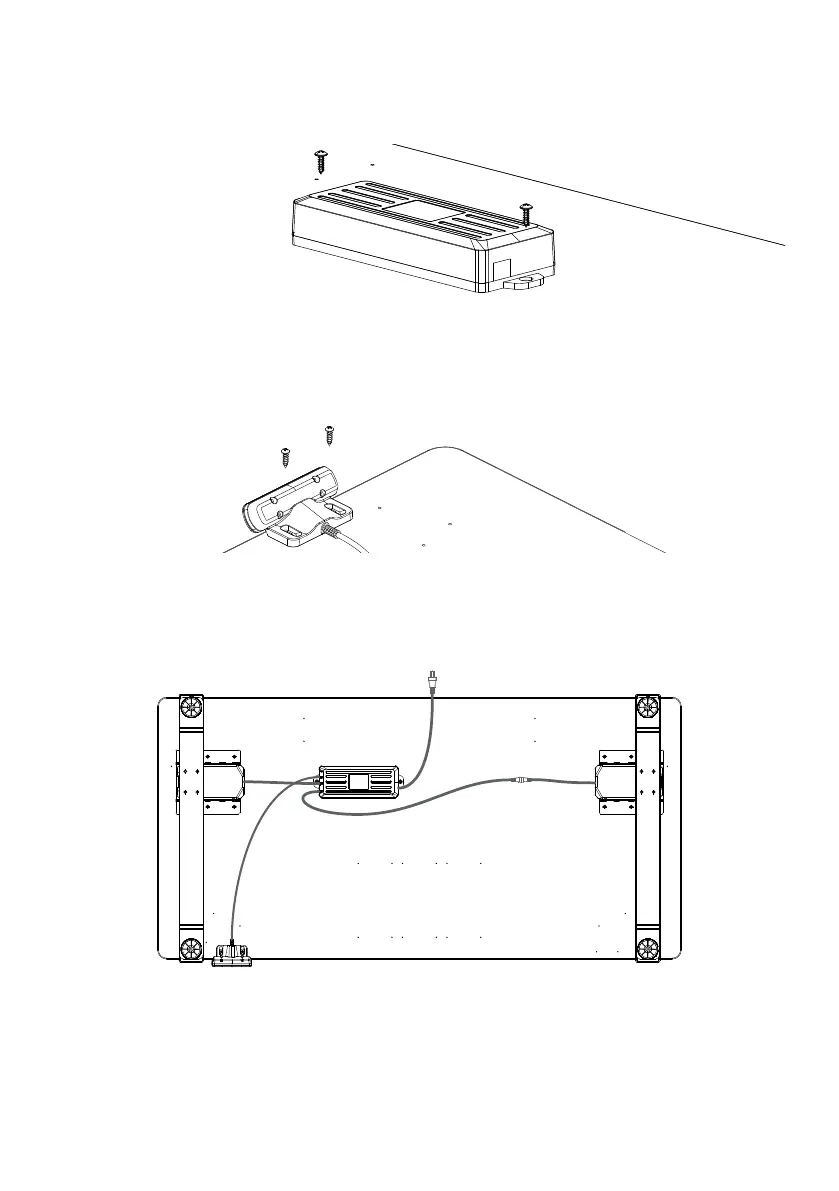
Plug the hand switch into the control box� Connect the two legs to the control box, using the
connecting cable for the leg furthest away from the control box� Plug the power cord into the
control box� Use the provided Cable ties to secure cables to underside of worksurface (not
pictured), with either double sided tape or the (10) ST5 X 16 Screws�
6
7
8
Flip your Table right side up and plug into outlet� Reset the desk per instructions in following
section�
YOU MUST RESET THE DESK BEFORE USE. FOLLOW INSTRUCTIONS ON INITIAL SETUP/RESET
UNDER HAND SWITCH ON PG. 16
9
 Loading...