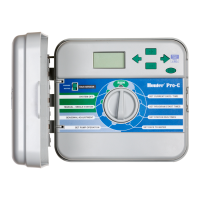
15
PROGRAMMING
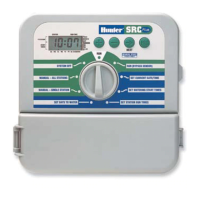
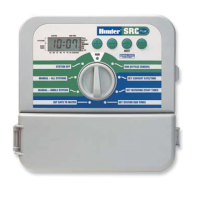
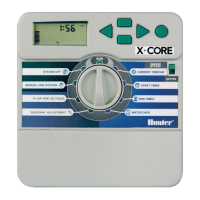
The SRC Plus Controller is easy to
program. The easy to understand dial
design allows you to step through the
process of programming and activate
manual watering with a twist of the wrist.
The SRC display shows time and day
when the controller is idle. The display
changes when the dial is rotated to indicate
the specic programming information to
enter. When programming, the ashing
portion of the display can be changed by
pressing the or buttons. To change
something that is not ashing, press the
button until the desired eld is ashing.
The SRC also provides a reference
label that is attached to the inside of
the controller door (no more lost or
misplaced instructions!). And, extra space
is provided to write in sprinkler station
location information.
A full three programs, each with the
ability to have four daily start times,
permit plants with different watering
requirements to be separated on different
day schedules. Multiple start times permit
morning, afternoon, and evening watering,
perfect for the establishment of new lawns
and thirsty annual owers. A built-in
365 day calendar clock accommodates
odd/even watering restrictions without
requiring monthly reprogramming. Or just
simply designate the days of the week you
want to water. The SRC makes it easy.
NOTE: A basic programming
rule is that whatever symbol
or character is ashing will
be the item programmed.
For instance, if the hour is
ashing when setting the time,
the hour can be changed or
programmed. For illustration
purposes, ashing characters
are in GRAY type.
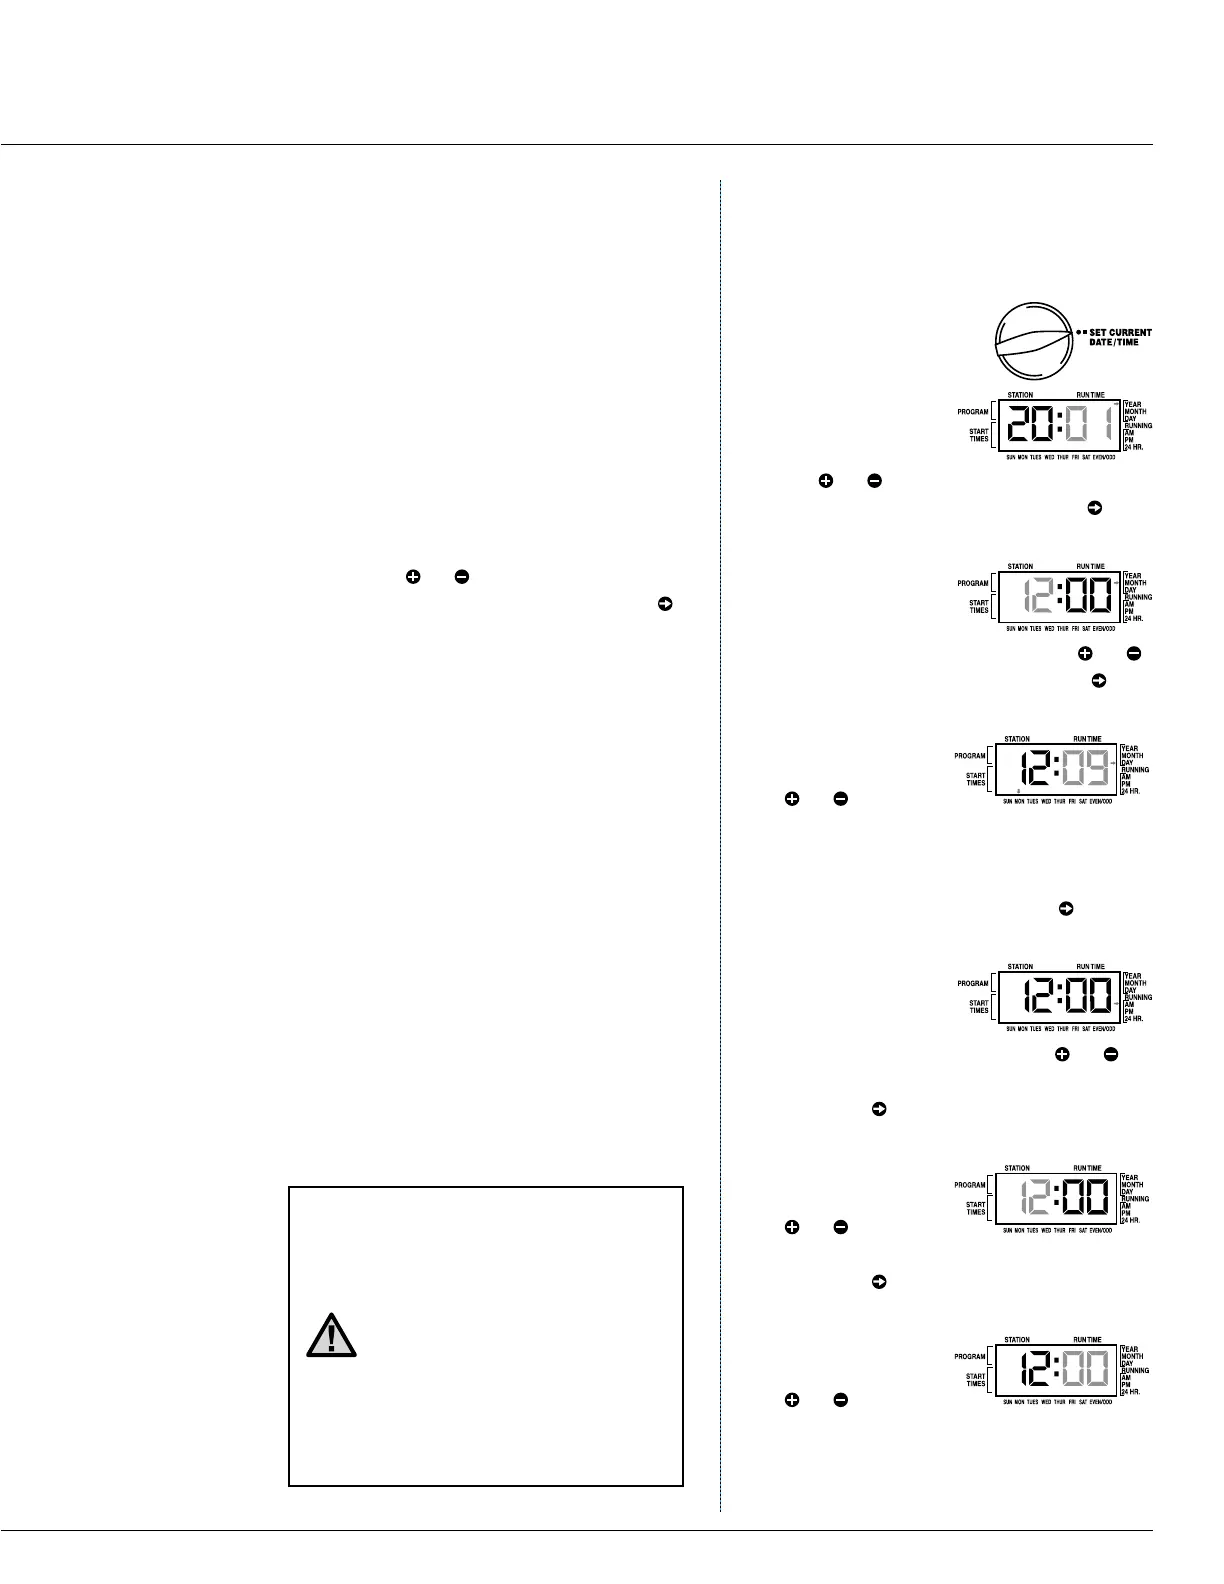
Setting the Date and Time
1. Turn the dial to the
SET CURRENT
DATE/TIME position.
2. The current year
will be ashing in
the display: Use
the or button to set the year. After
setting the correct year, push the to
proceed to setting the month.
3. The month and
day will be in
the display: The
month will be ashing. Use the or
button to set the month. Push the to
proceed to setting the day.
4. The day will be
ashing: Use the
or button
to set the day of the month. (The day
of the week is automatically indicated
by an arrow in the bottom of display
pointing to the day.) Push the button
to proceed to setting the time.
5. The time will be
displayed, and
an arrow will
be ashing on AM. Press the or
buttons to select AM, PM, or 24 HR.
Press the to proceed to setting
the hours.
6. Hours will be
ashing. Press the
or button to
change the hour shown on the display.
Press the to proceed to setting
the minutes.
7. Minutes will be
ashing. Use the
or button
to change the minutes shown on the
display. The date, day and time have
now been set and the dial may be
returned to the RUN position.
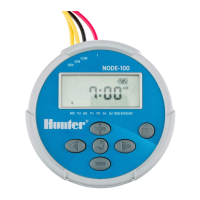
SRC Plus Controller