26
27
INSTALLATION AND PROGRAMMING (continued)
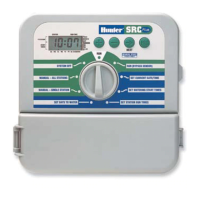
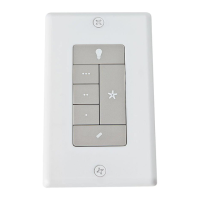
2. Simultaneously press the
and buttons, until
the word “RUN TIME”
along with the current Run
Time is displayed. The
display will be blinking at
this point.
3. While the display is
blinking and showing the
current Run Time, Press
the “ON” button. The word
“ADDRESS” will now
illuminate and the current
address will be blinking.
Note that if more than 5 seconds go
by without a button being pressed,
the Transmitter will revert back to
displaying the active station.
4. Use the and buttons to change
the address to any value between 0
and 127. Then do not touch any of the
buttons for 5 seconds and the display
will stop blinking, and return back to
the active station.
Receiver
Preparing the receiver for use
As stated earlier, your SRR System is
designed to work right out of
the box.
If you have decided to change
your Transmitter address as
described in the previous section,
you must allow the Receiver to “learn”
this new address.
Once learned, the only way to remove
the address from Receiver memory is to
learn a different address. This can be
done by following the simple steps
outlined on the next page.
below, you should
make a note of the
new settings since,
when the battery
is removed and a
new one installed,
the transmitter will
revert back to the
original settings.
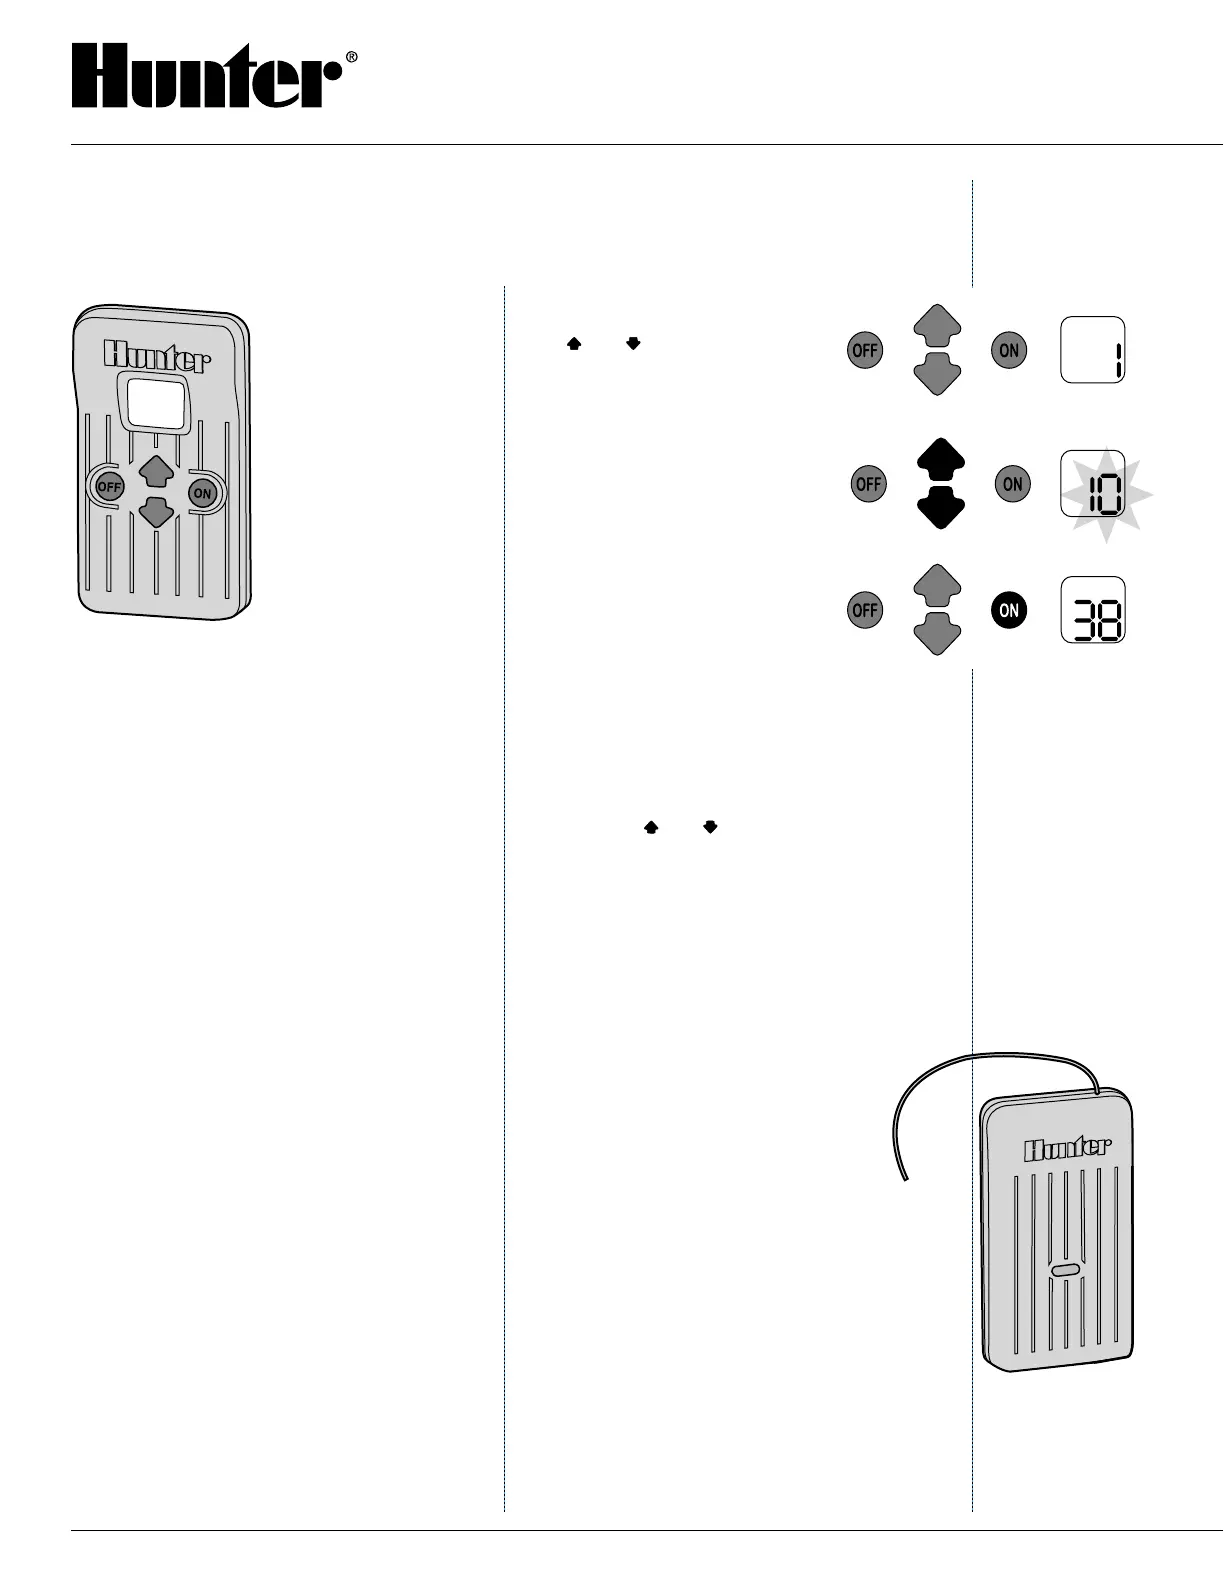
Installing the
Transmitter Battery
Your SRR Transmitter requires a 9-volt
alkaline battery. To install the battery, slide
open the battery door (on the back of the
transmitter), attach the battery to the clip,
insert the battery, and slide the door shut
again. (When changing the battery, push
the battery down in the case to reveal the
battery clip before attempting to remove
the battery from the case.)
Changing the Transmitter Address
Both the SRR Transmitter and Receiver
have an “address” that they use when
communicating. If the addresses do
not match, the Receiver will ignore the
transmission. Your SRR comes from
the factory with both Transmitter and
Receiver address set to 0. You may change
the address to any value from 0-127 for
added security. Note that if you change the
Transmitter address, the Receiver must
“learn” the new address as described in
“Preparing the Receiver for Use” section.
To change the Transmitter address follow
the steps below:
1. If the unit is OFF (no display), power
the Transmitter by pressing any of
the buttons for at least 1 second then
releasing the button. The Transmitter
will rst illuminate the entire display
for 1 second then display the
active station.