English – 17
WARNING!
The battery must always be removed
for service/repair work and may only
be replaced once the machine has
been completely assembled again!
Basic dismantle/assembly
6 Basic dismantle/assembly
The steps described below are the basic steps that must be carried out before any other service or repair
work or nal assembly is possible.
Fig 1
Fig 4
Fig 2
Fig 3
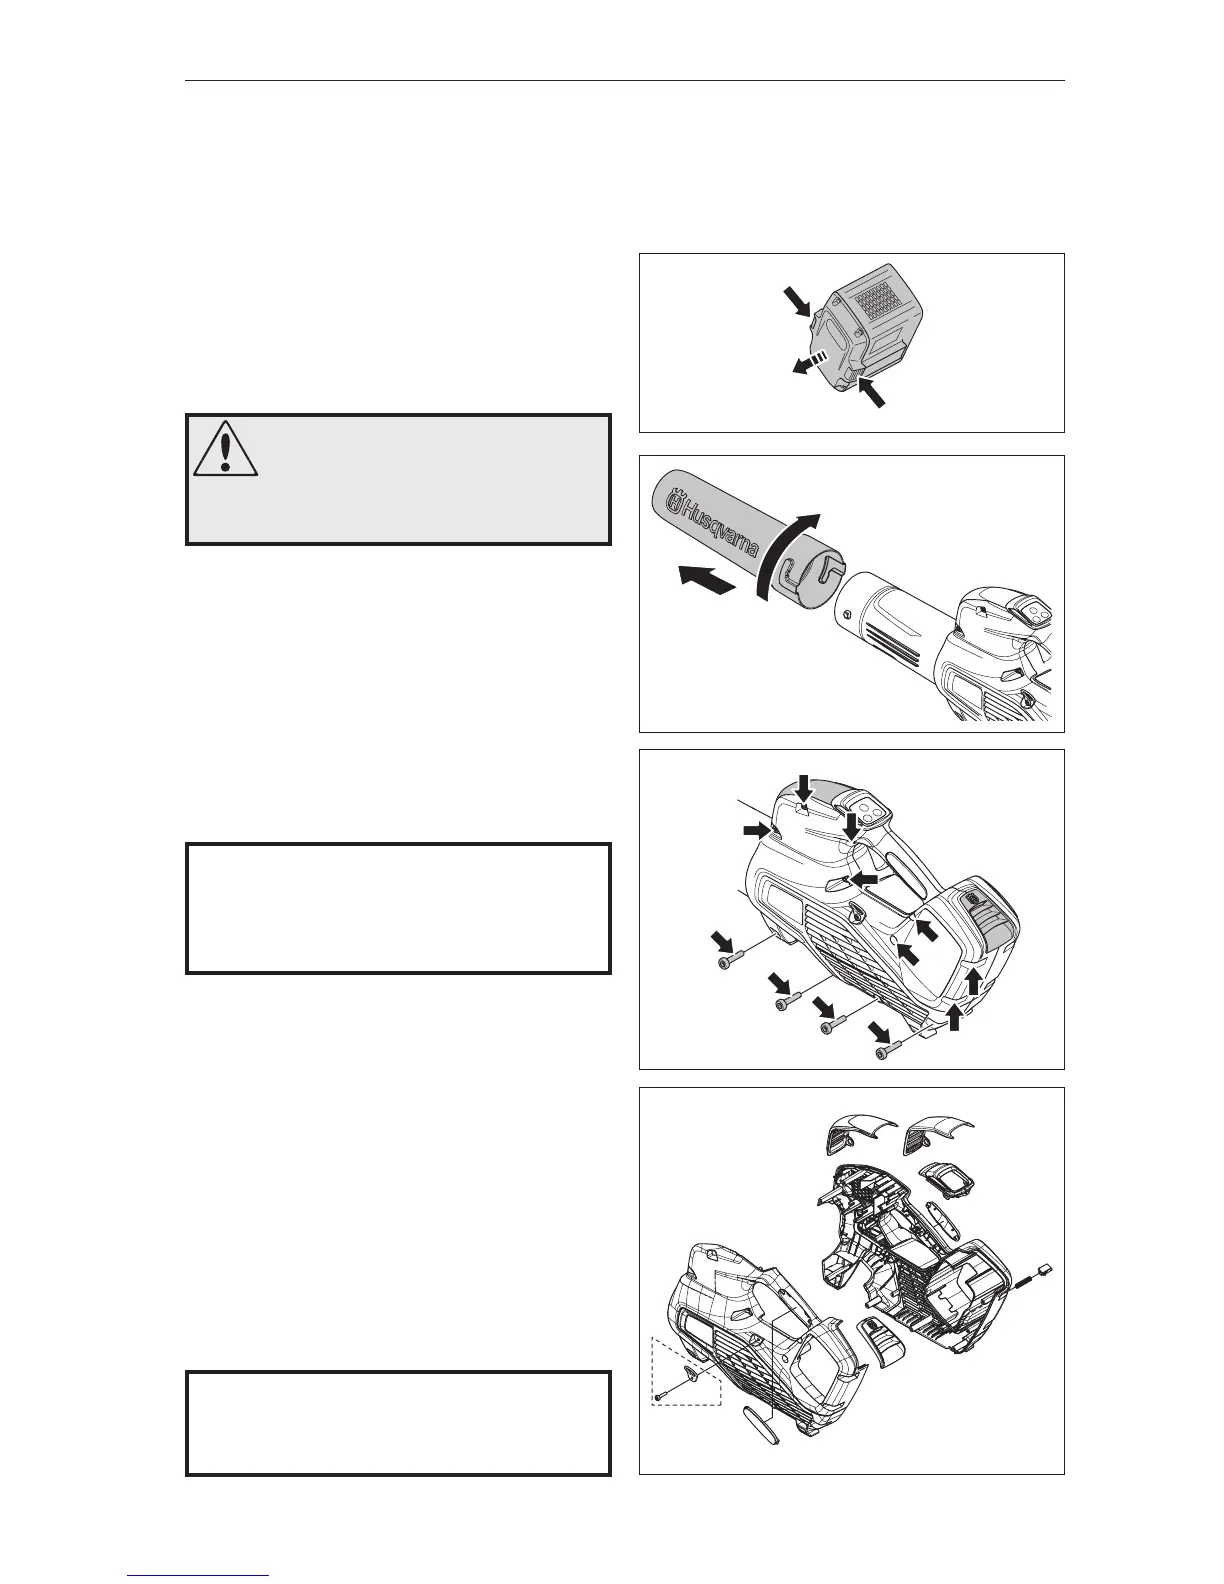
6.1 Battery
Press in the catches and remove the battery.
See gure 1.
Replace the battery once assembly has been
completed.
6.3 Chassis (436LiB, 536LiB)
Loosen the screws (x12) and lift o the left chassis
half, front (A) and rear (B) ventilation covers.
See gure 3
Cleaning and inspection
Carefully clean and inspect the chassis halves
(including hand grip), ventilation covers and the
eyelet. Parts must be replaced if cracked or show-
ing signs of other defects. Always use original
spare parts.
See gure 4
Assemble in the reverse order.
Tightening torque 1.9±0.1 Nm.
NOTE!
It should be easy to put together the chassis
halves. Make sure cables and such are
positioned correctly if this is dicult.
6.2 Nozzle
Turn the nozzle to loosen it from the blow pipe.
See gure 2
Cleaning and inspection
Clean and check the nozzle thoroughly. It must
always be replaced with a new one if cracked or
showing signs of other defects. Always use original
spare parts.
Assemble in the reverse order.
NOTE!
Note how wires, components, etc., are
positioned before dismantling. Make sure
to position them correctly to avoid pinching
when the machine is reassembled.
2
1
1