User Manual
HV Diagnostics Page 44 Rev 9.0
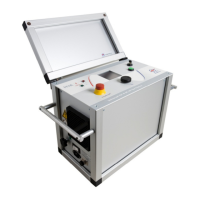
System Failure
In case of errors or failure due to a loss of power during testing,
additional precaution is required. The HVA red LED (3) light cannot
indicate when residual voltage is less than 100V. To guarantee that the
residual voltage has dissipated before removing the test lead, the DUT
must be de-energized using a discharge stick.
Steps D 1*-D 7* describe the disconnection procedure in case of
system failure.
Step Procedure (System Failure Disconnection)
D1*
Switch HVA OFF
• Press Emergency OFF (1)
• Turn the HVA main switch (8) off
• Lock HVA in disabled state to prevent against unauthorized use:
Turn Key switch (7) to OFF Position and remove Key
D2*
Verify correct functioning of discharge stick
D3*
Discharge and ground the DUT complying with local safety regulations
• Discharge DUT using a discharge stick
D4* Before disconnecting test lead, wait until residual voltage has dissipated.
• Required wait time depends on the resistance of the discharge stick
and capacitance of the load.
D5* Disconnect the Test Lead
• Disconnect the test lead from the DUT
• Unscrew the test lead from the HV output connector (11)
D6*
Disconnect power supply cable from power supply plug (9)
D7* Disconnect Ground
• Disconnect the grounding cable from the HVA grounding connector
(10)
• Disconnect the grounding cable from the DUT.
 Loading...